Custom Website Setup
Custom Website Setup
This guide explains how to integrate the Hood Web SDK into your custom website without using pre-built frameworks like WordPress, Shopify, or other CMS platforms.
For framework-specific integrations, see our other integration guides. For detailed service worker implementation, see the Service Worker Instructions.
Basic Integration
Step 1: Include the SDK
Add the Hood SDK to your website’s <head> section (or before </body>):
<script src="/sdk/ht-latest.js" data-tag="YOUR_TAG_ID" data-analytics="1"></script>
Step 2: Initialize
Initialize with your tag and configuration:
<script>
  Hood('init', 'YOUR_TAG_ID', {
    analytics: true,
    activity_url: 'https://your-endpoint/v3/activity',
    push_config: { key: 'VAPID_PUBLIC_KEY', service_worker_path: '/sw.js' }
  })
</script>
Configuration Options
Here are the key configuration options for your custom integration:
Push Notifications
Enable push notifications by adding push configuration:
Hood('init', 'YOUR_TAG_ID', {
  push_config: { key: 'VAPID_PUBLIC_KEY', service_worker_path: '/sw.js' }
})
Hood('pushstatus', (s) => console.log('Push status', s))
Hood('pushrequestpermission')
Event Tracking
Track custom events on your website:
Hood('trackevent', 'button_click', { category: 'engagement', label: 'signup_button' })
User Identification
Identify users for better targeting:
Hood('identify', 'user_12345', { email: '[email protected]' })
Hood('setuserproperties', { plan: 'pro', country: 'DE' })
Testing Your Integration
- Verify Script Loading: Check browser console for any JavaScript errors
- Test Event Tracking: Use browser dev tools to verify events are being sent
- Check Permissions: Ensure notifications are working if enabled
Troubleshooting
Common Issues
- Script not loading: Verify the script URL is accessible and not blocked by CSP
- Events not tracking: Check that the web key is correct and events are properly formatted
- Notifications not working: Ensure HTTPS is enabled (required for push notifications)
Debug Tips
Open DevTools Console and Network tabs to verify requests and event payloads. Ensure CORS and HTTPS are configured on your endpoints.
Next Steps
- For service worker setup, see the Service Worker Instructions
- For framework-specific integrations, see our other setup guides
- For advanced configuration, refer to the Web SDK Reference
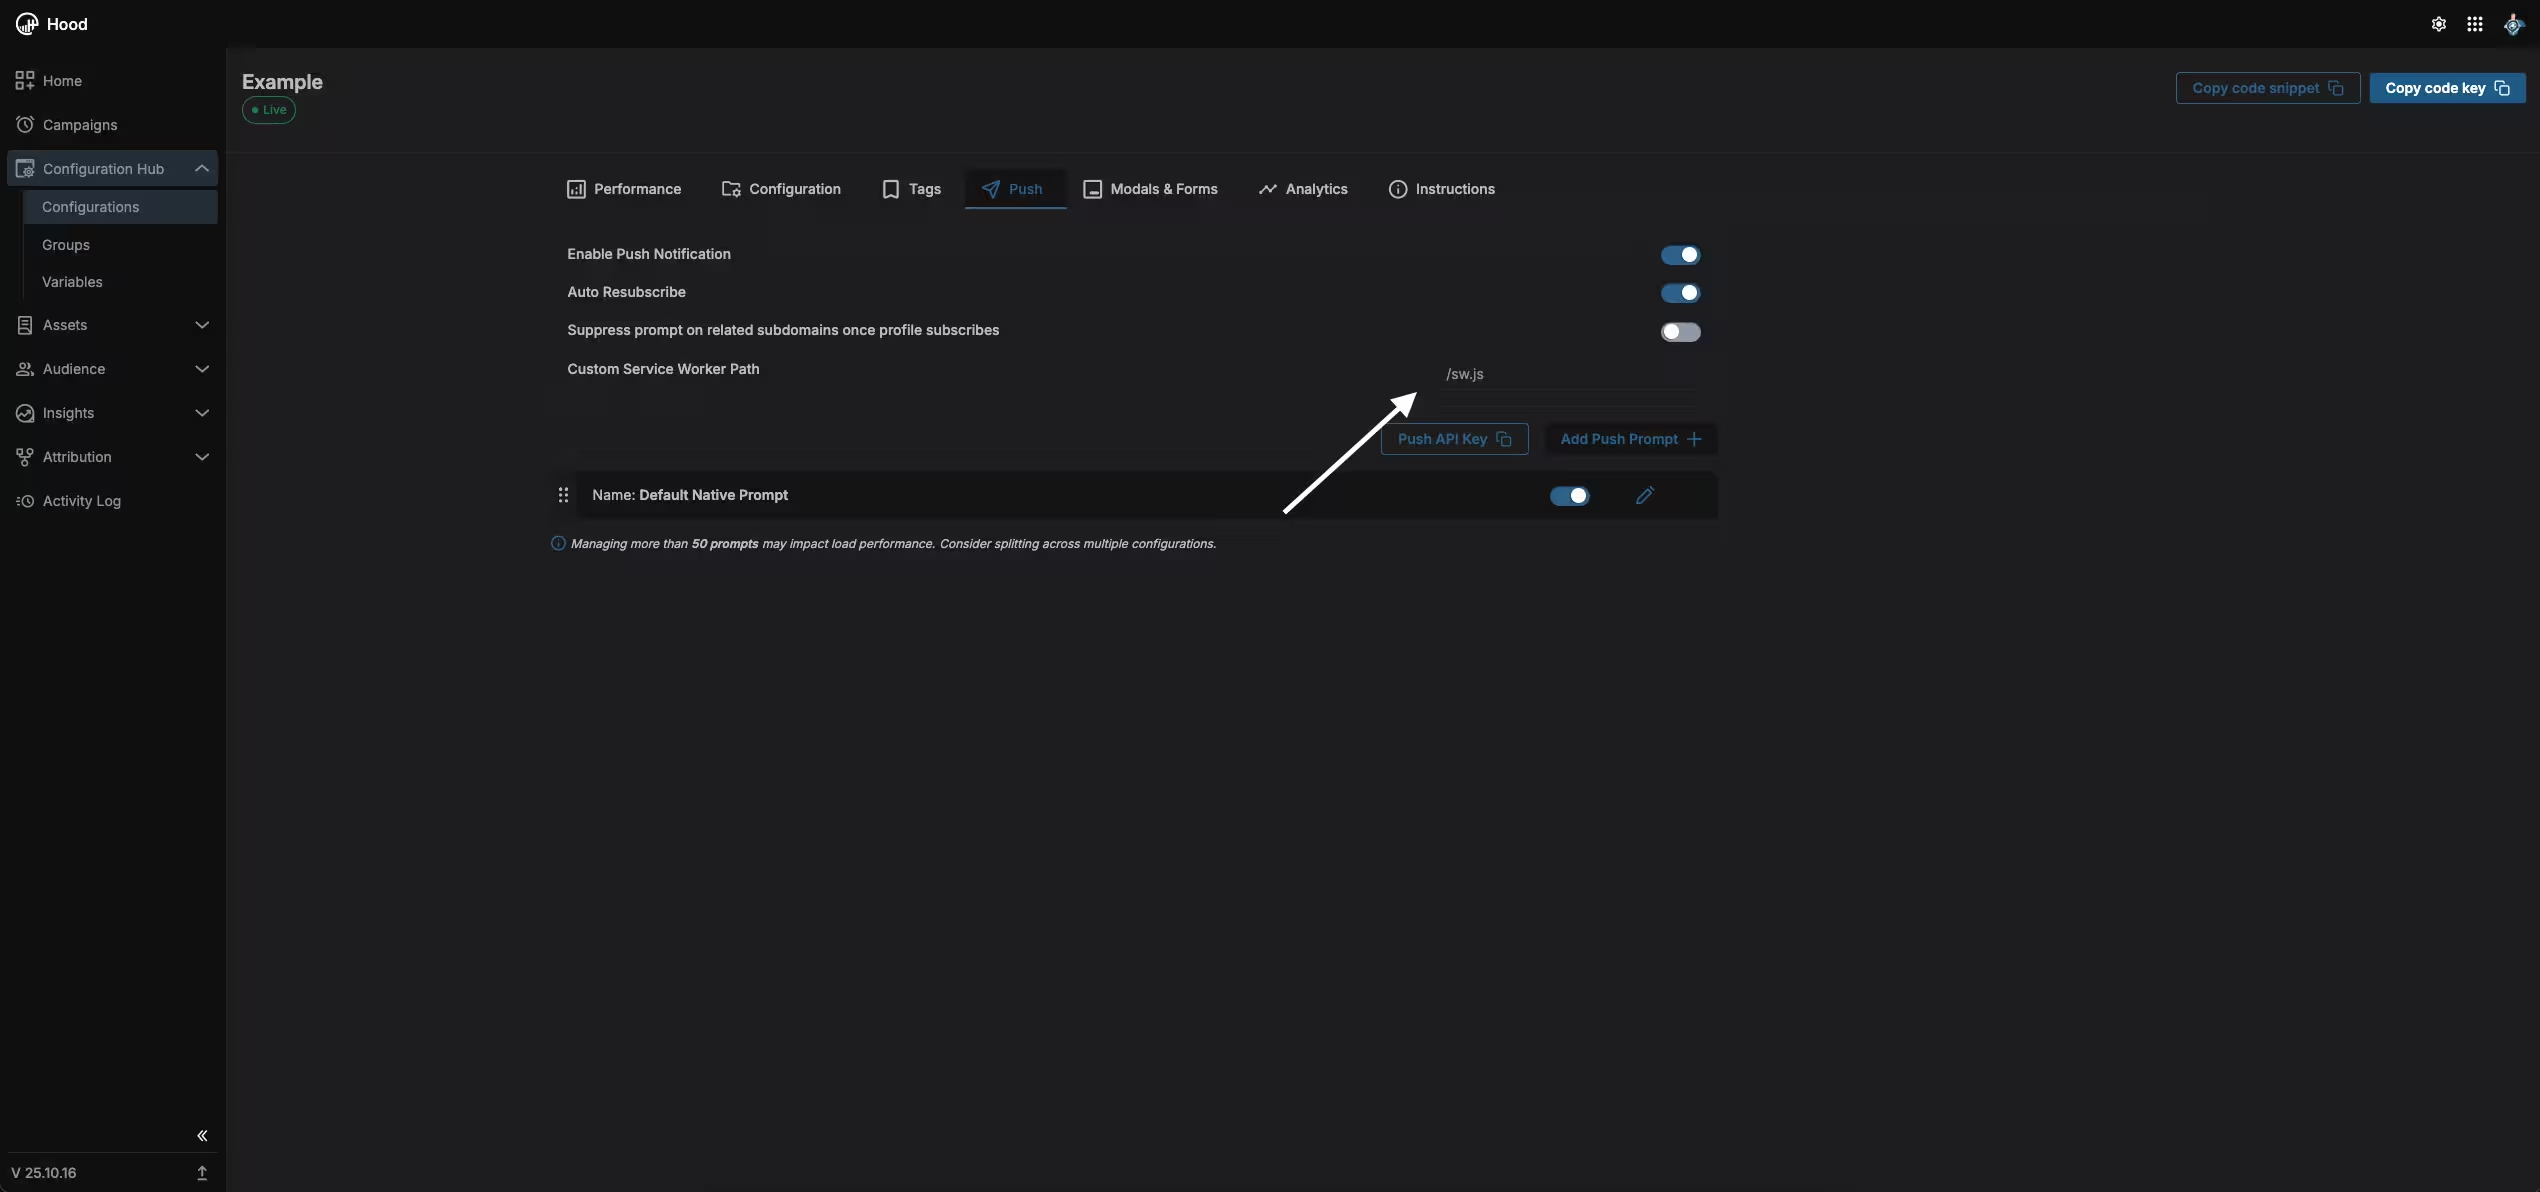
Provide the URL of your service worker.
Custom Service Worker Path Location
- Through Init in Your Code
Set push_config.service_worker_path to the actual path of your service worker. The file should be same-origin (typically /sw.js).
- Manually Create a Service Worker
Manually create a service worker file by adding the following code inside the file:
importScripts("https://cdn.ocmhood.com/sdk/osw.js");
Step 2. Incorporate the Hood Service Worker in Your File
If you have a custom service worker, integrate Hood’s worker script or forward notifications accordingly. See Service Worker Instructions.
Using Workbox for Service Worker Generation
When using Workbox, add to the ‘generateSW’ step:
importScripts: ["./ocamba-worker-loader.min.js"]
Step 3. Test Your Integration
To confirm that your push notification integration is functioning correctly, subscribe to push notifications and verify their delivery.
Customizing Your Service Worker Integration
If your setup requires particular adjustments, please follow these steps:
Place service worker files into a subdirectory
Rename the files
Include multiple service workers on an origin
Options: serviceWorkerFile -> default value /sw.js serviceWorkerScope -> default value highest root folder of ServiceWorkerFile
To set up the service worker files in a subdirectory for Custom Code Setup, set up your initialization call as follows:
Hood('init', 'YOUR_API_KEY', {
  push: 'YOUR_PUBLIC_PUSH_TOKEN',
  serviceWorkerFile: '/my_sub_dir/worker.js',
  serviceWorkerScope: '/my_sub_dir/'
})
An alternative approach is to use the Service-Worker-Allowed HTTP Header when serving your Service Worker file. By configuring your server to return Service-Worker-Allowed: / in the response for the Service Worker, this will instruct the browser to broaden the scope and allow that scope to be used.
Default message:
if (oswbox) {
  let oswc = {
    title: "Your default title",
    options: {
      "body": "Your default body",
    }
  };
  oswbox.setConfig(oswc);
}
Push helper methods
Hood('pushstatus', cb)— returns current permission stateHood('pushrequestpermission')— requests permissionHood('pushmessage', { title, options }, cb?)— shows a notification via SW
Events
Register handlers with Hood('on', event, callback):
onPushShow,onPushClosed,onPushBlocked,onPushGrantedgetPushStatus,autoconfReady
Notification Object
| Name | Type | Description |
|---|---|---|
| title | String | The title that must be shown within the push notification. |
| options | Notification Options Object | An object used to configure the notification settings. |
Notification Options Object
| Name | Description |
|---|---|
| actions | An array of actions to be displayed in the notification. Each action of the array should be an object literal. It may include various properties, as outlined in the table below. |
| action | A DOMString containing the user action to be displayed on the notification. |
| title | A DOMString containing the action text to be shown to the user. |
| icon | A USVString containing the URL of the icon to be displayed with the action. Appropriate responses are built using event.action within the notification click event. |
| badge | A USVString containing the URL of an image to represent the notification when there is not enough space to display the notification itself such as on the Android Notification Bar. On Android devices, the badge should be designed to accommodate up to 4x resolution, approximately 96 x 96 px, and the image will be automatically masked. |
| body | A string representing additional content to display within the notification. |
| data | Arbitrary data that you want to be associated with the notification. This data can be of any type. |
| dir | The direction of the notification; it can be auto, ltr or rtl. |
| icon | A USVString containing the URL of an image to be used as an icon within the notification. |
| image | A USVString containing the URL of an image to be displayed in the notification. |
| lang | Specify the language used in the notification. This string must be a valid BCP 47 language tag. |
| renotify | A boolean that indicates whether to suppress vibrations and audible alerts when reusing a tag value. If the renotify option is true and the tag option is an empty string, a TypeError will be thrown. The default value is false. |
| requireInteraction | This setting indicates that on devices with sufficiently large screens, a notification should remain visible until the user clicks or dismisses it. If this value is not specified or set to false, the desktop version of Chrome will automatically minimize notifications after approximately 20 seconds. The default value for this setting is false. |
| silent | When set, this indicates that no sounds or vibrations should occur. If the silent option is true and the vibrate option is specified, a TypeError exception will be thrown. The default value is false. |
| tag | An ID for a given notification that allows you to find, replace, or remove the notification using a script if necessary. |
| timestamps | A DOMTimeStamp represents the time when the notification was created. It can be used to show the actual time relevant to the notification. For example, this timestamp could be set in the past for a message that couldn’t be delivered immediately because the device was offline, or it could be set in the future for a meeting that is about to start. |
| vibrate | A vibration pattern associated with the notification can be defined using an array with as few as one member. The values in the array represent times in milliseconds, where even indices (0, 2, 4, etc.) specify the duration of the vibration, and odd indices specify the duration of the pause. For example, the pattern [300, 100, 400] would cause the device to vibrate for 300 milliseconds, pause for 100 milliseconds, and then vibrate again for 400 milliseconds. |