How to Set Up a CPA Campaign
Cost Per Action (CPA) campaigns are a type of online advertising where the advertiser pays for a specified action - such as a purchase, form submission, or app installation - that a user takes in response to an ad.
This guide will walk you through setting up a CPA campaign using the AdEx platform.
Step-by-Step Guide
Click on the Campaigns tab in the Campaign Manager.
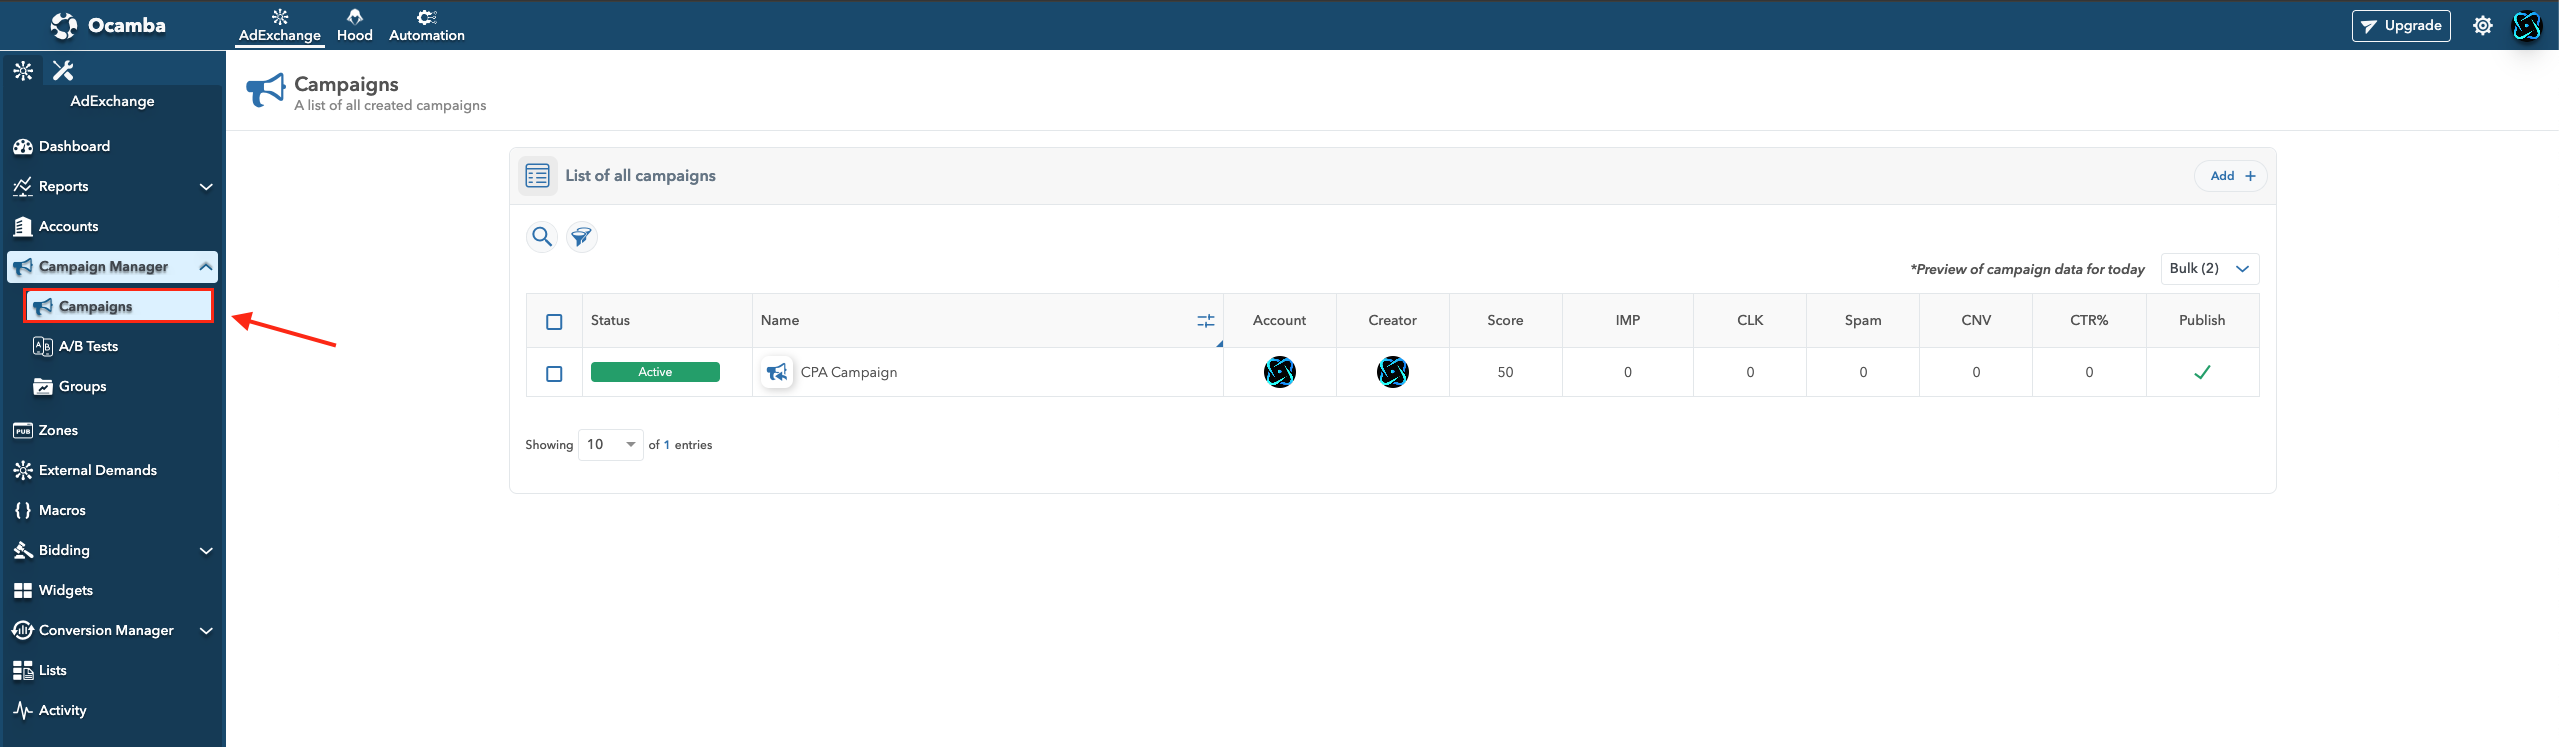
Campaings Tab Location
Click the Add button in the upper right corner.
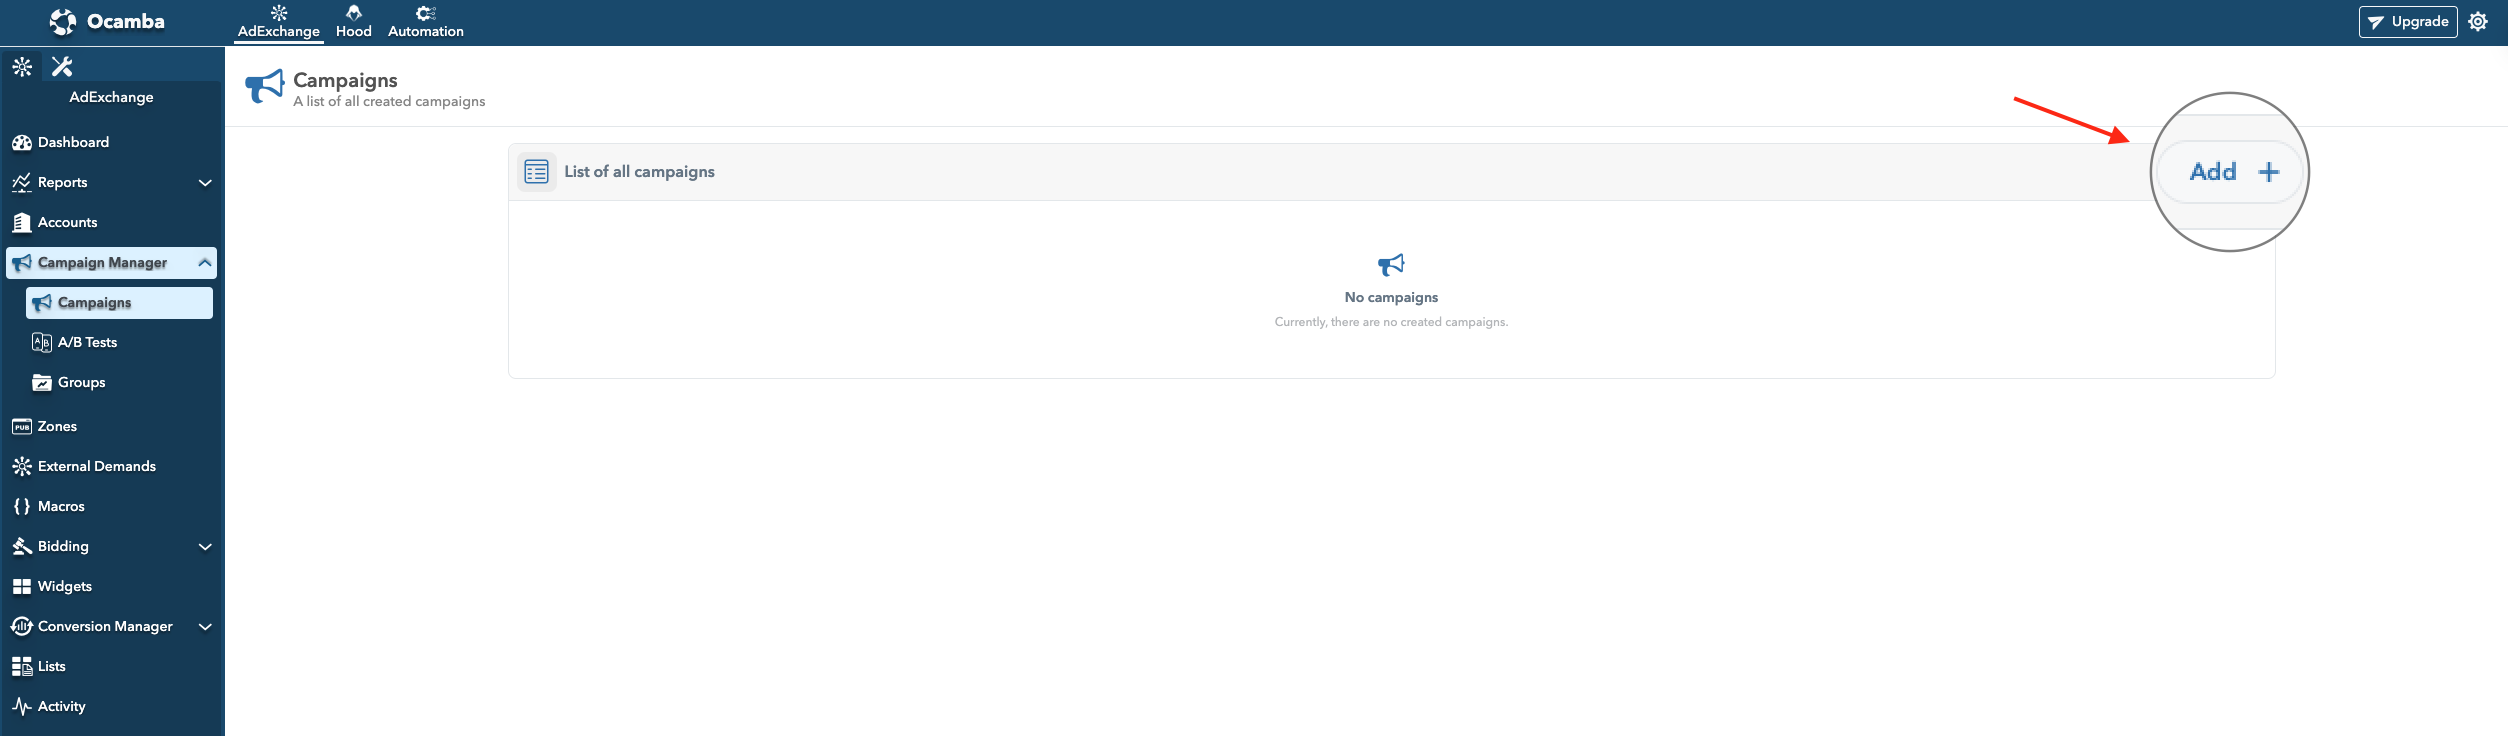
Add New Campaign Button Location
Fill in the required information:
- Campaign Name: Choose a memorable name for easy identification.
- Account: Select the account to which the campaign will be linked.
- External Demand: If applicable, select external demand for creatives.
- Pricing Model: Select CPA from the dropdown menu.
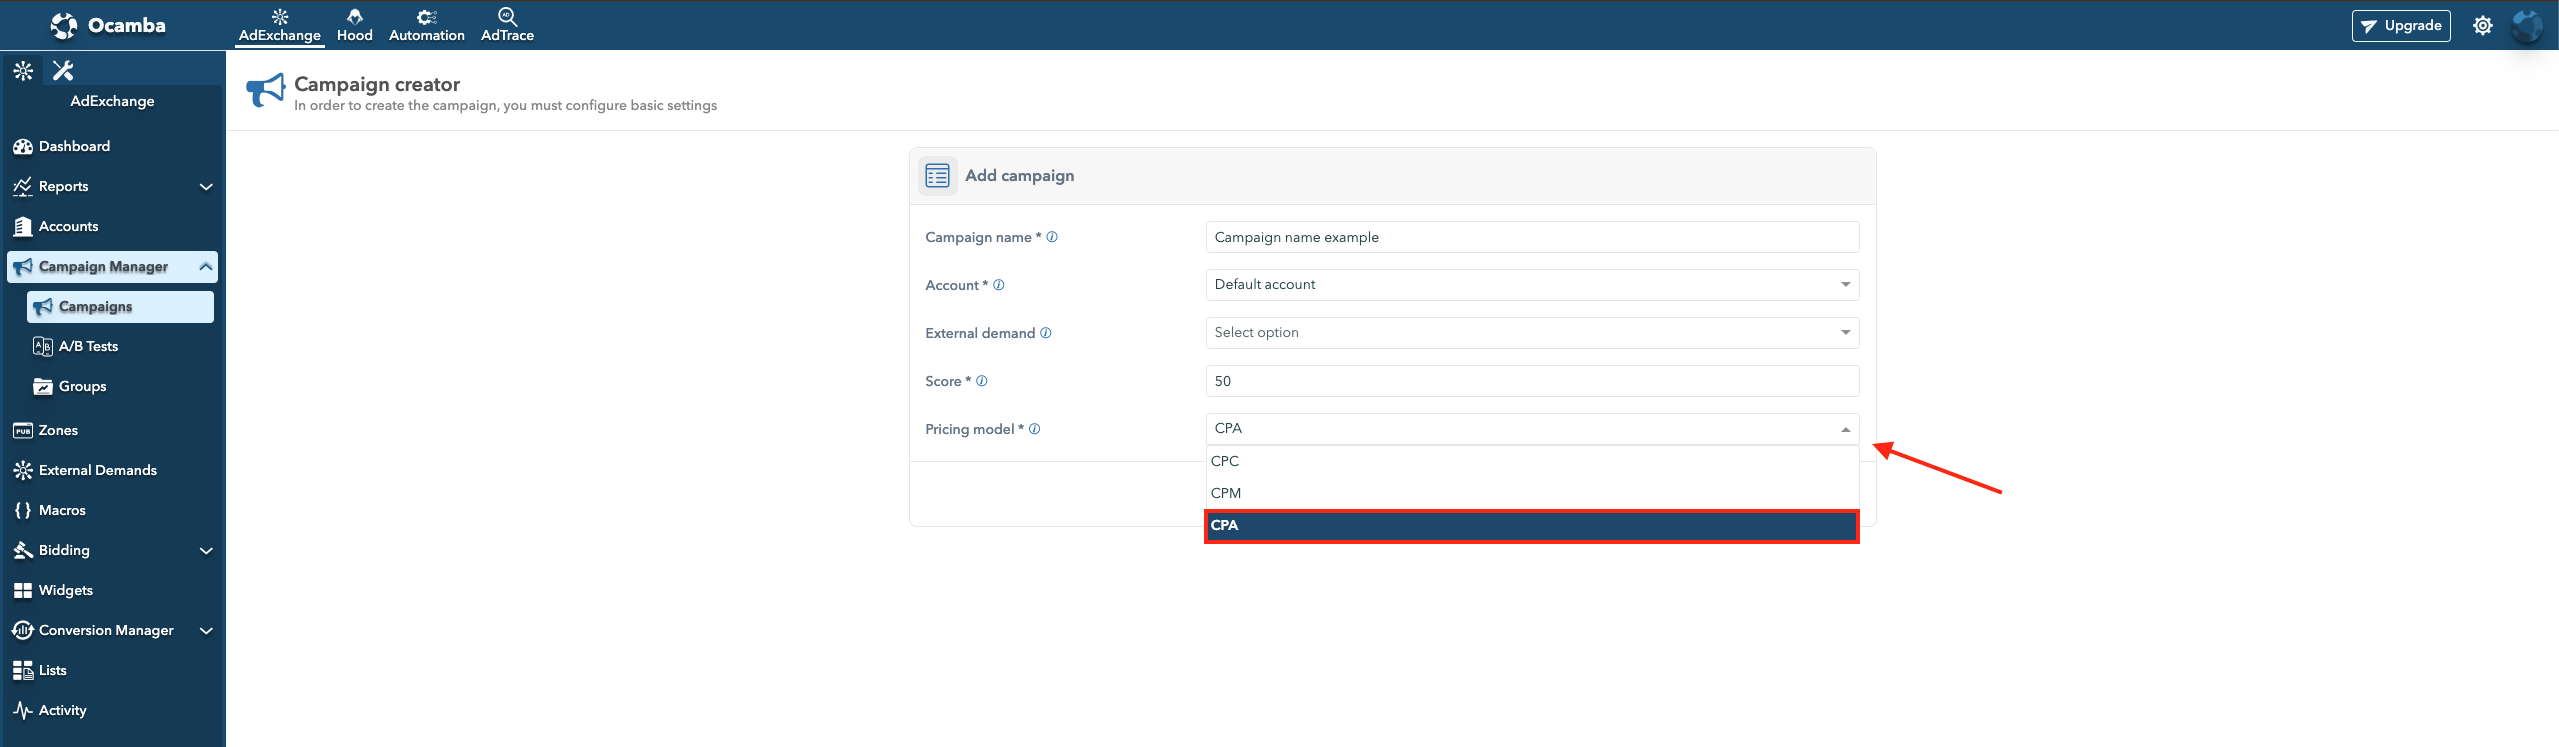
Select Pricing Model Dropdown
- Score: Assign a score to determine the campaign’s relevance among others.
Click Confirm to create the campaign.
Configure Basic Campaign Details
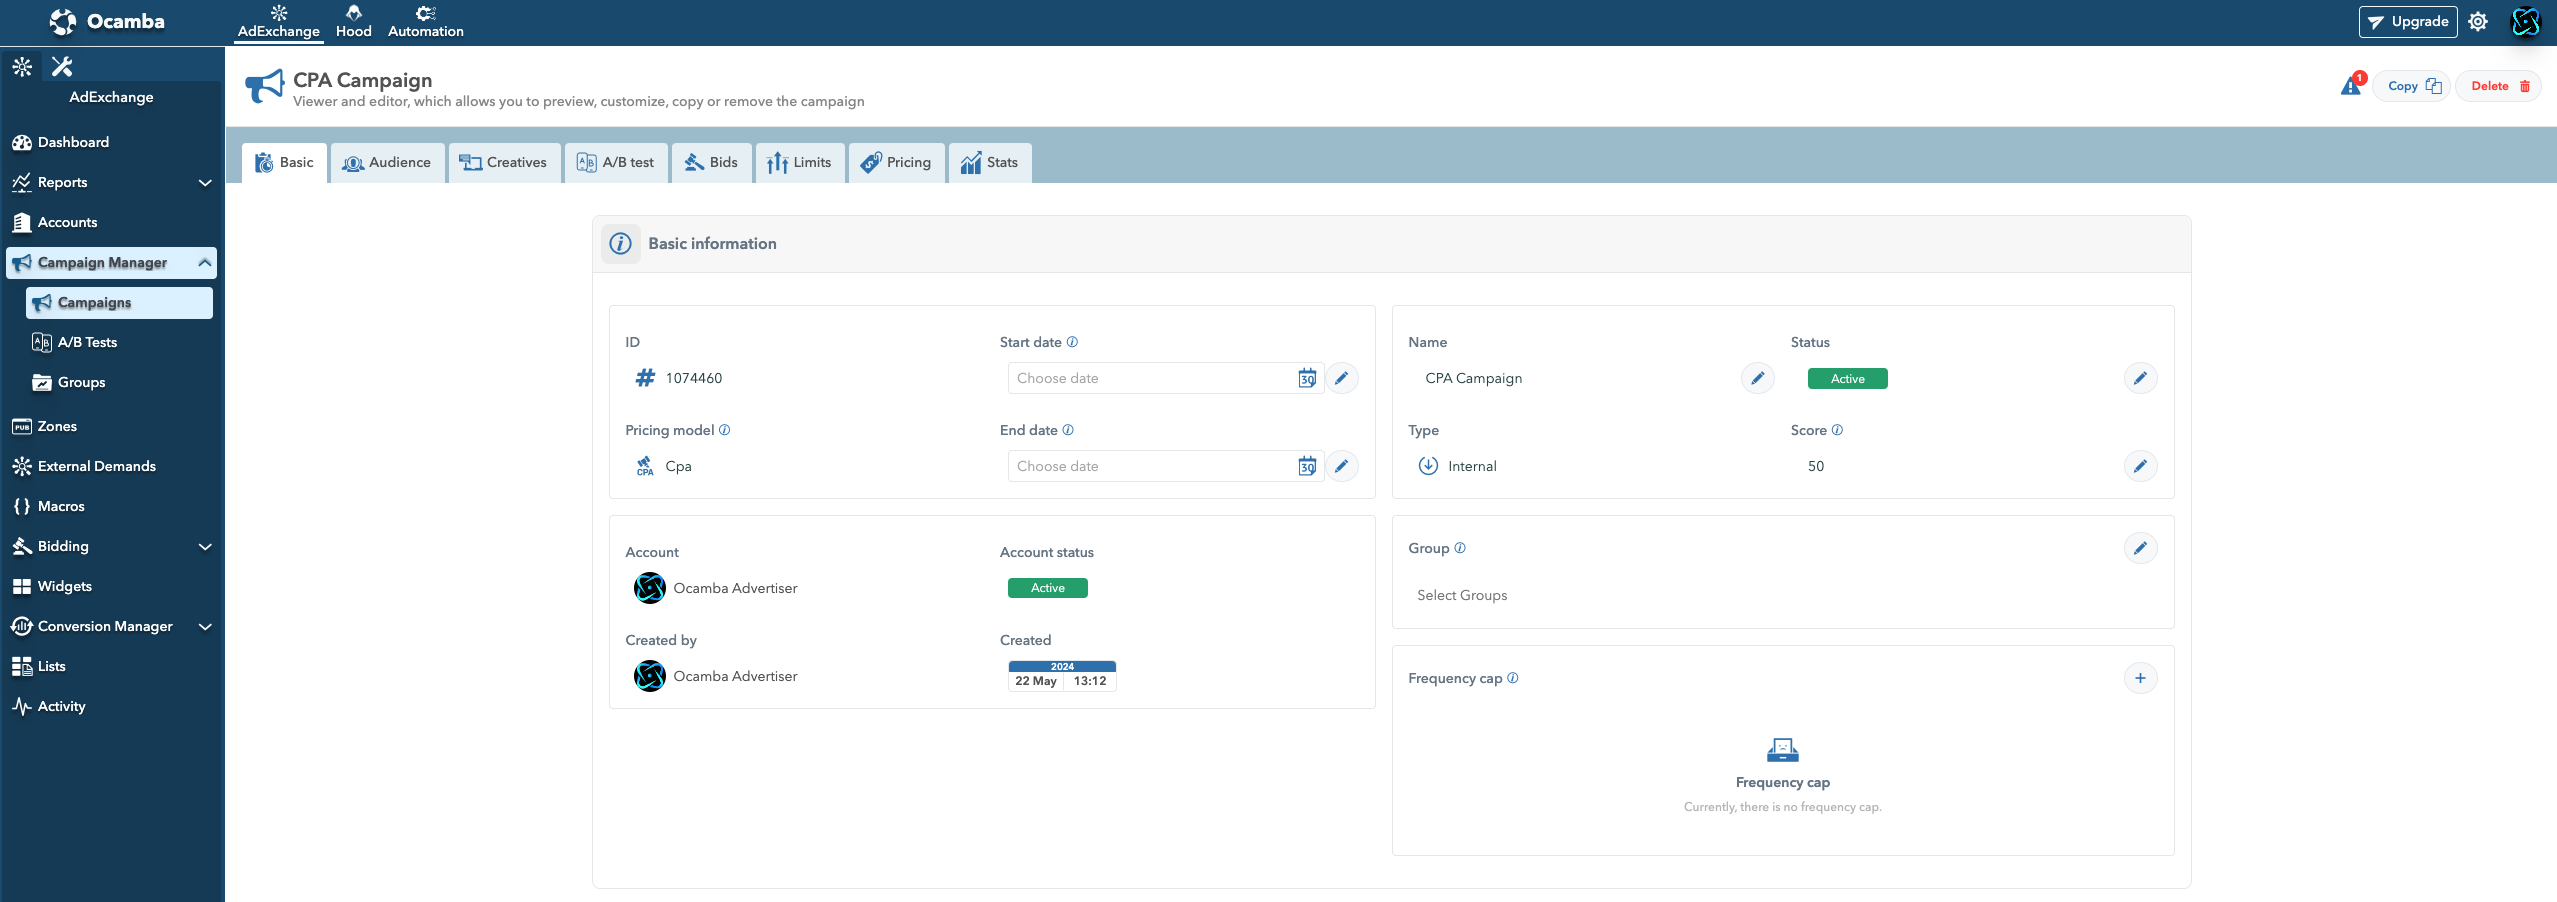
Campaings Basic Tab Preview
In the Basic tab of your new campaign, configure the following:
- Campaign ID: A unique identifier for the campaign.
- Start Date and End Date: Set the duration for the campaign.
- Status: Choose the appropriate status (e.g., Active, Paused).
- Type: Select the campaign type (Internal or External).
- Account Status: Ensure the linked account status is active.
Define Audience Targeting
Navigate to the Audience tab.
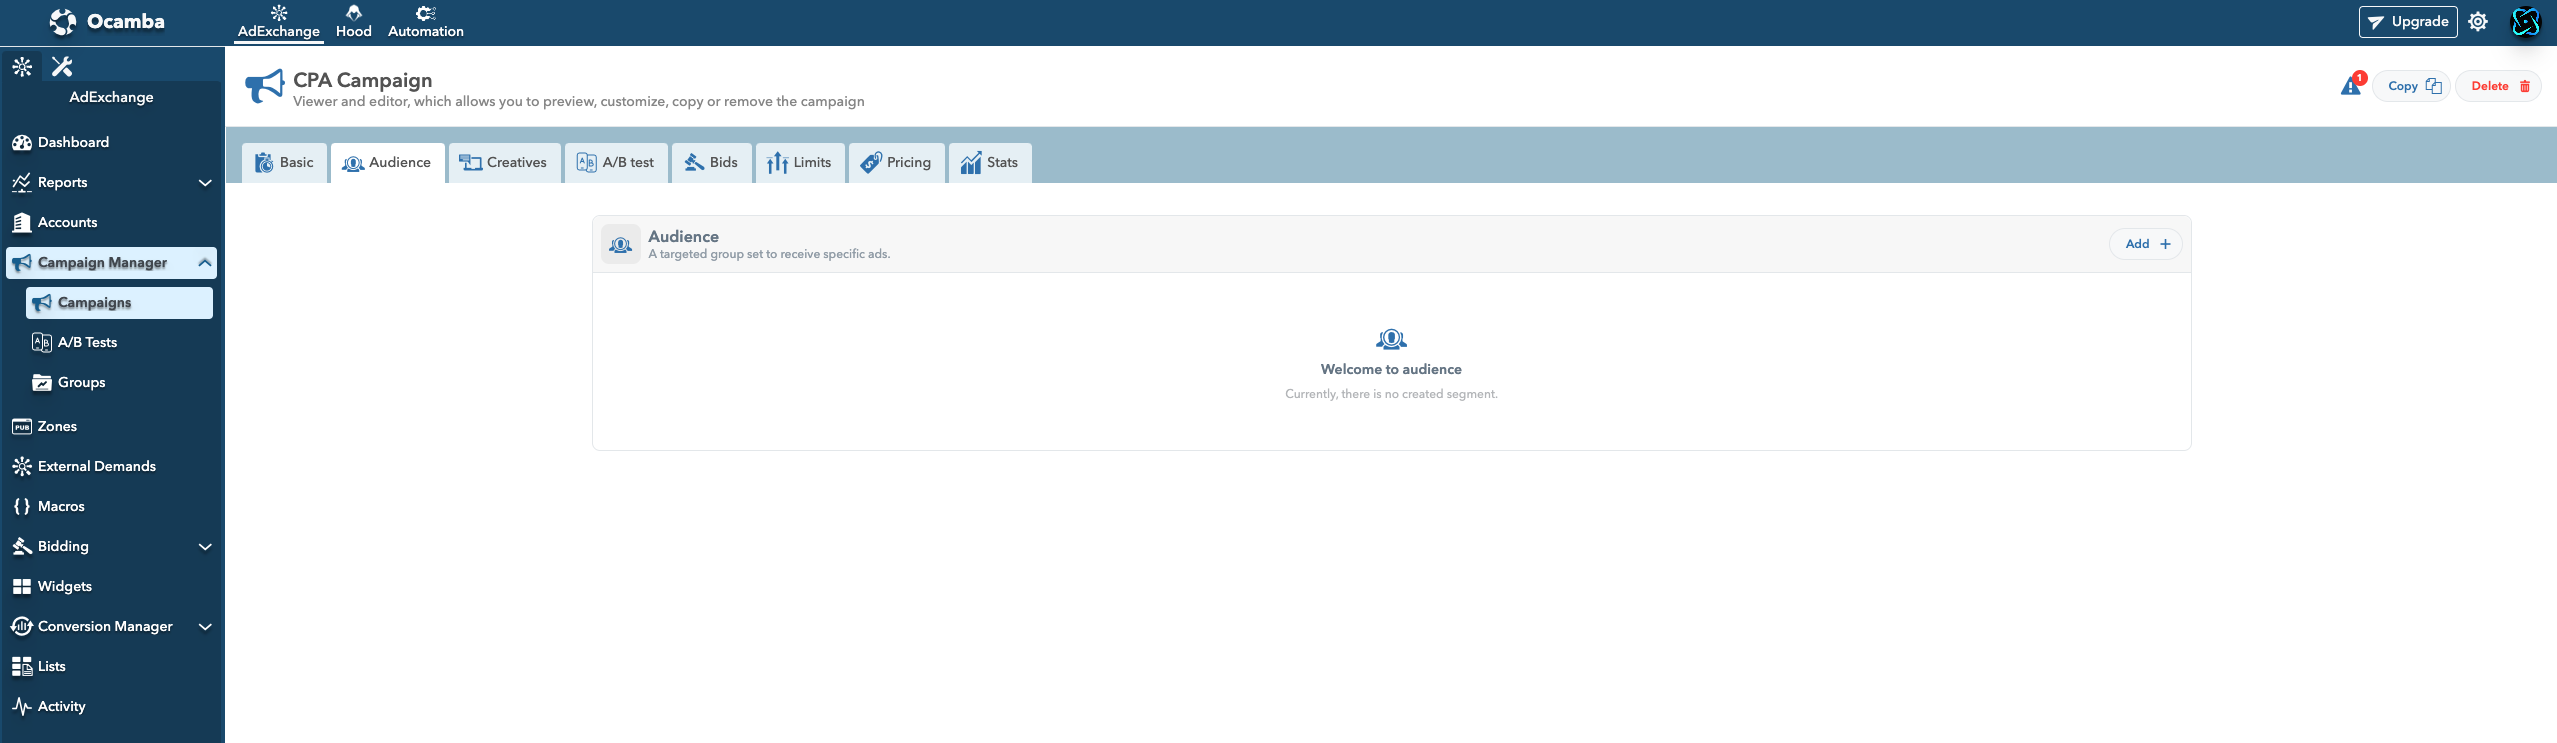
Audiance Tab Campaign Manager Location
Click Add to create audience filters.
Select filters such as Countries, Regions, OS, Languages, etc.
Fill in the necessary details for each selected filter.
Click Confirm to save the audience targeting.
Add Creatives
Go to the Creatives tab and click Add.
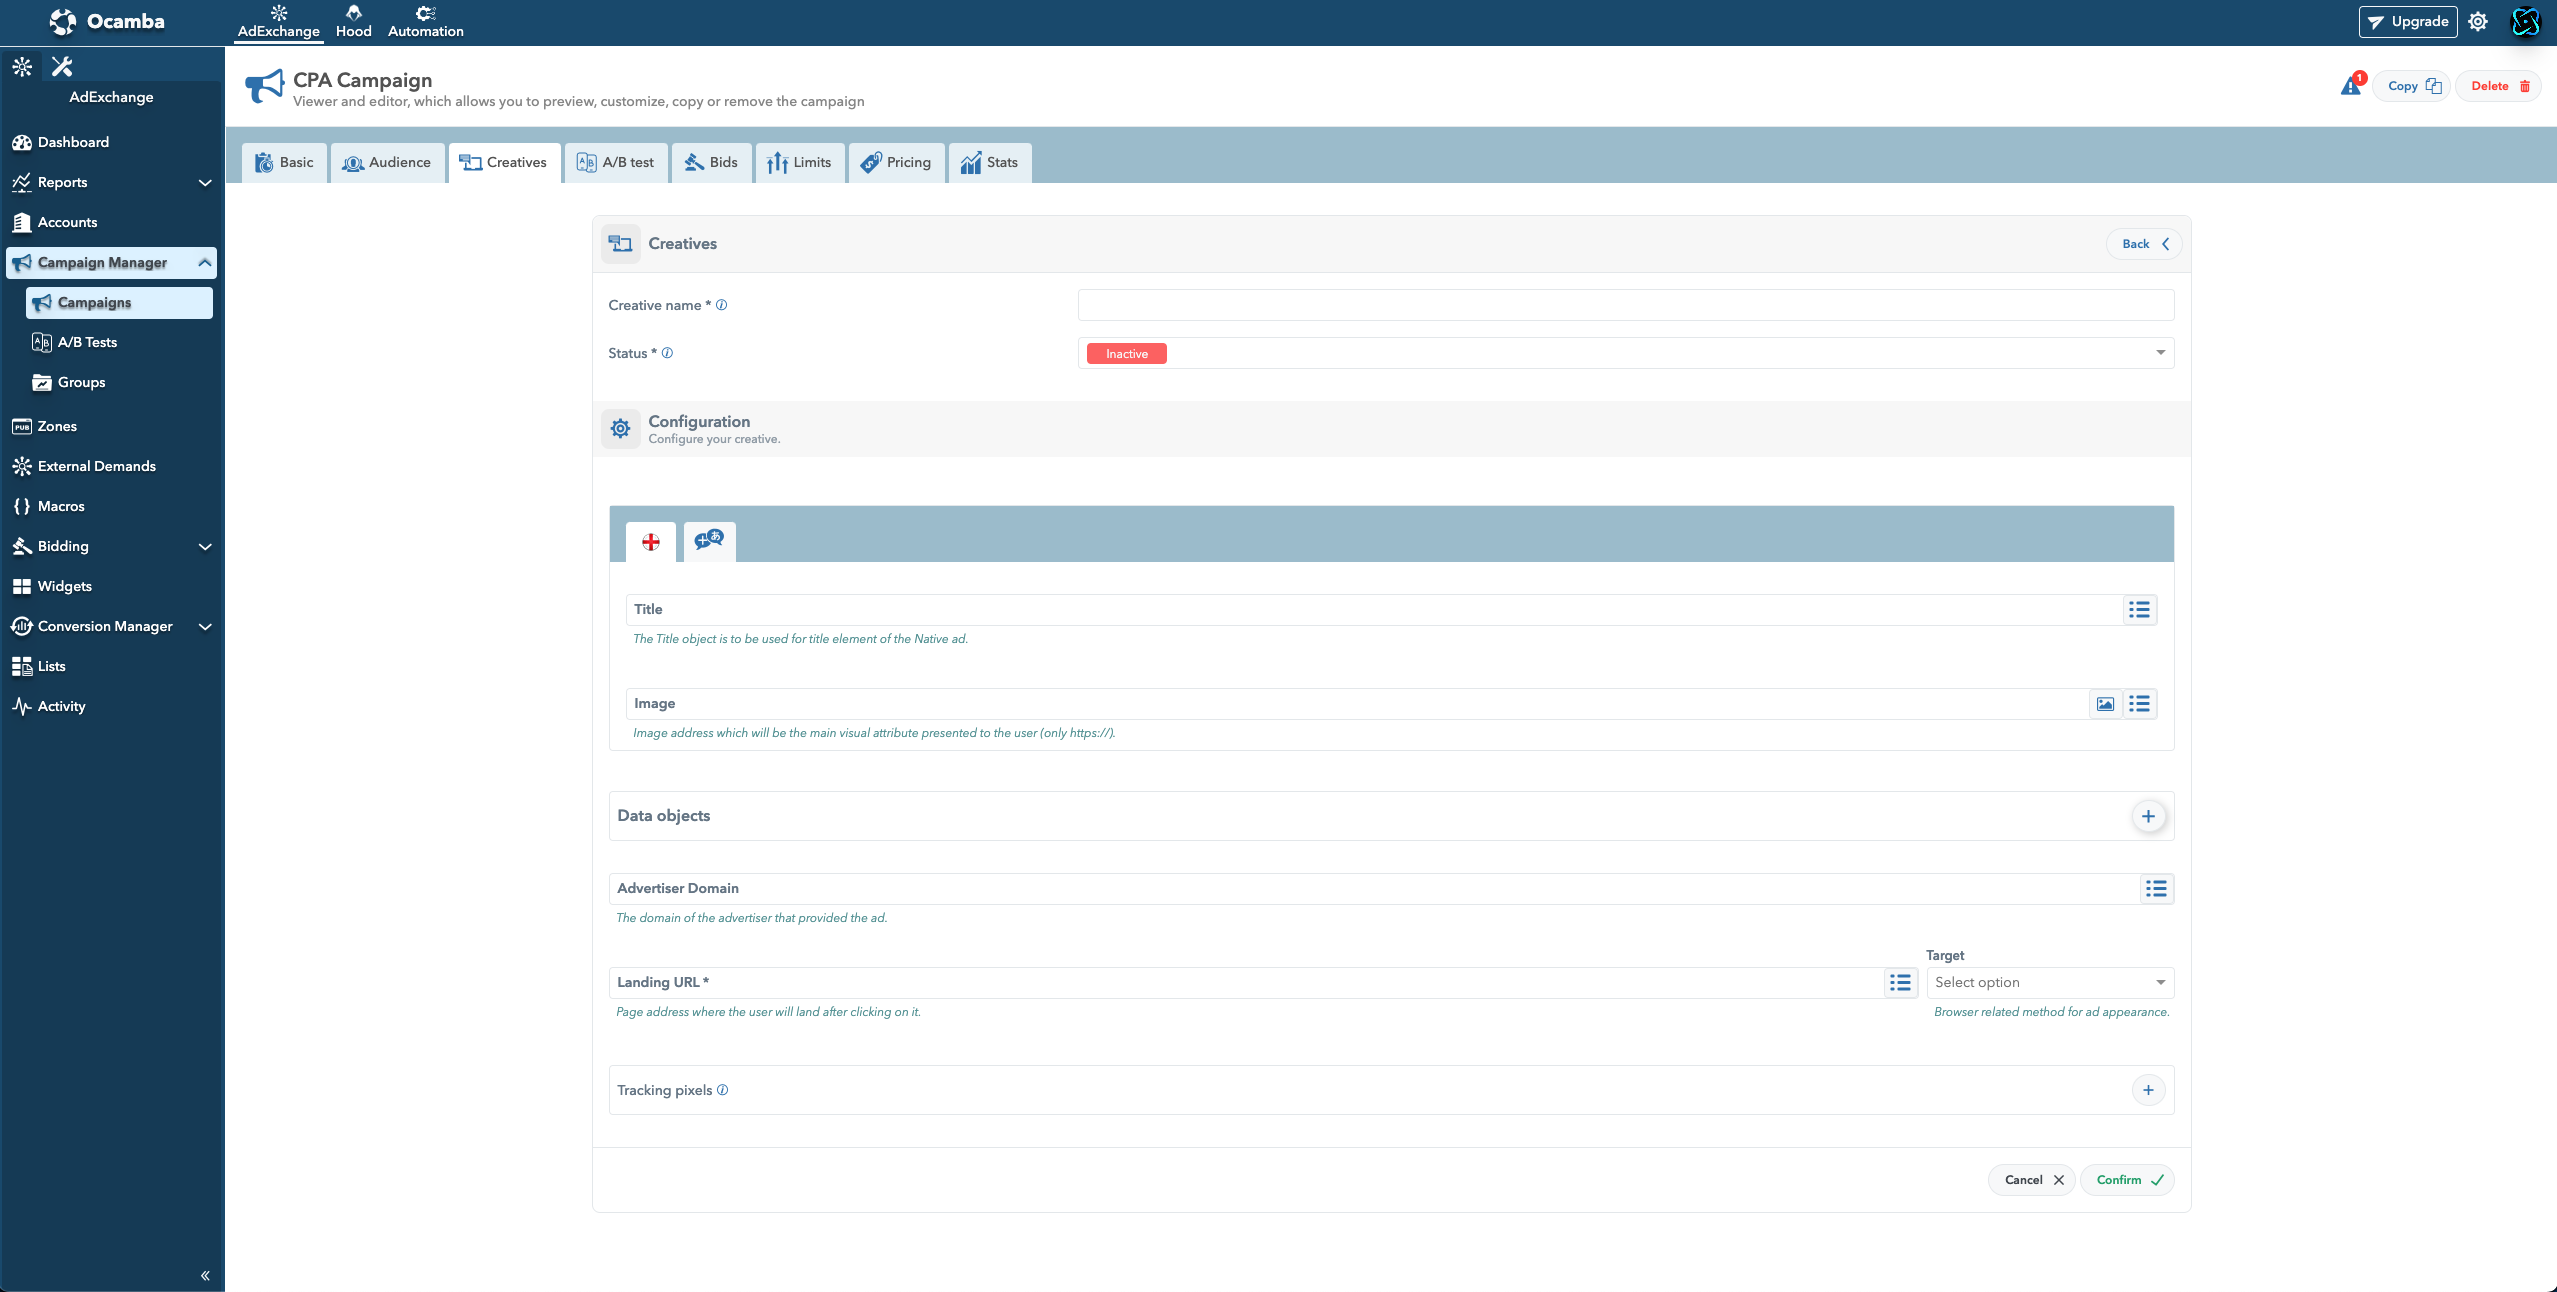
Campaings Creatives Tab View
Depending on the type of campaign (Internal/External), choose the appropriate creative type (e.g., Dynamic Native, Web Push).
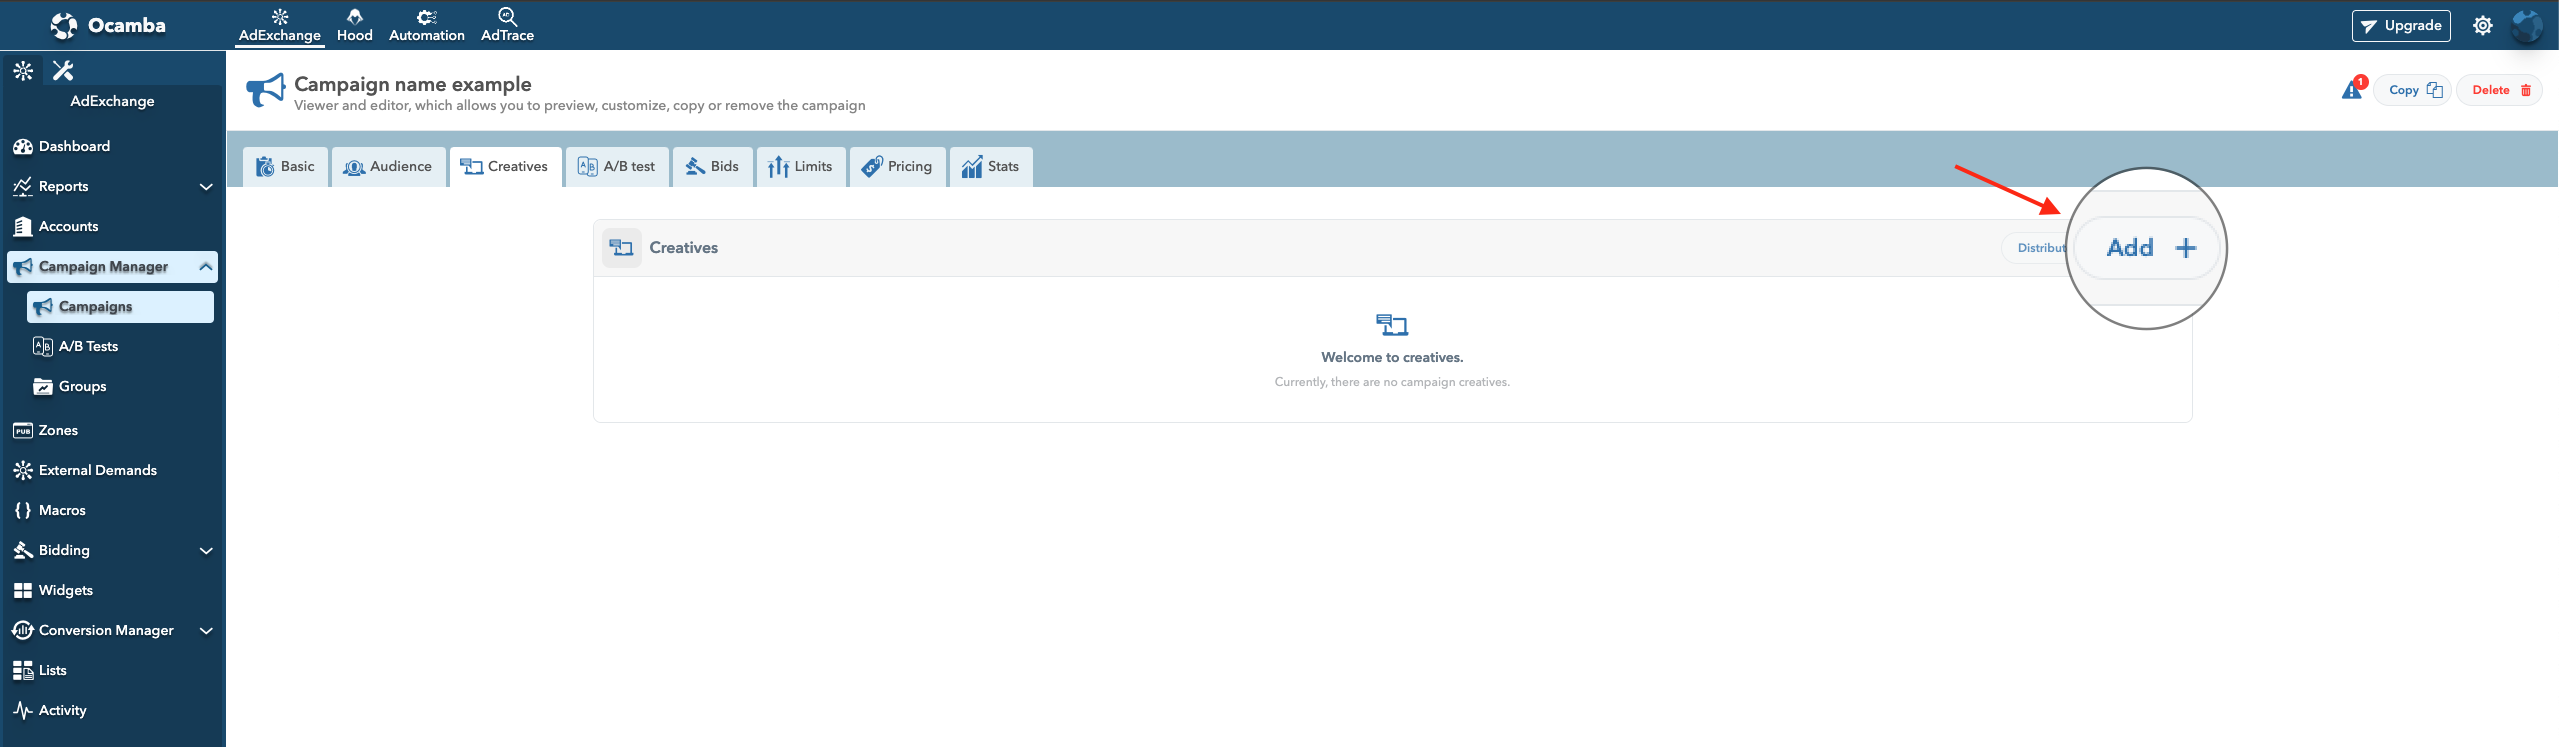
Campaings Creatives Tab Add New Creative Location
Fill in the creative details:
- Title
- Body
- Image and Icon URLs
- Landing URL
- Call to Action Buttons
- Notification Options
Set the status of the creative to Active or another appropriate status.
Click Confirm to save the creative.
Set Up A/B Testing (Optional)
In the A/B Test tab, click Add.
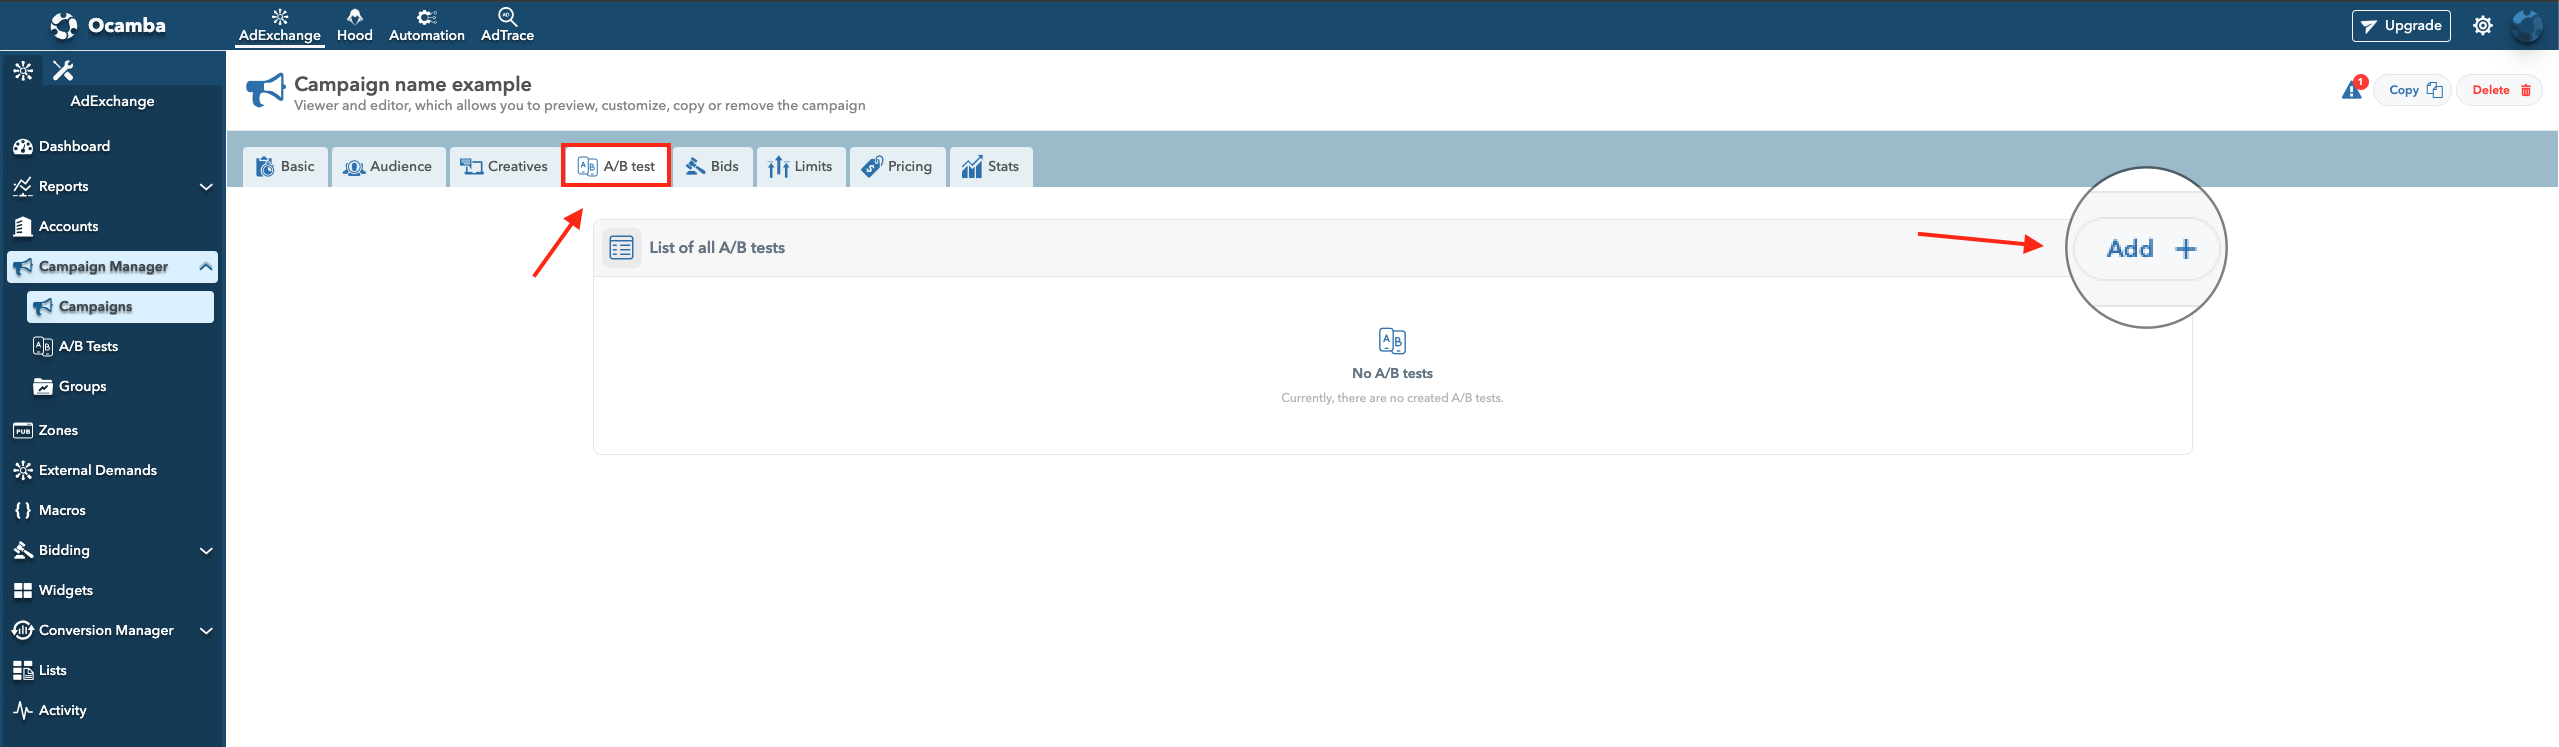
Campaings AB Test Tab Location
Fill in the test details:
- Test Name
- Start and End Dates
- Control Group (active creatives)
- Audience
Click Confirm to create the A/B test.
Publish the campaign by clicking Publish.
Define Bids and Bid Modifiers (Optional)
Go to the Bids tab.
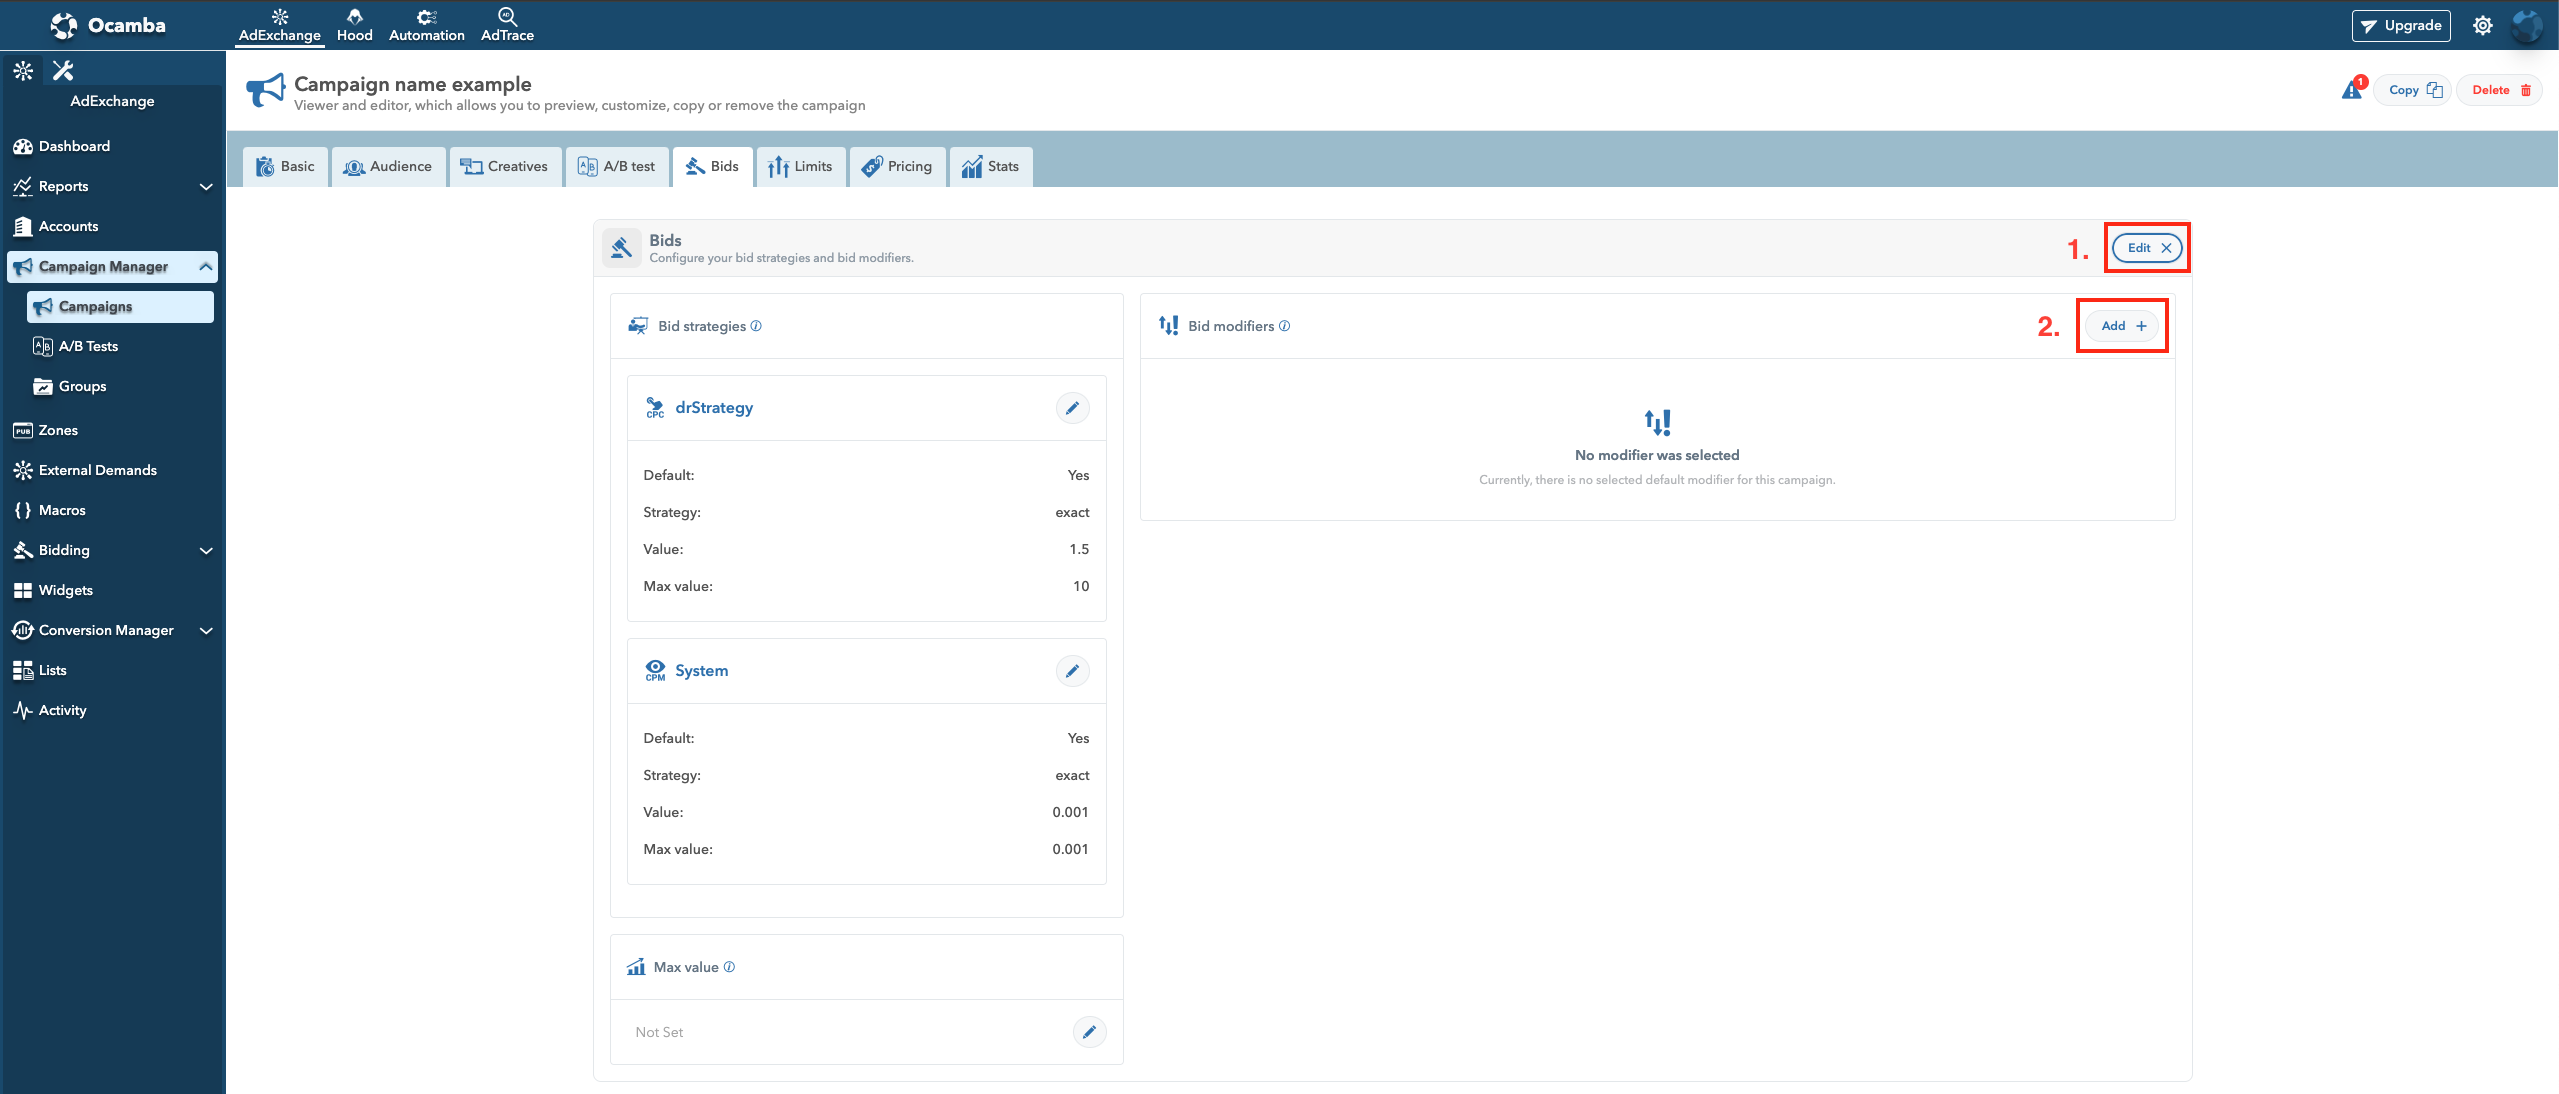
Define Bids & Modifiers Option Location
Click the Edit and Add buttons to set up new bid modifiers.
Choose a Bid Strategy and set Bid Modifiers as needed.
Click Confirm to save the bids and modifiers.
Set Limits (Optional)

Set Limits Tab Location
Navigate to the Limits tab.
Click Add in the Finance section to set budget limits:
- Type: Income or Expense
- Period: Hourly, Daily, Monthly, Lifetime
Click Add in the Frequency section to set frequency caps:
- Type: Impressions, Clicks, or Conversions
- Period: Hourly, Daily, Monthly, Lifetime
Click Confirm to save the limits.
Configure Pricing
In the Pricing tab, click Add.
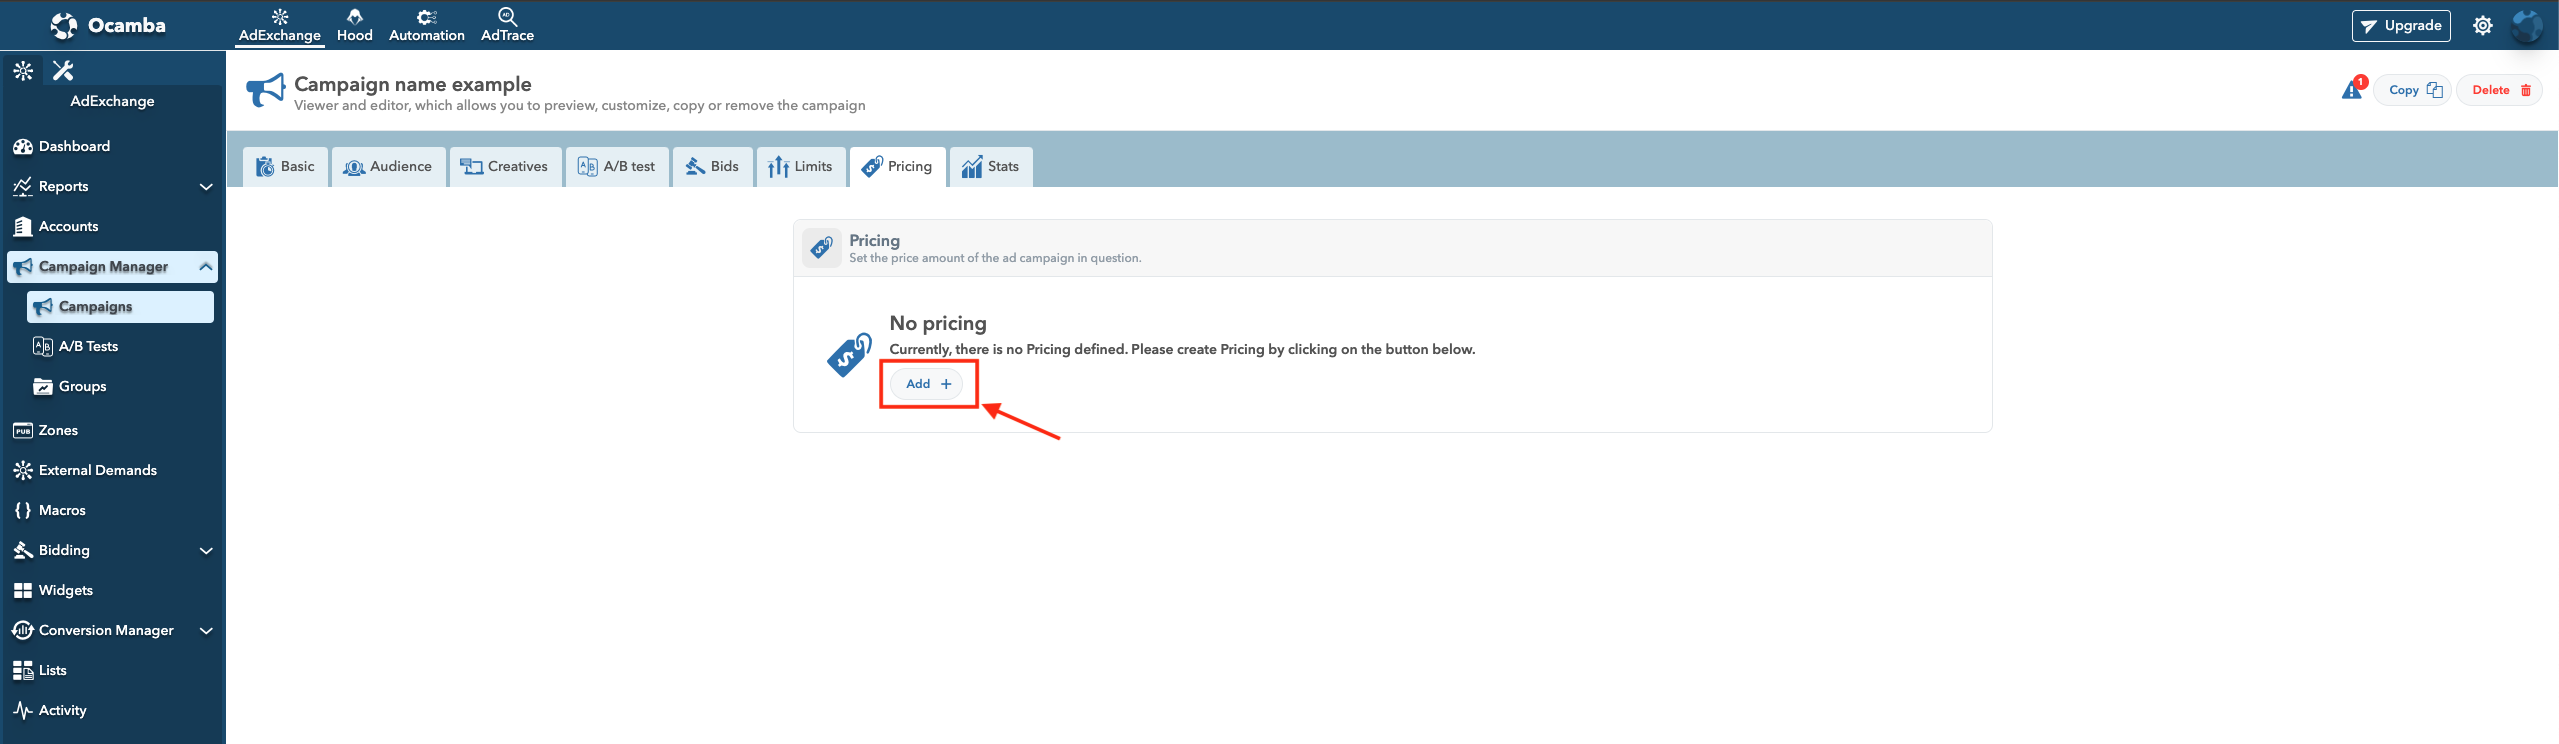
Define Pricing Tab Location
Set the Base Price and configure Modifiers if necessary.
Click Confirm to save the pricing settings.
Launch the Campaign
Review all the settings and configurations.
Ensure that all required fields are completed and accurate.
Also, ensure that your campaign has at least one creative set to work properly.
The system will present a warning in the top right corner advising you that in order for the campaign to work properly you will need to set a creative in active mode.
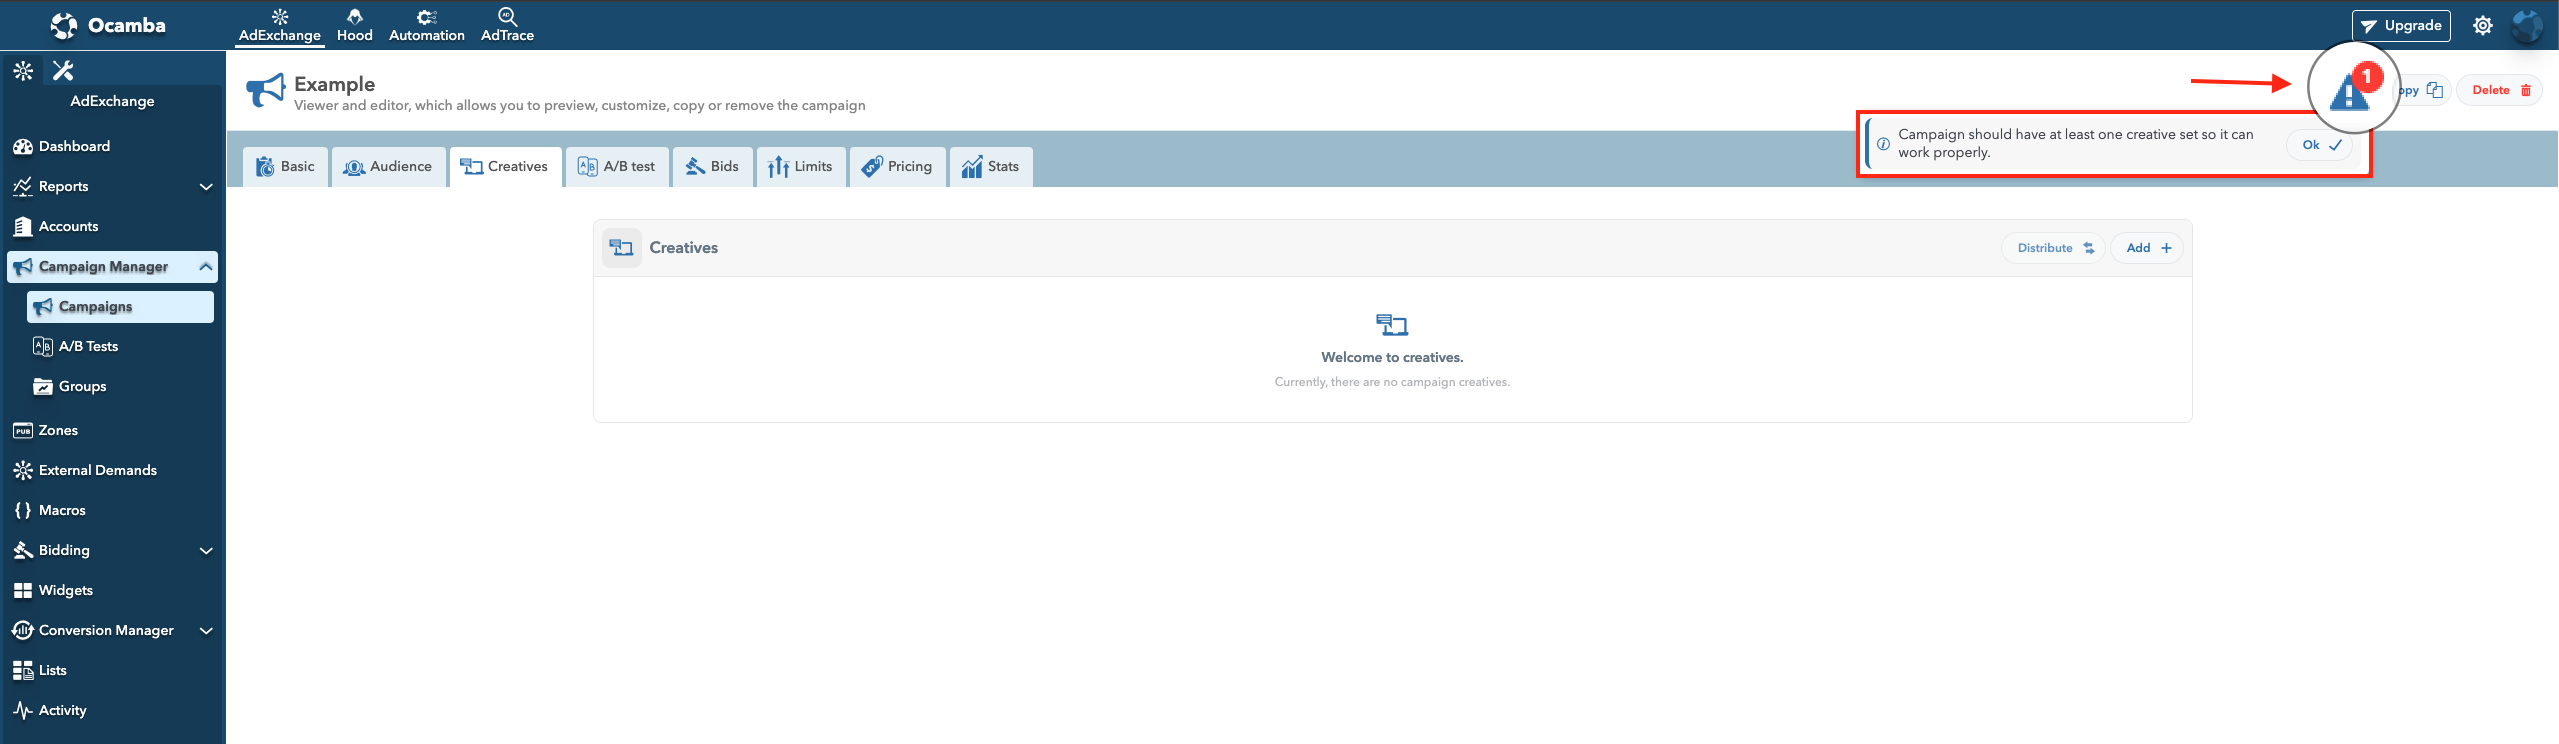
No Creative Active Campaign Warning
Setting up a CPA campaign on the AdEx platform involves careful configuration of campaign details, audience targeting, creatives, bids, limits, and pricing.
By following the steps outlined in this guide, you can effectively set up and launch a CPA campaign to meet your advertising goals.