Accounts

Account must be Active if you want the Zone to be Active as well.
On this card, there is a possibility to add more contacts and define the budget (finance) for a certain period (period - by hour, week, month) and a specific type (income, expenses).
To search by Accounts, click on the magnifier icon. For filtering Accounts, it is necessary to click on the filter icon, and it is possible to filter only by their status, which can be:
- Active
- Verification
- Rejected
- Paused
- Inactive
- Archived
- Hourly limit
- Daily limit
- Monthly limit
- Lifetime limit

Add an Account
Please follow this step-by-step guide to add an Account:
Step 1. Select the Accounts tab
Step 2. Add a new Account
Step 3. Fill in the information required:
- account name
- phone
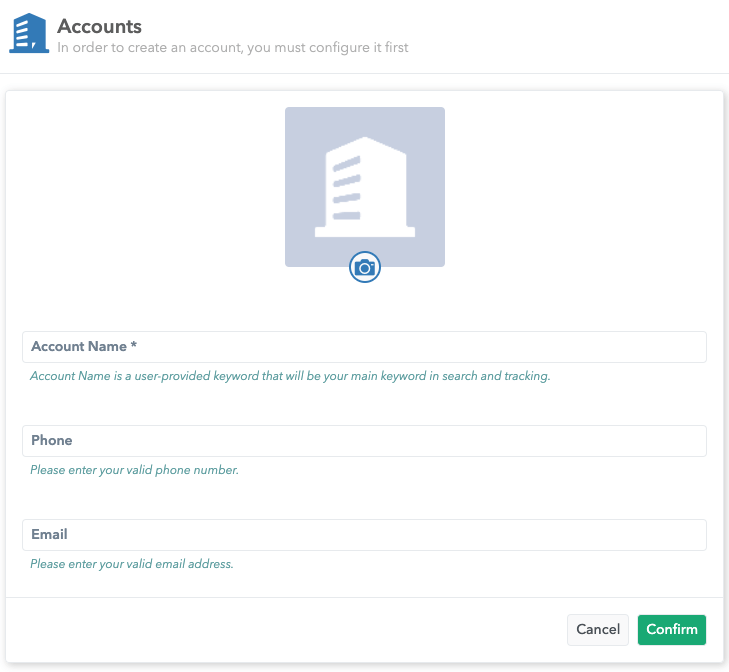
Step 4. Confirm the changes.
Edit Account
Please follow this step-by-step guide to edit an Account:
Step 1. Select the Accounts tab
Step 2. Choose the Account you want to edit
Step 3. Edit the following:
- profile photo
- name
- account status
- postbacks
- postback URL for user subscription
- contacts
- finance
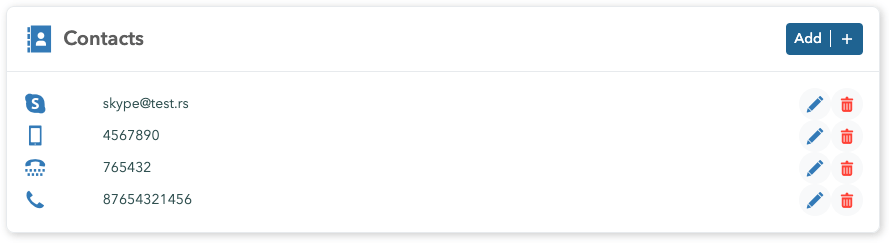
Contacts
Add or Edit your Account’s contact information:
- phone
- mobile
- sip
- Skype
- Website
Finance and Frequency
Please follow this step-by-step guide to set up Finance and Frequency for your Account:
Step 1. Add Finance and Frequency
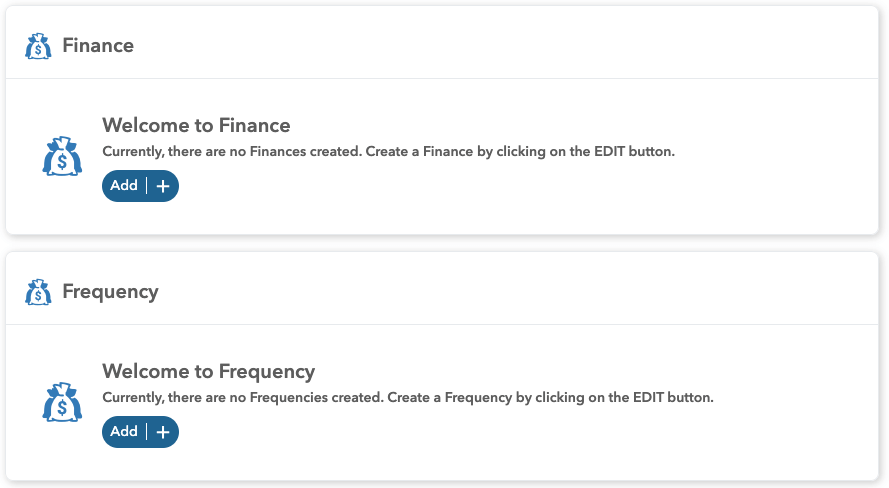
Step 2. Determine the budget time window:
- hour
- day
- month
- lifetime
Step 3. Define the budget type for Finance
- income
- expense
Define the limit type for Frequency
- impressions
- clicks
- conversions
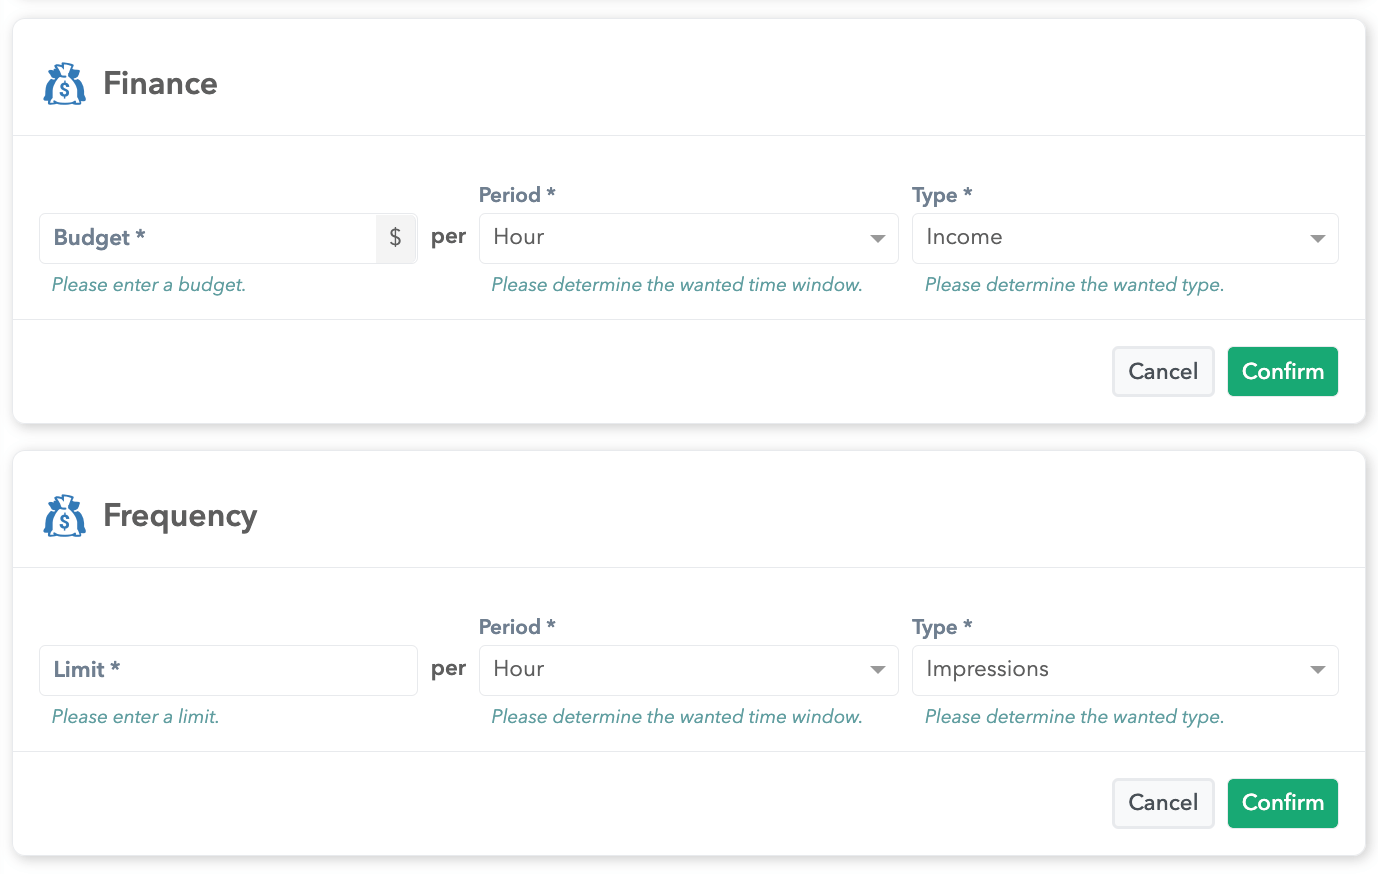
Step 4. Confirm the changes.
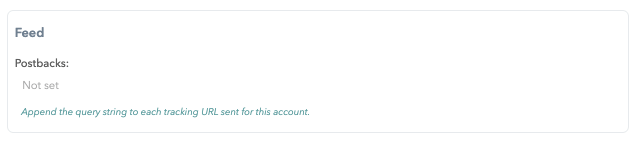
Postbacks
How to set up Postbacks:
select to edit the Account
append the query string to each tracking URL sent for the account