Mailgun Email Setup Instructions
Step 1: Create a Mailgun Account
- Visit the Mailgun website and sign up for an account.
- Verify your email address to activate the account.
Step 2: Add Your Domain to Mailgun
- Log in to your Mailgun account.
- Navigate to the “Domains” section.
- Click “Add New Domain.”
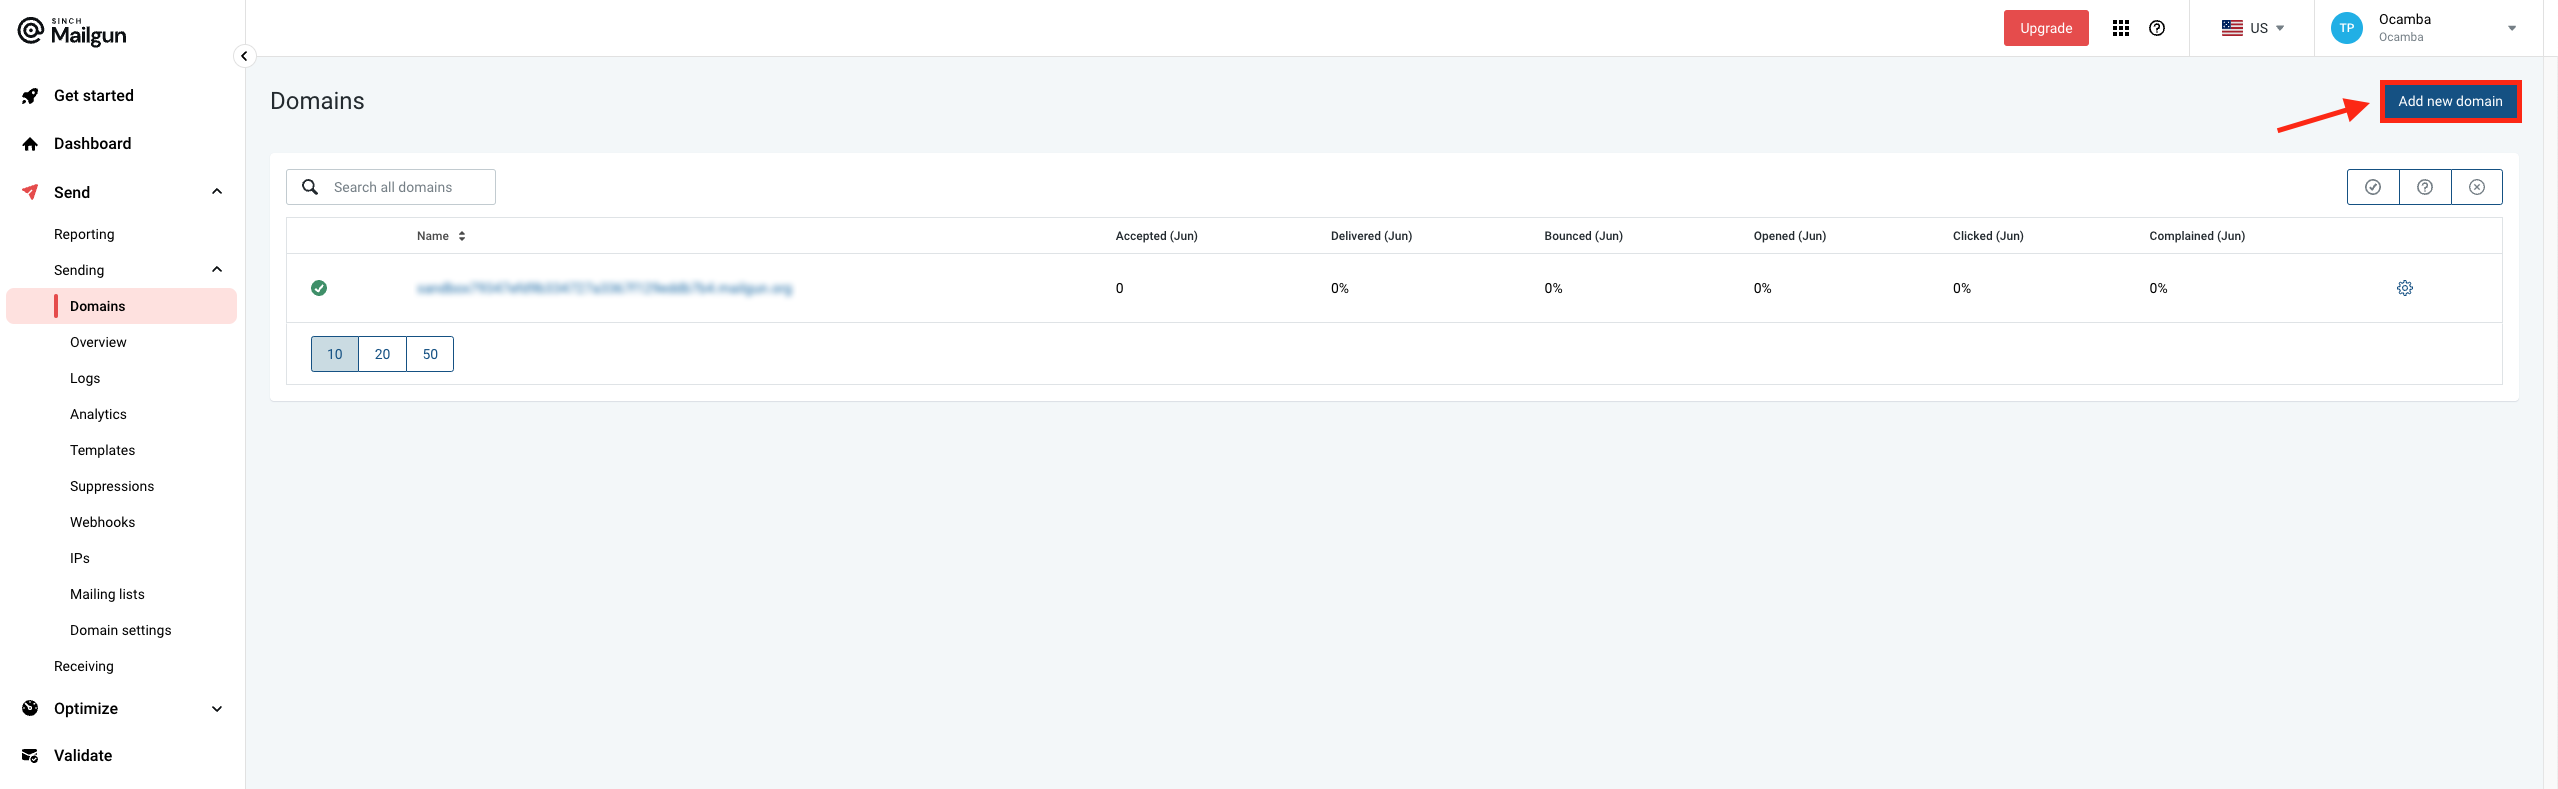
Add new domain Mailgun button location
- Enter your domain name and select your region.
- Finish by clicking on “Add Domain.”
Step 3: Verify Your Domain
- Follow the DNS instructions provided by Mailgun to verify your domain.
- On the left panel, navigate to Send/Sending/Domain Settings/DNS Records
- Add the TXT records to your domain’s DNS settings.
- Add the MX records to your domain’s DNS settings.
- In the top-right corner select Verify DNS settings
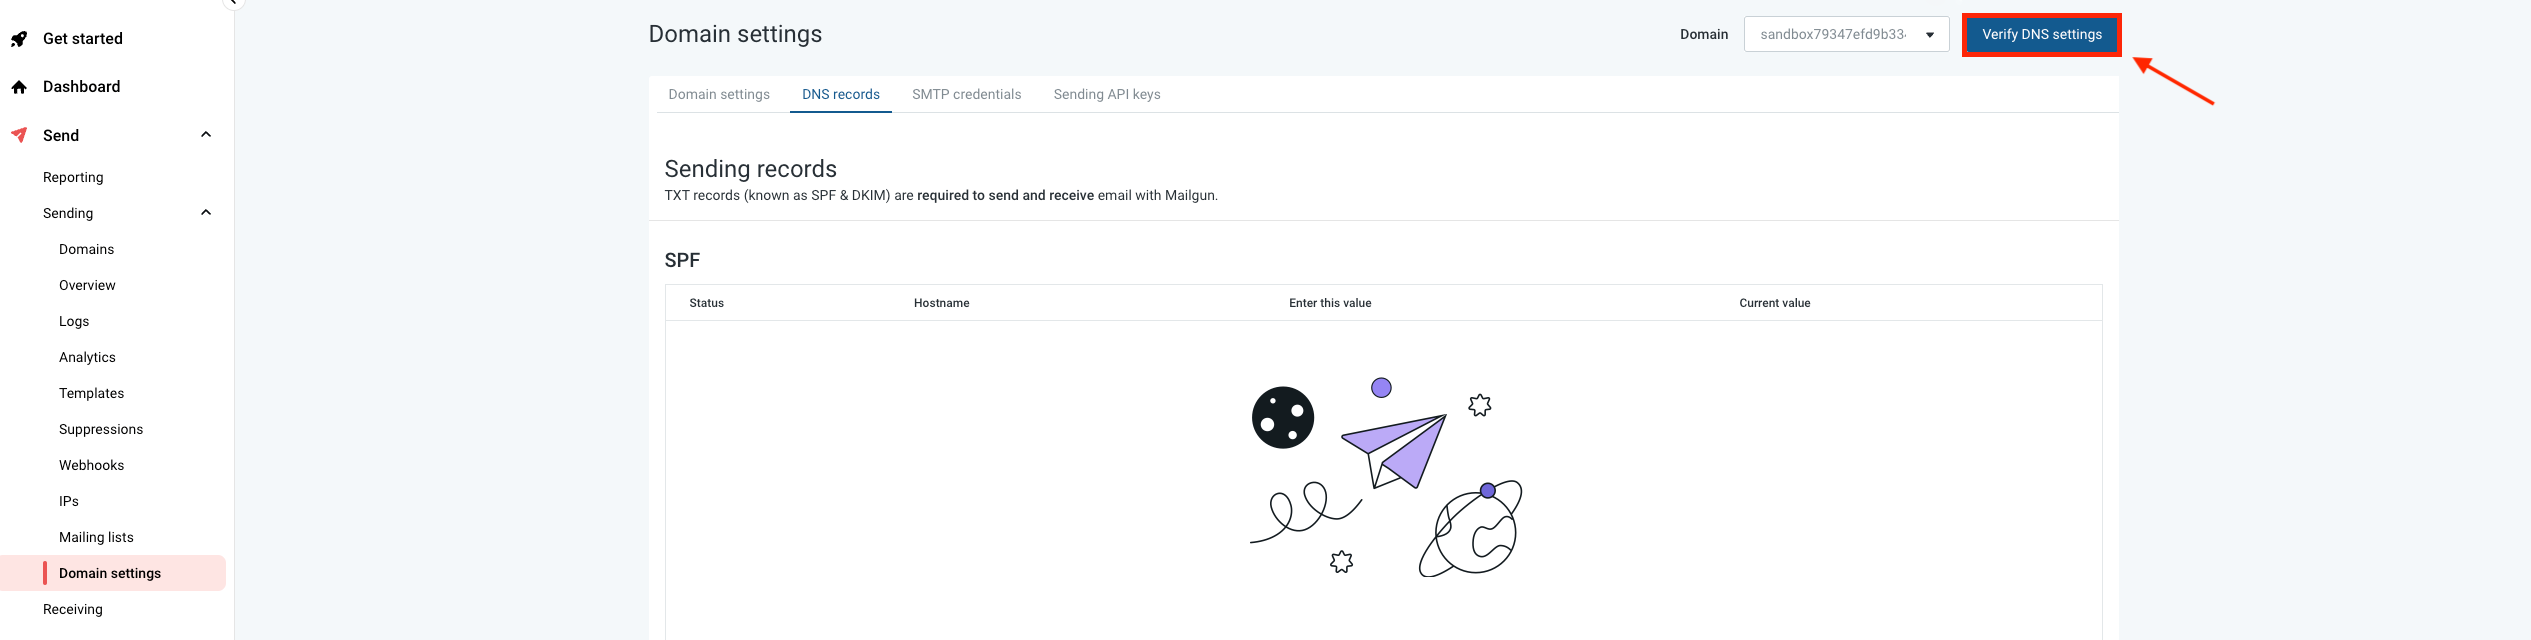
Verify DNS settings Mailgun button location
- Wait for the DNS changes to propagate (this may take a few hours).
Step 4: Generate API Keys
- Navigate to the “API Keys” section in your Mailgun dashboard.
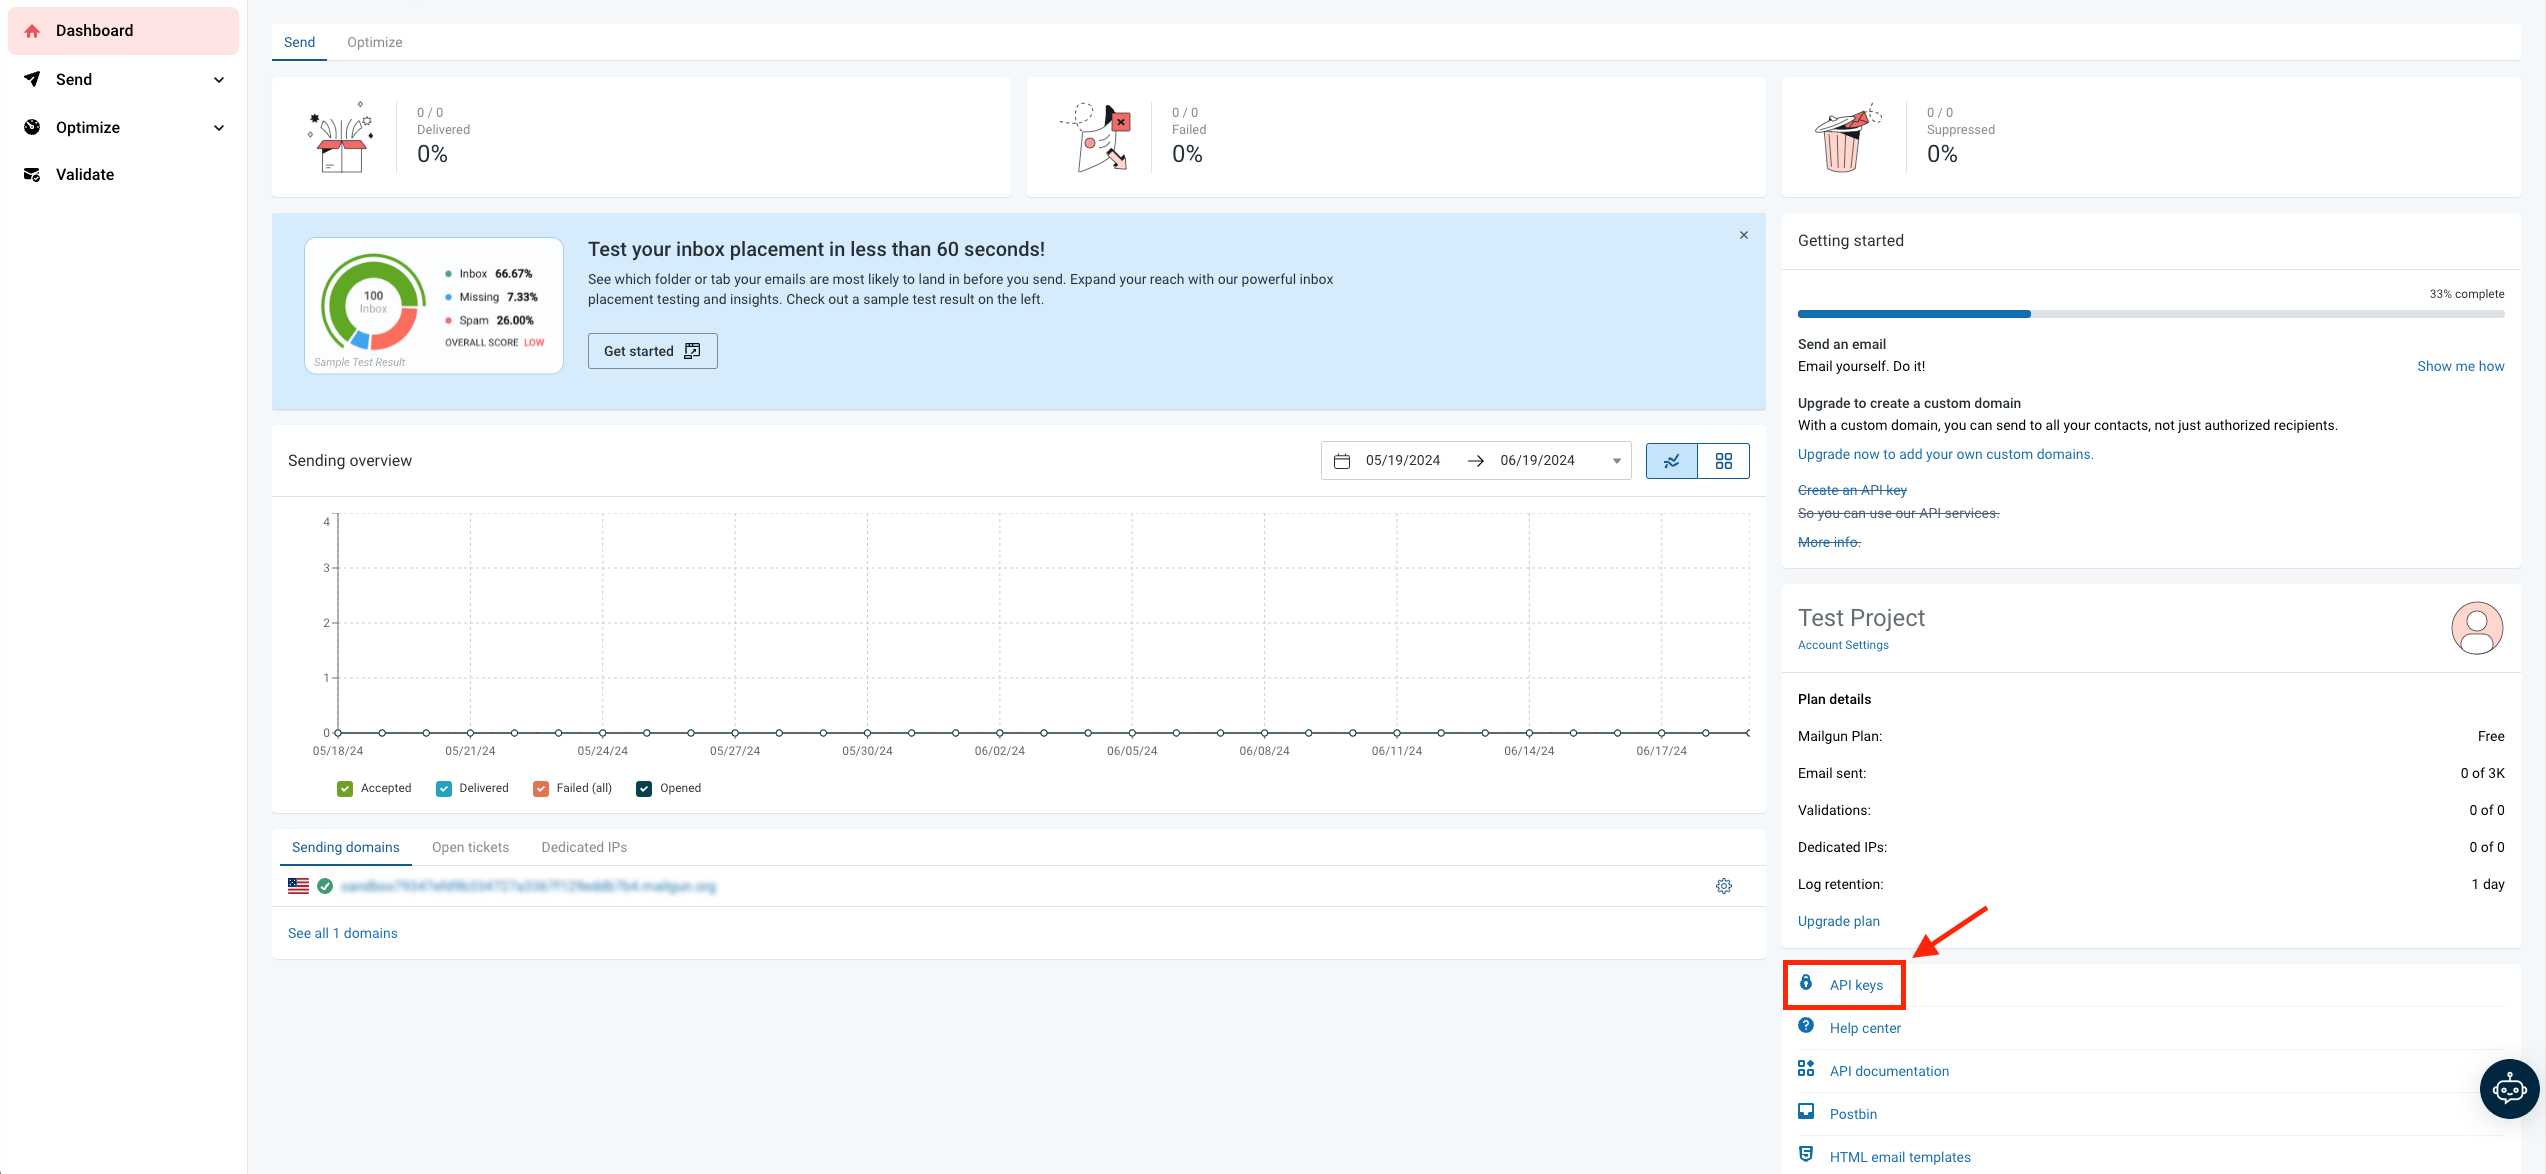
API Keys Mailgun option location
- Copy your private API key.
Step 5: Configure Mailgun in Ocamba
- Log in to your Ocamba account.
- Navigate to the Email Integration settings under Hood Settings > Email.
- Select “Mailgun” from the list of available email providers.
- Enter your SMTP domain and API key from Mailgun.
- Save the settings.
Step 6: Test the Integration
- Send a test email from the Ocamba platform.
- Check your email inbox to confirm receipt.