Customer Lists
Introduction to Customer Lists in Hood
The Customer Lists feature in Hood enables businesses to efficiently manage their subscriber base, segment users, and enhance engagement through targeted messaging. This functionality ensures that businesses can collect, organize, and leverage customer data to maximize marketing effectiveness.
Customer Lists Collection
Customer Lists serve as a foundational element for audience segmentation, allowing users to build structured groups based on user attributes, behaviors, and interactions within the Hood platform.
Through an intuitive management interface, users can create, modify, and analyze customer lists, ensuring that communication strategies are optimized for engagement and conversions.
Creating a Customer List
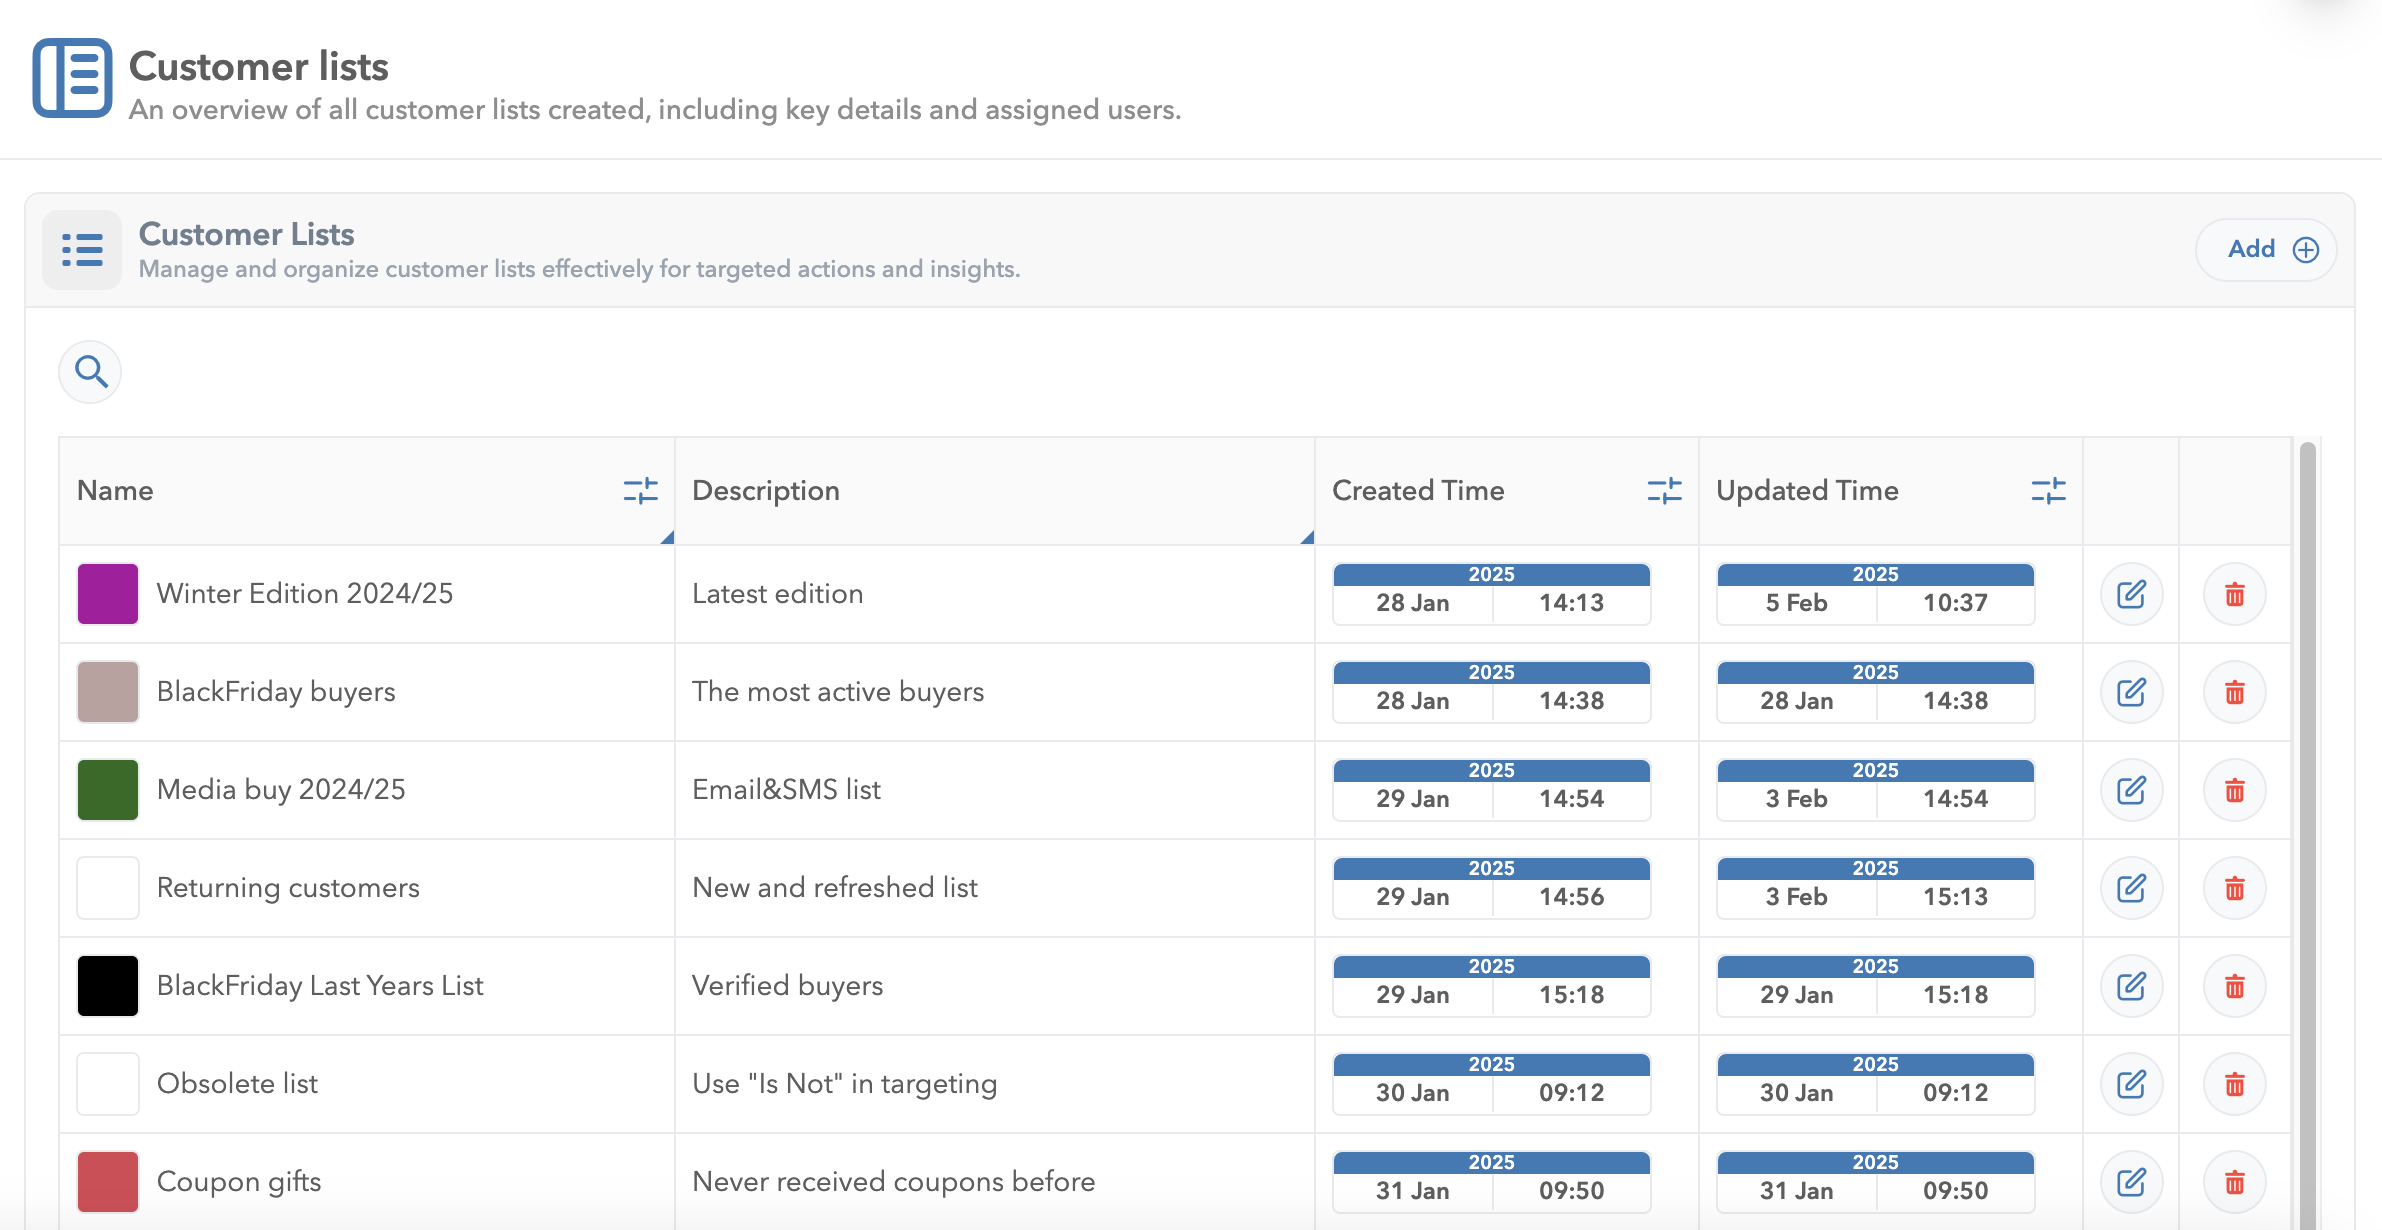
The Customer Lists collection is located in the sidemenu under the “Customer List” folder. From here, users can create and manage different lists.
By using the ‘Add’ option in the top right corner of the list, you can create and customize a customer list to your liking.
Each customer list requires a unique name for easy identification across campaigns and reports.
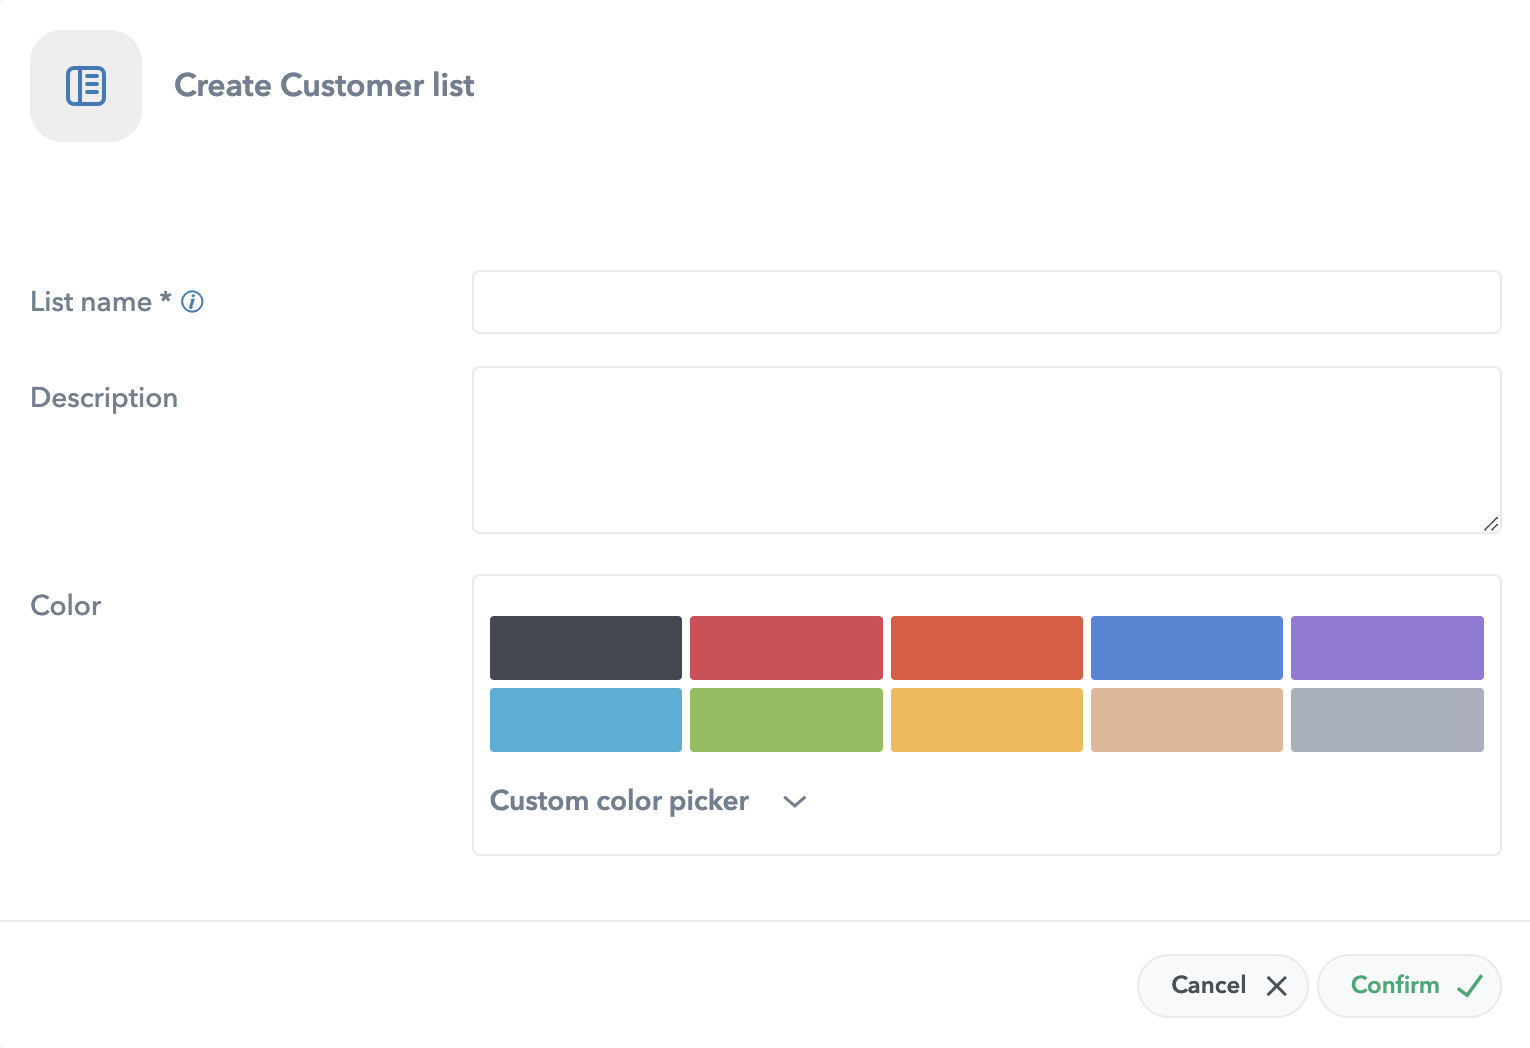
Add Customer List Options

In addition to the list’s name, you can also specify a description and choose a color for the list. The description helps clarify the purpose of the list, while the color you select will be displayed as a small colored square next to the list in the collection.
Note that the color is purely for visual identification and has no additional functionality.
Assigning Users to a Customer List
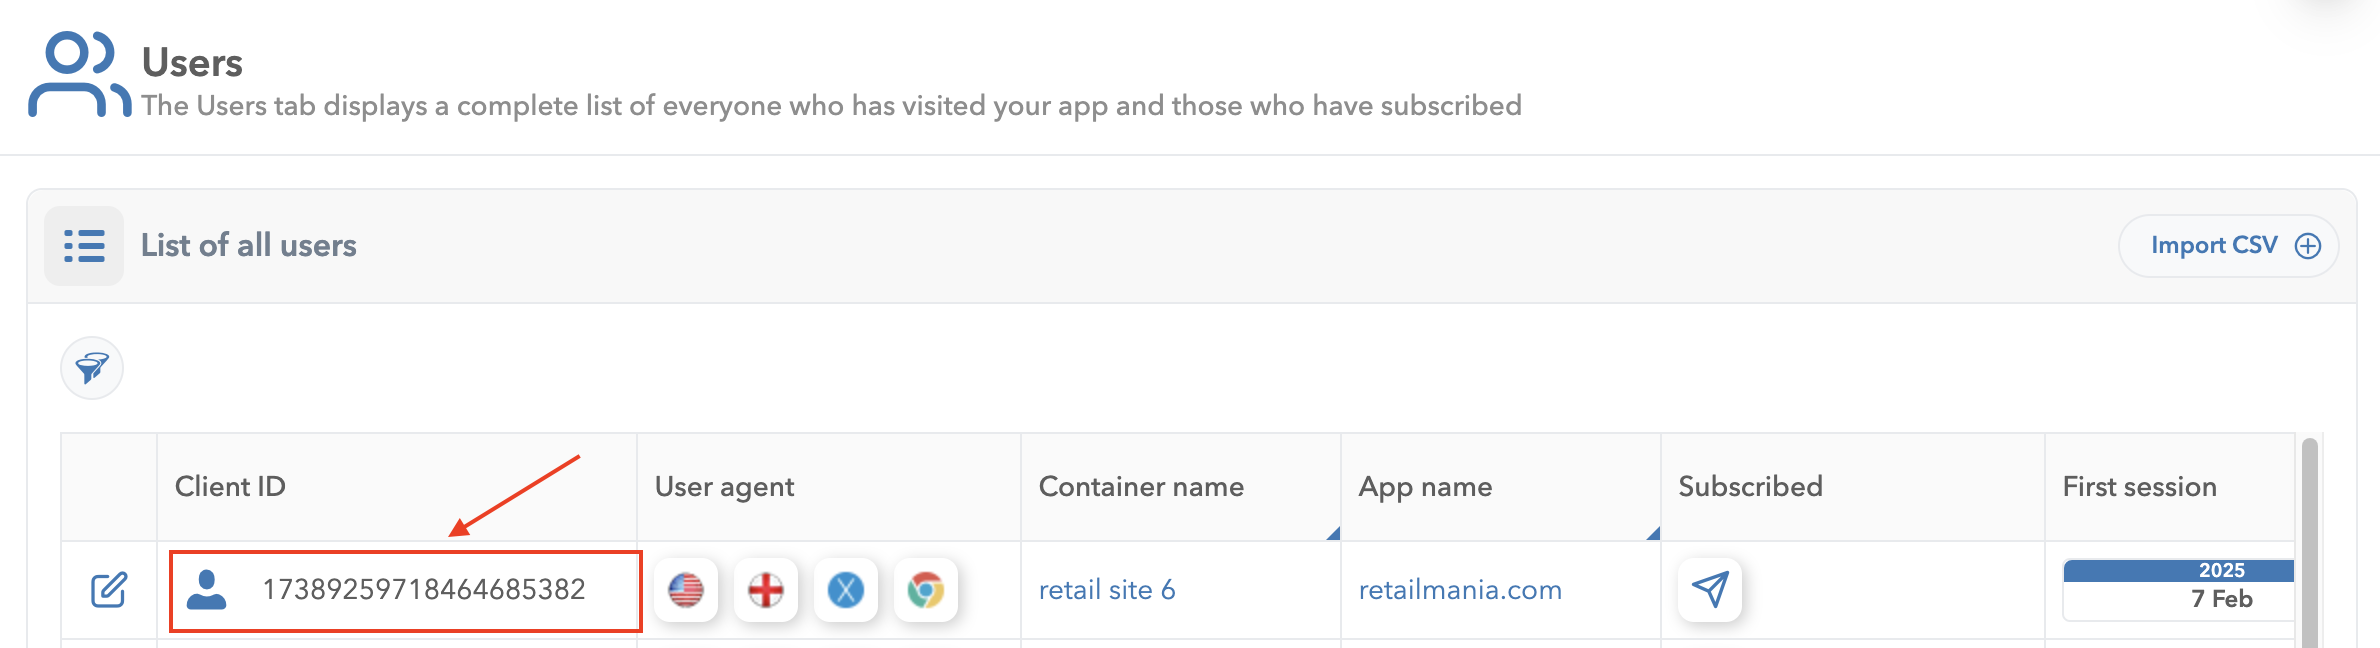
Once a list is created, users can be assigned to it directly from the User View.
1. Navigate to a subscribed user. Access the user view by clicking on the client ID.
2. Locate the Customer Lists field.
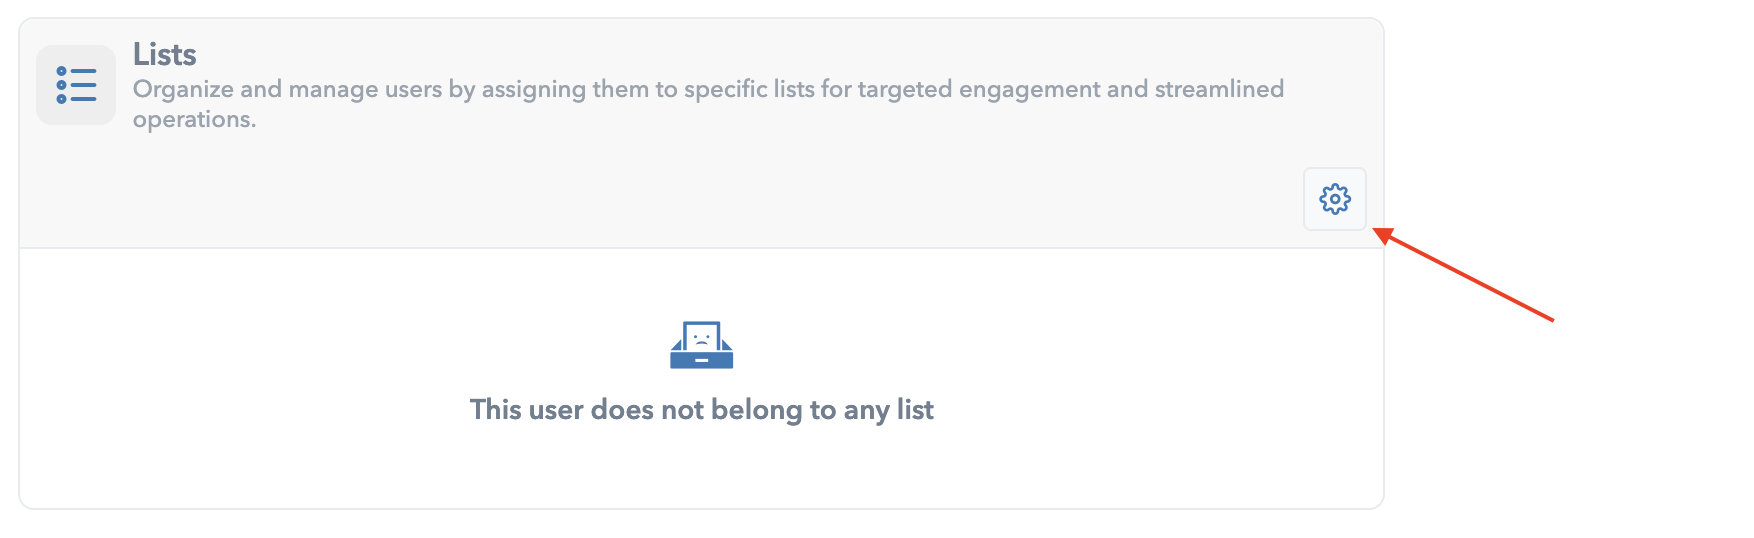
Start by clicking on the cog icon to open the dropdown menu, where you can select one or more lists to assign this user to.
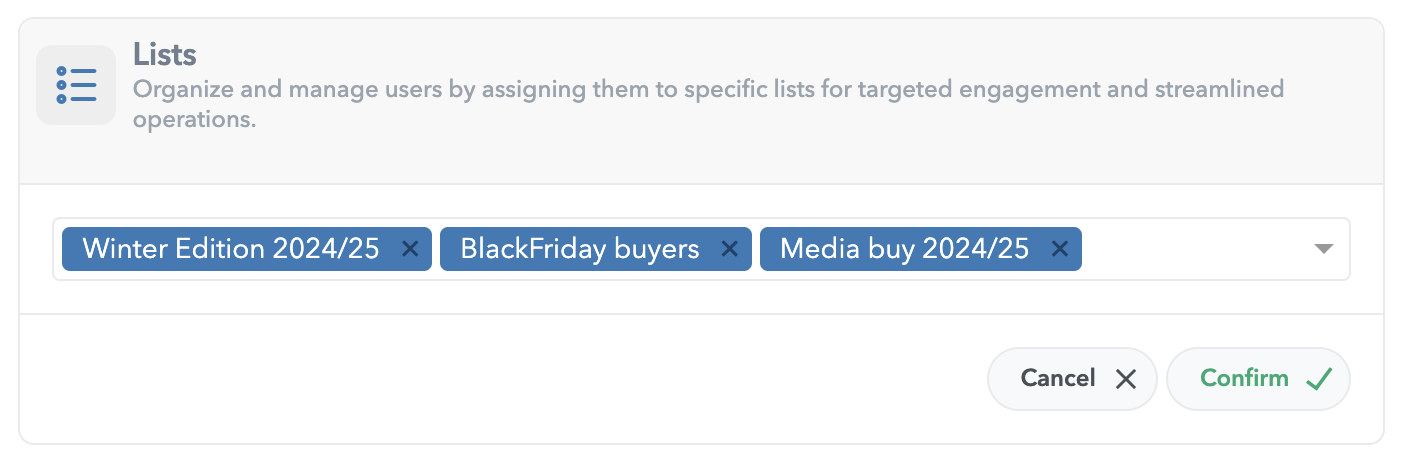
By clicking the confirm button, you confirm that the user can be targeted through these lists.
This enables streamlined segmentation and precise targeting in future campaigns.
Using Customer Lists in Campaigns
Customer Lists can be used as targeting fragments when creating a campaign. This means users within a specified list can be included or excluded from particular campaign actions, ensuring greater audience relevance.

Customer List Audience Targeting Fragment Example