Ocamba email setup
Start with Email configuration basics. Then, in the Add email configuration form, select Set up Ocamba email.
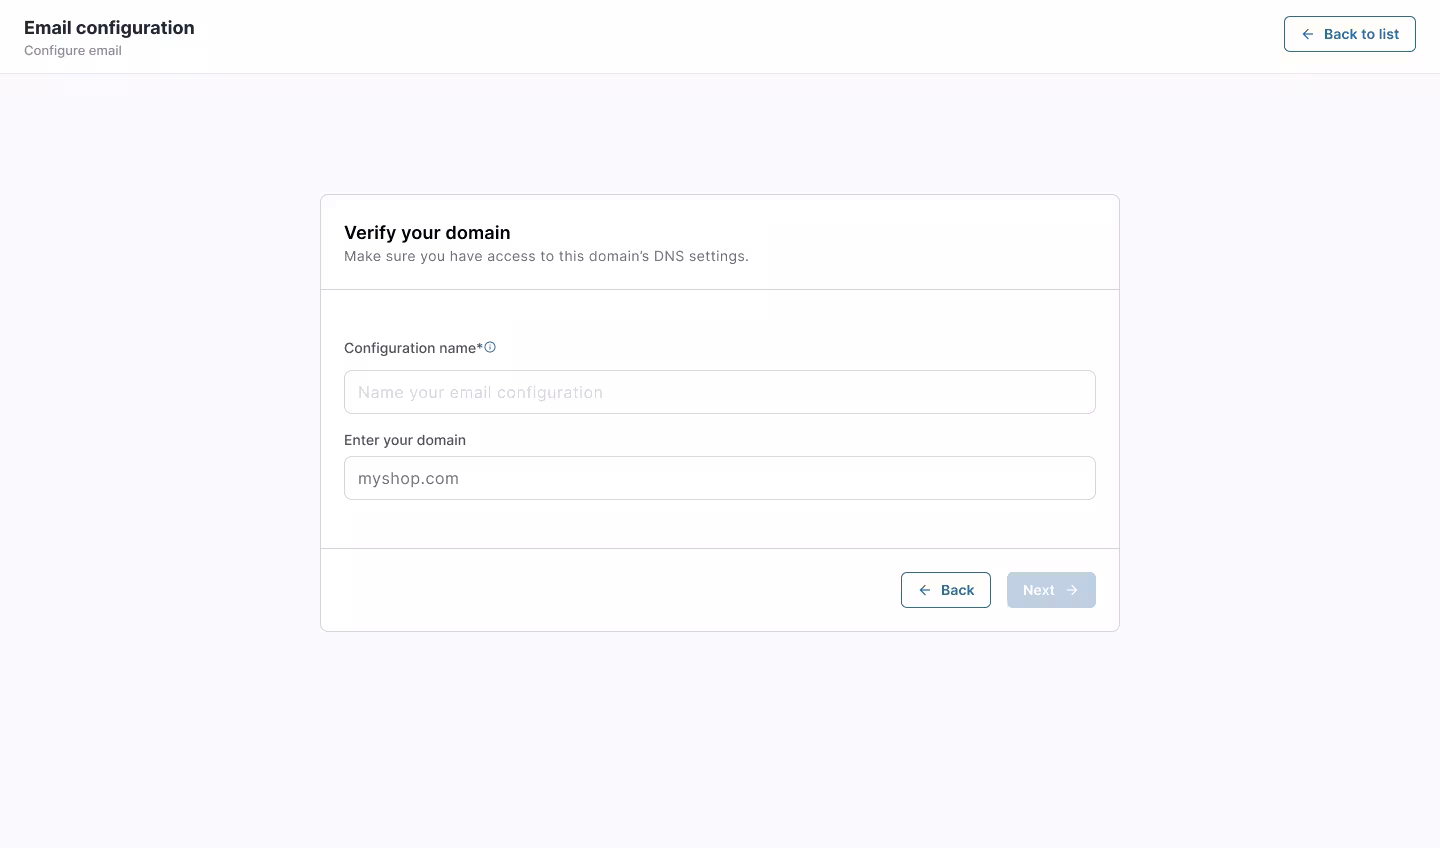
Step 1: Verify your domain
Fill in the following fields:
- Configuration name (any name to identify this email configuration in your account)
- Domain (for example:
myshop.com)
Then click Next.
Verify domain
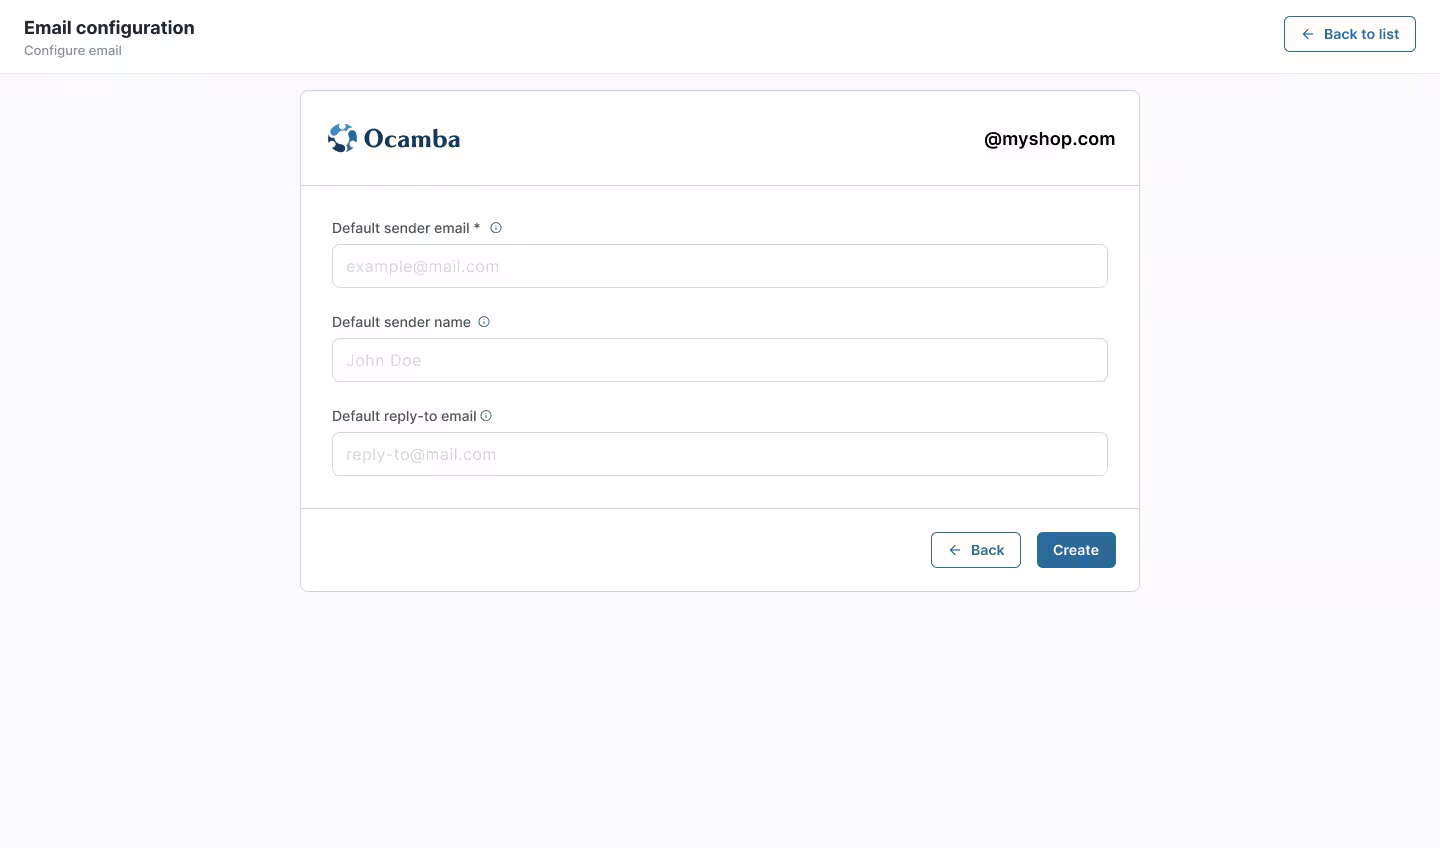
Step 2: Add sender details
Fill in the following fields:
- Default sender email (required)
- Default sender name (required)
- Default reply-to email
Then click Create.
Ocamba sender details
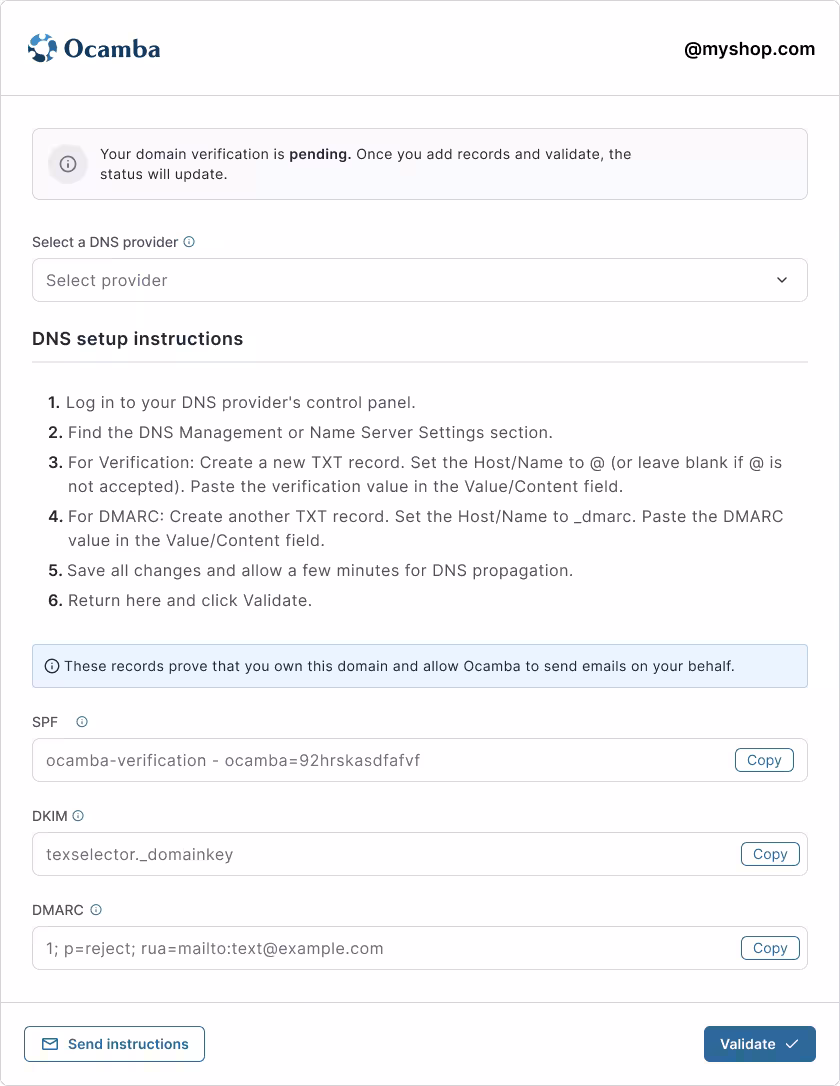
Step 3: Add DNS records and validate
In the DNS setup section, select your DNS provider (GoDaddy, Cloudflare, Namecheap, Amazon Route 53 (AWS), Google Cloud DNS, IONOS, or some Other).
Select DNS provider
The setup includes the following fields:
- SPF (Authorizes Ocamba to send emails on behalf of your domain)
- DKIM Name (The name of the DKIM record)
- DKIM (Adds a digital signature to your emails to verify authenticity and improve deliverability)
- DMARC (Defines how email providers handle authentication and improves deliverability)
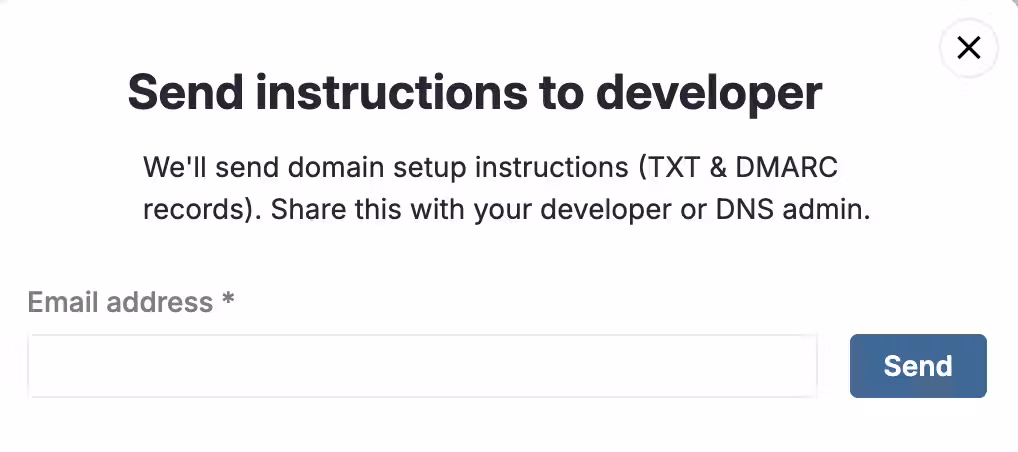
Send instructions
GoDaddy
If you need help adding TXT records in GoDaddy, follow this guide: Add a TXT record.
Cloudflare
If you use Cloudflare, this guide explains how to create DNS records from the DNS management panel: Create DNS records.
Namecheap
For Namecheap domains, use this article to add TXT records in Advanced DNS: How to create a TXT record for your domain.
Amazon Route 53 (AWS)
If your DNS is hosted in AWS, follow Route 53 instructions for creating new records: Creating records by using the Amazon Route 53 console.
Google Cloud DNS
For Google Cloud DNS zones, use this documentation to add and manage record sets: Create, update, and delete records.
IONOS
For IONOS-managed domains, use this documentation to manage TXT records in your DNS settings: Managing TXT Records.
Validation and Verification
After all DNS values are entered correctly, the verification process starts when you click Validate. Verification does not always complete immediately after you click Validate. If the check is still in progress, wait briefly and run validation again. In some cases, DNS propagation and verification can take up to a few hours (sometimes 24h).
If validation passes, the integration becomes Active and is ready to use. If validation fails, the integration becomes Failed.
If you do not click Validate and instead click Back to list, the integration remains in Needs verification. To run validation from this state, open the integration and click Save changes.
Possible email configuration status values are:
- Active — Verification is complete and the configuration is ready for sending.
- Failed — One or more values did not pass verification. Review the configuration values, then click Save changes to trigger a new verification attempt.
- Needs verification — Validation has not been run yet, or the integration was saved without clicking Validate.
- Inactive — This status is set manually and means the configuration is currently disabled. A configuration can become Inactive only after it has been Active.
Completion and test email
After successful verification, the status changes to Active and the domain is ready for use.
Once the status is Active, you can send a test email to confirm everything works as expected. Enter the recipient address, send the test message, and verify that the email is delivered and rendered correctly.
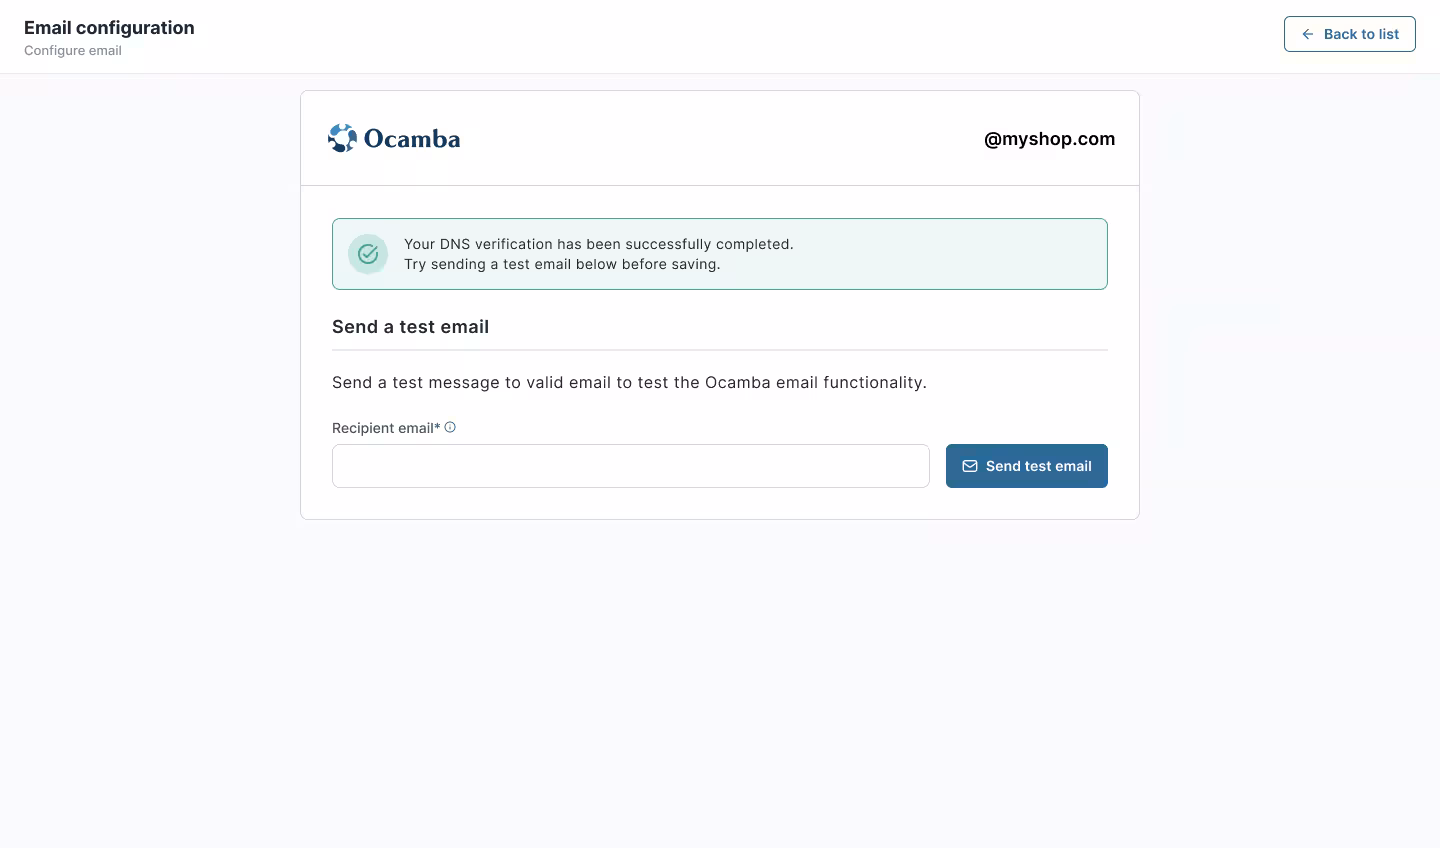
Send a test email
Handling Errors
If the Validation check finds invalid values, the integration becomes Failed. Review the configuration values, then click Save changes to trigger a new verification attempt on the DNS server.
In such cases, it is recommended to double-check:
- That all records have been added
- That the values match exactly
- That records are created under the correct domain