SendGrid email setup
Follow these instructions to configure and send SendGrid email messages using HoodEngage.
Requirements
Before starting, ensure you have:
- A SendGrid account
- An Ocamba Account
- A verified sender email address in SendGrid
Step 1: Setting up SendGrid
1.1 Create a SendGrid account
- Go to SendGrid
- Sign up for an account or log in if you already have one
1.2 Generate an API key
- Navigate to the SendGrid Dashboard
- Go to Settings > API Keys
- Click on Create API Key
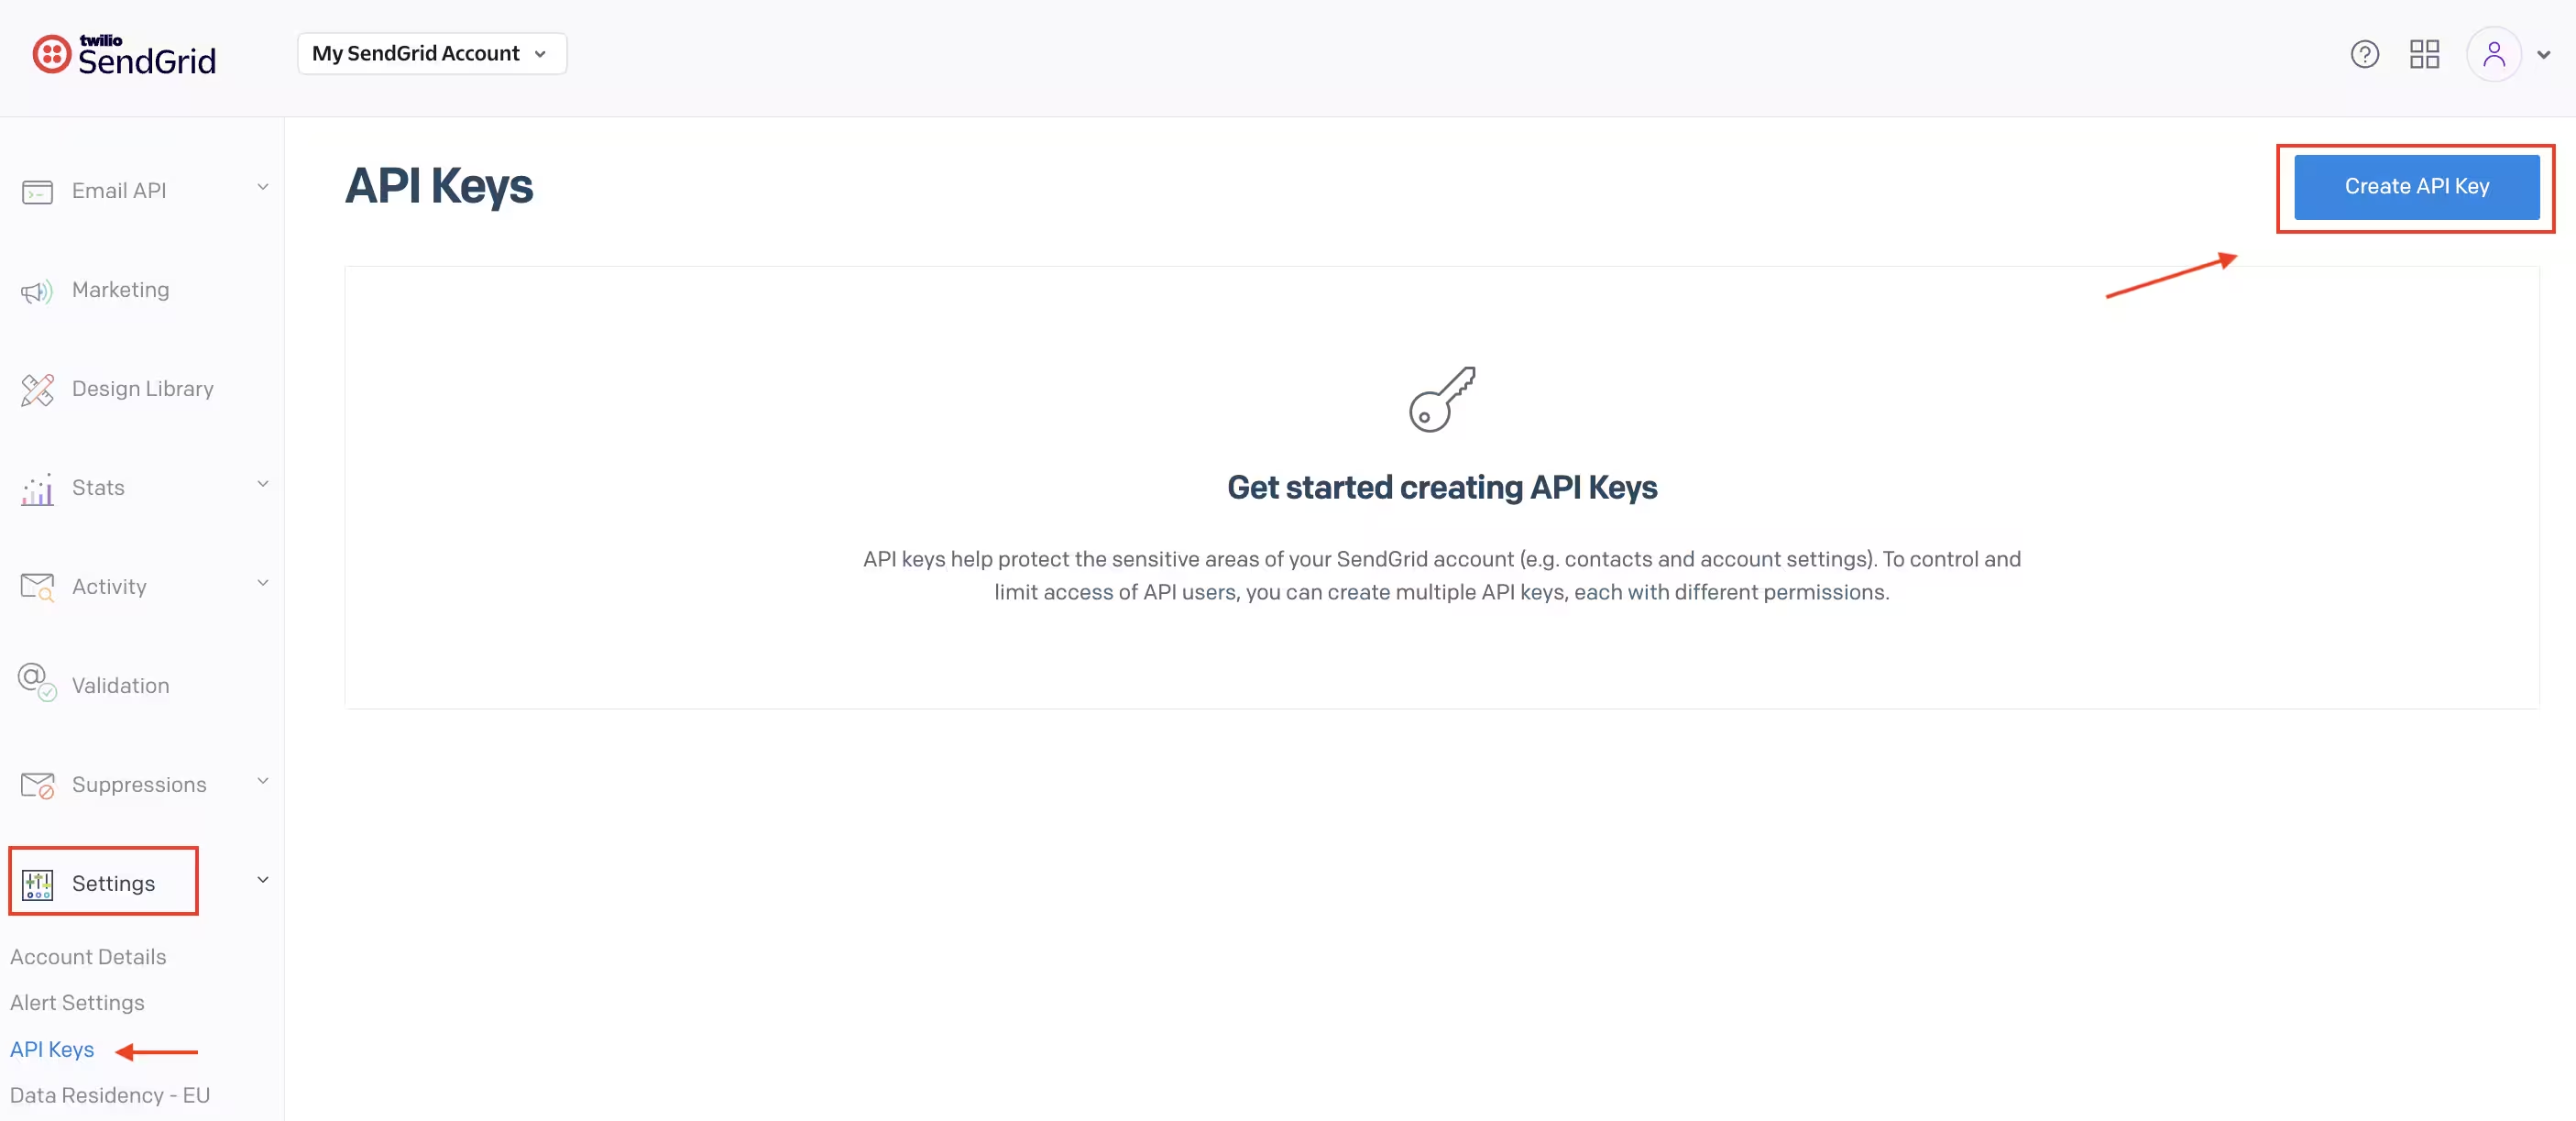
Create new API key button location in SendGrid Settings
- Provide a name for the API key (e.g., “Ocamba Integration”)
- Select Full Access and click Create & View
- Copy the API key and store it securely
Step 2: Configure SendGrid in HoodEngage
2.1 Access email settings
Use this shared guide to access HoodEngage Settings > Email: Email configuration basics
2.2 Add new email configuration
In the Add email configuration form, complete the following SendGrid-specific fields:
- Fill out the integration name
- Switch the toggle button to Active
- Choose SendGrid as provider
- Enter the following details:
- API Key — Paste the API key generated from SendGrid
- Sender Email — Enter the verified sender email address from SendGrid
- Sender Name — Enter the name that will appear as the sender
- Click Validate to confirm the configuration
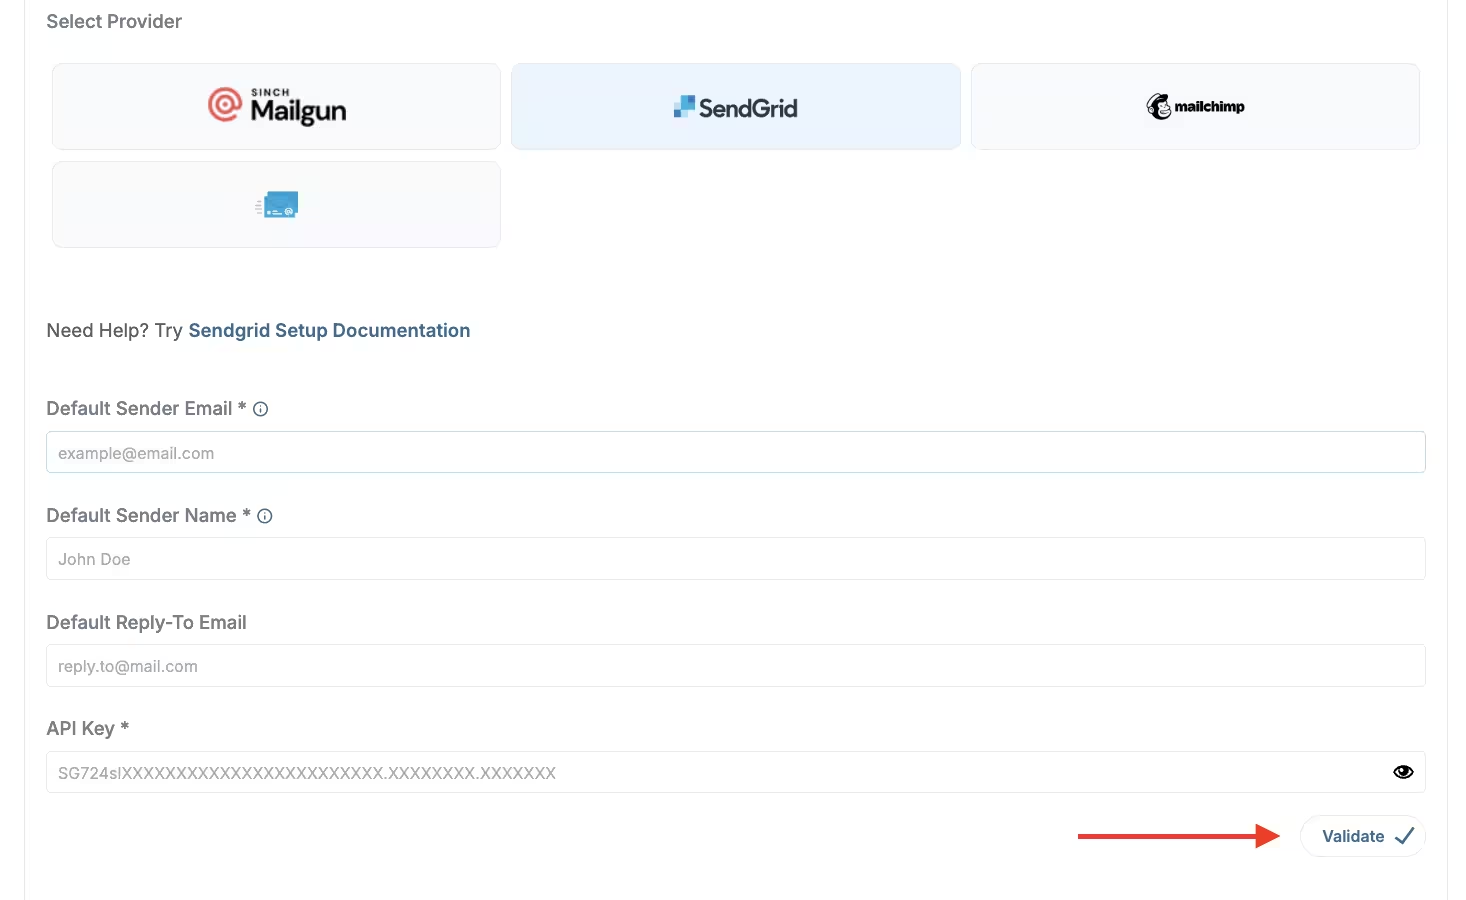
SendGrid info & the Validate button
Step 3: Send a test email
- After validation, use the test email option below the configuration
- Enter a recipient email address
- Click Send Test Email
- Verify that the test email is received at the specified email address
Step 4: Set as default (optional)
To set your SendGrid configuration as default:
- Go to the email configurations overview
- Click on the Set as default button next to your SendGrid configuration
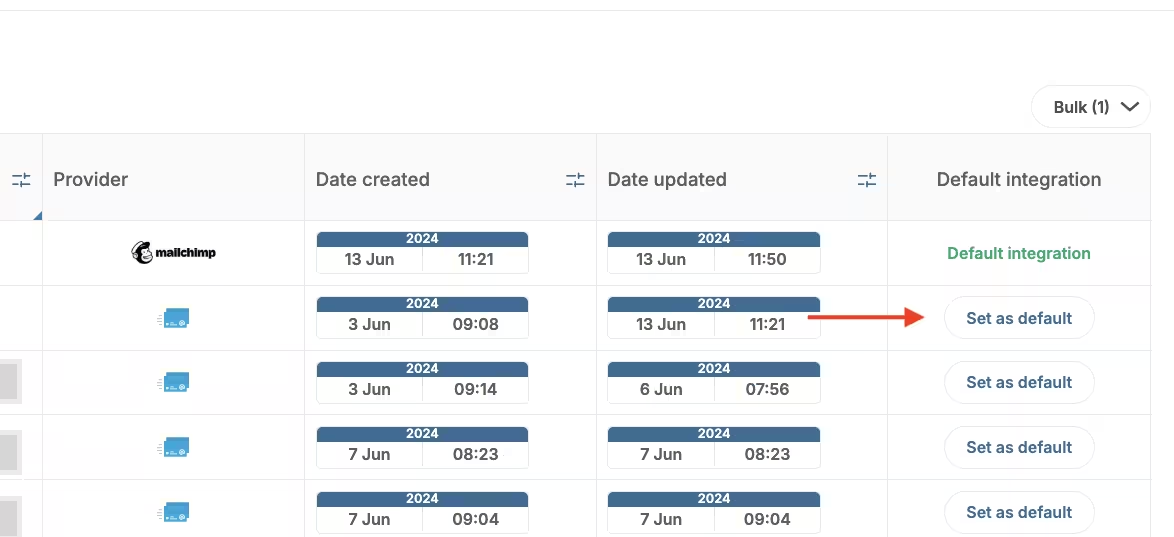
Email configuration - Set as default
Setting a configuration as default means it will appear first as an option when sending emails in Campaigns.
Step 5: Add subscribers
You can add email subscribers using several methods:
- Dashboard Upload — Upload a CSV of emails and user data or manually add emails
- Server API — Programmatically add emails server-side
- SDK Method — Add emails using our client-side SDK (recommended if using our SDKs for push or in-app messaging)
- Email Web Prompt — Use a web prompt to collect email addresses and phone numbers
Troubleshooting
API Key validation fails
Cause: The API key may be incorrect or doesn’t have proper permissions.
Fix:
- Double-check you copied the entire API key without extra spaces
- Ensure the API key has Full Access permissions
- Generate a new API key if needed
Sender email not verified
Cause: SendGrid requires sender verification before sending emails.
Fix:
- Go to SendGrid Settings > Sender Authentication
- Verify your sender email address or domain
- Wait for verification confirmation before testing
Emails going to spam
Cause: Domain not properly authenticated.
Fix:
- Set up domain authentication in SendGrid (SPF, DKIM, DMARC)
- Use a verified sender email that matches your domain
- Avoid spam trigger words in your email content