Mitto SMS setup
Follow these instructions to configure and send Mitto SMS messages using HoodEngage.
Requirements
- Access to an SMS service provider Mitto.
- Acquired phone number(s) provided by Mitto with sufficient credit to send messages.
Step-by-Step setup guide
Step 1. Create a new SMS configuration
In your HoodEngage dashboard, navigate to HoodEngage Settings > SMS in the top right corner.
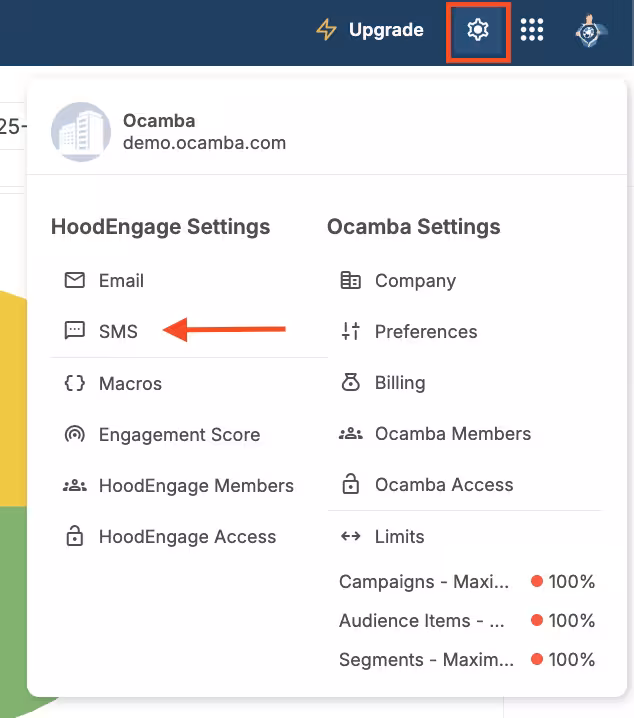
SMS setup location in the navigation
Here, you can see the overview of all your SMS configurations.
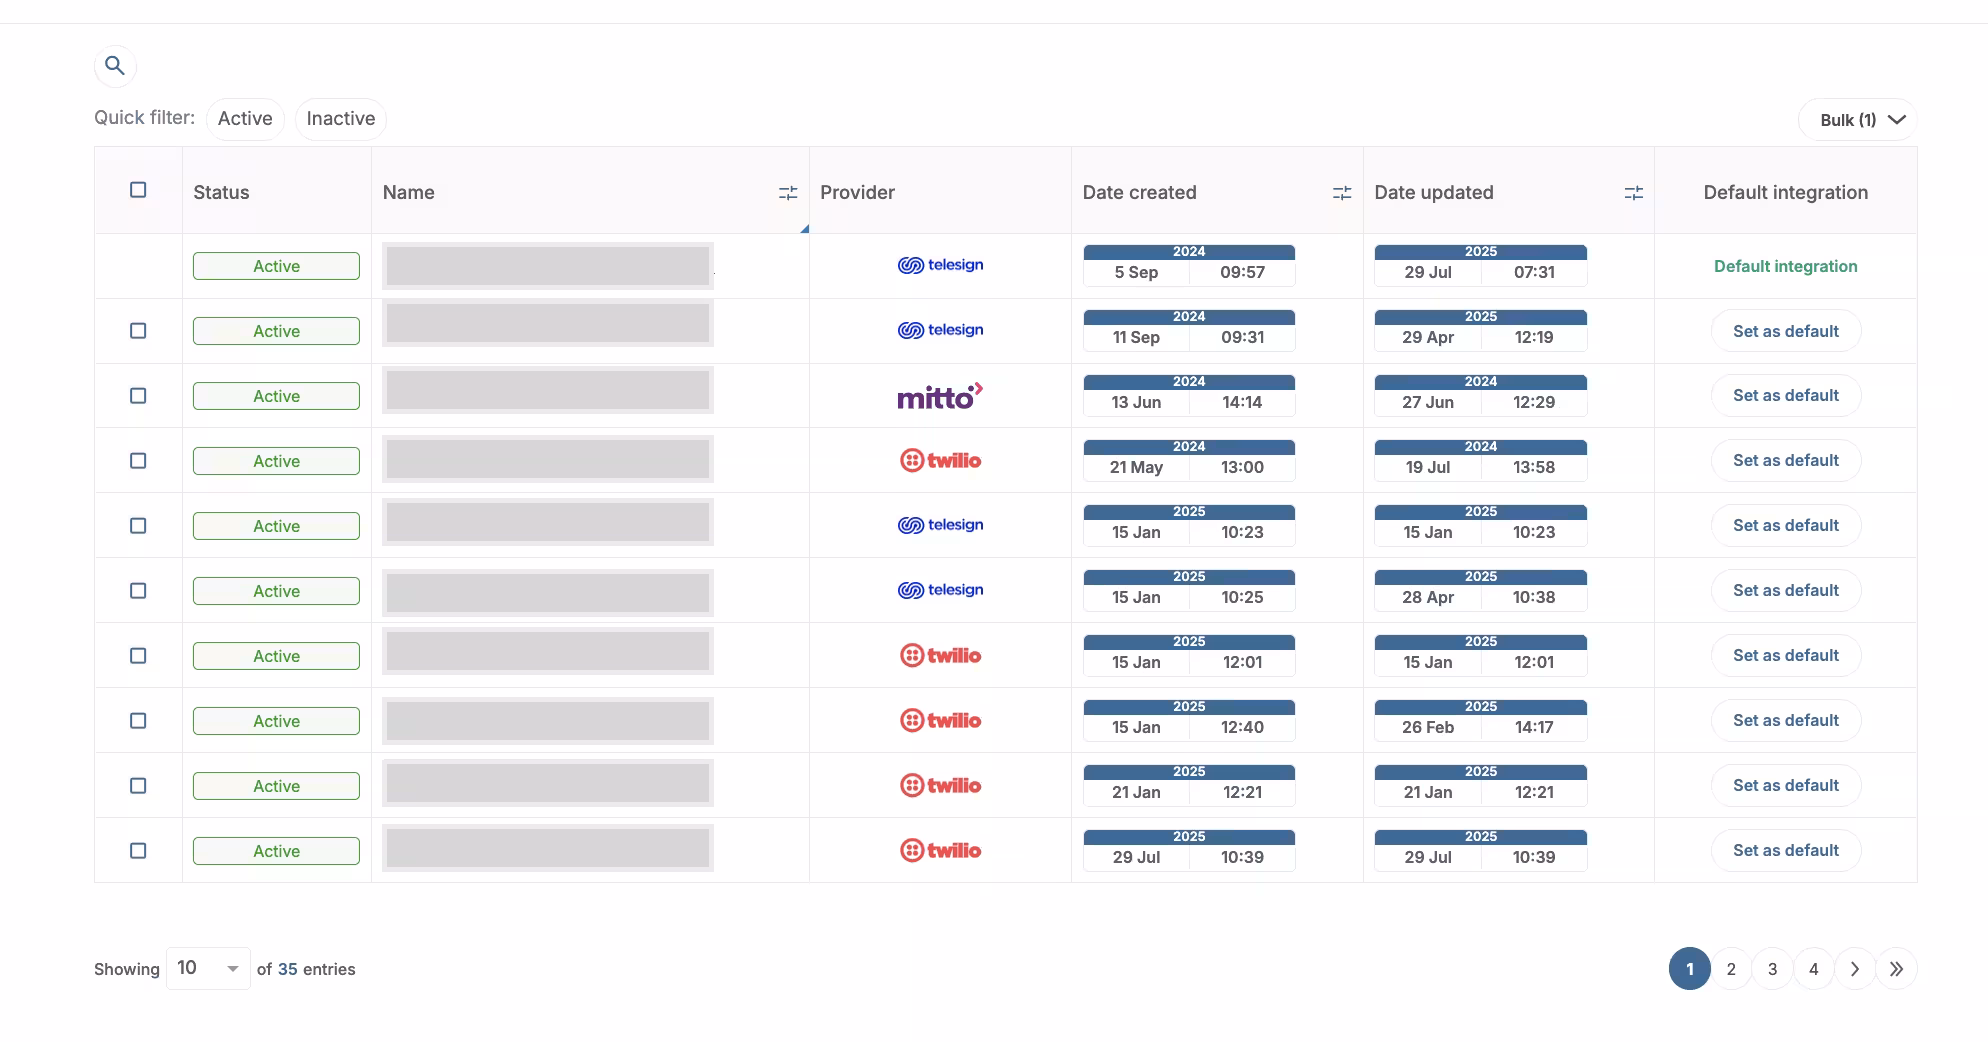
SMS setup overview
Click on any existing SMS configuration to edit its details.
To set configuration as default, click on the Set as default button next to it.
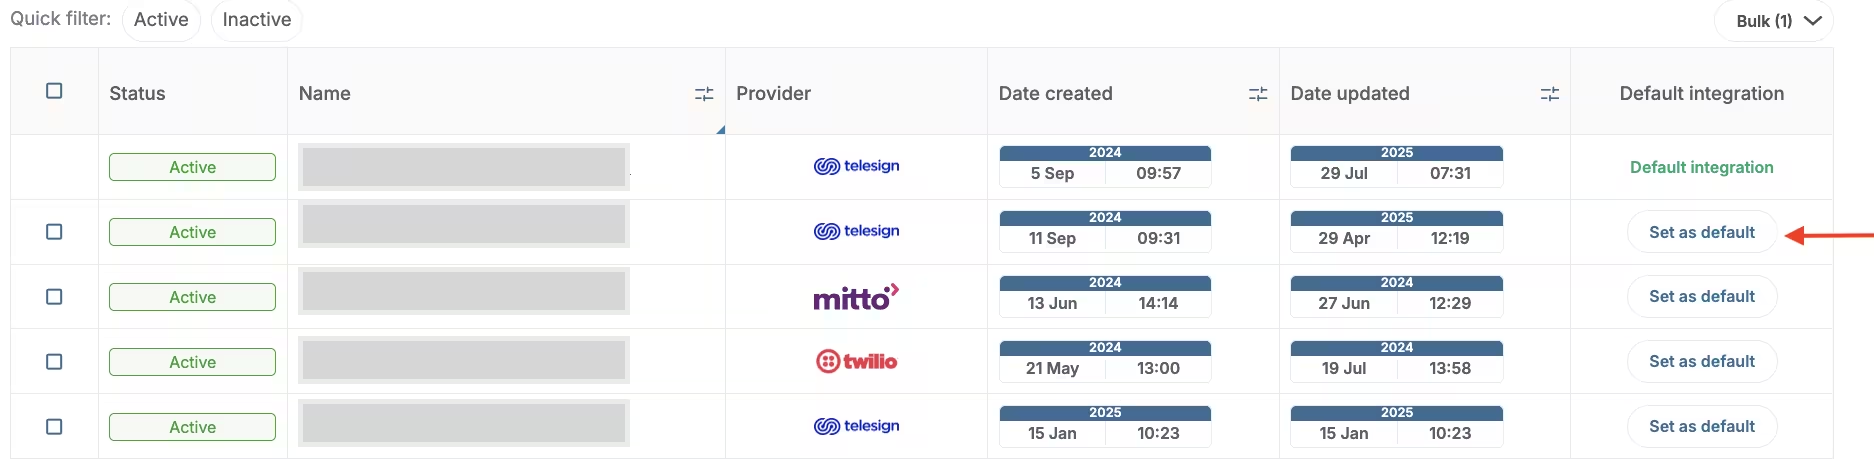
SMS config set default
Setting a configuration as default means that this configuration will appear first as an option when sending SMS in Campaigns.
Add new SMS configuration
Click on Add SMS configuration in the top right corner.
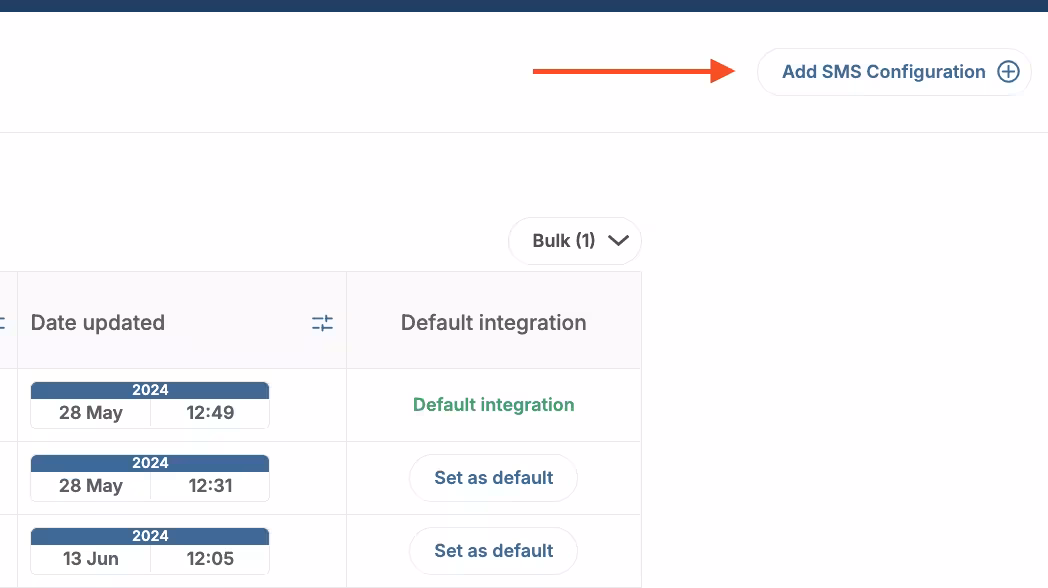
Add SMS configuration
Enter the configuration name in the name field, and toggle the status to be active.
Then select Mitto as the SMS provider.
Step 2. Specify the Mitto authorization details
Once you have clicked on Mitto as the provider, the system will require the Mitto API Key to be provided and validated.
Enter your SMS provider’s API key. The API key is located on your Mitto dashboard.
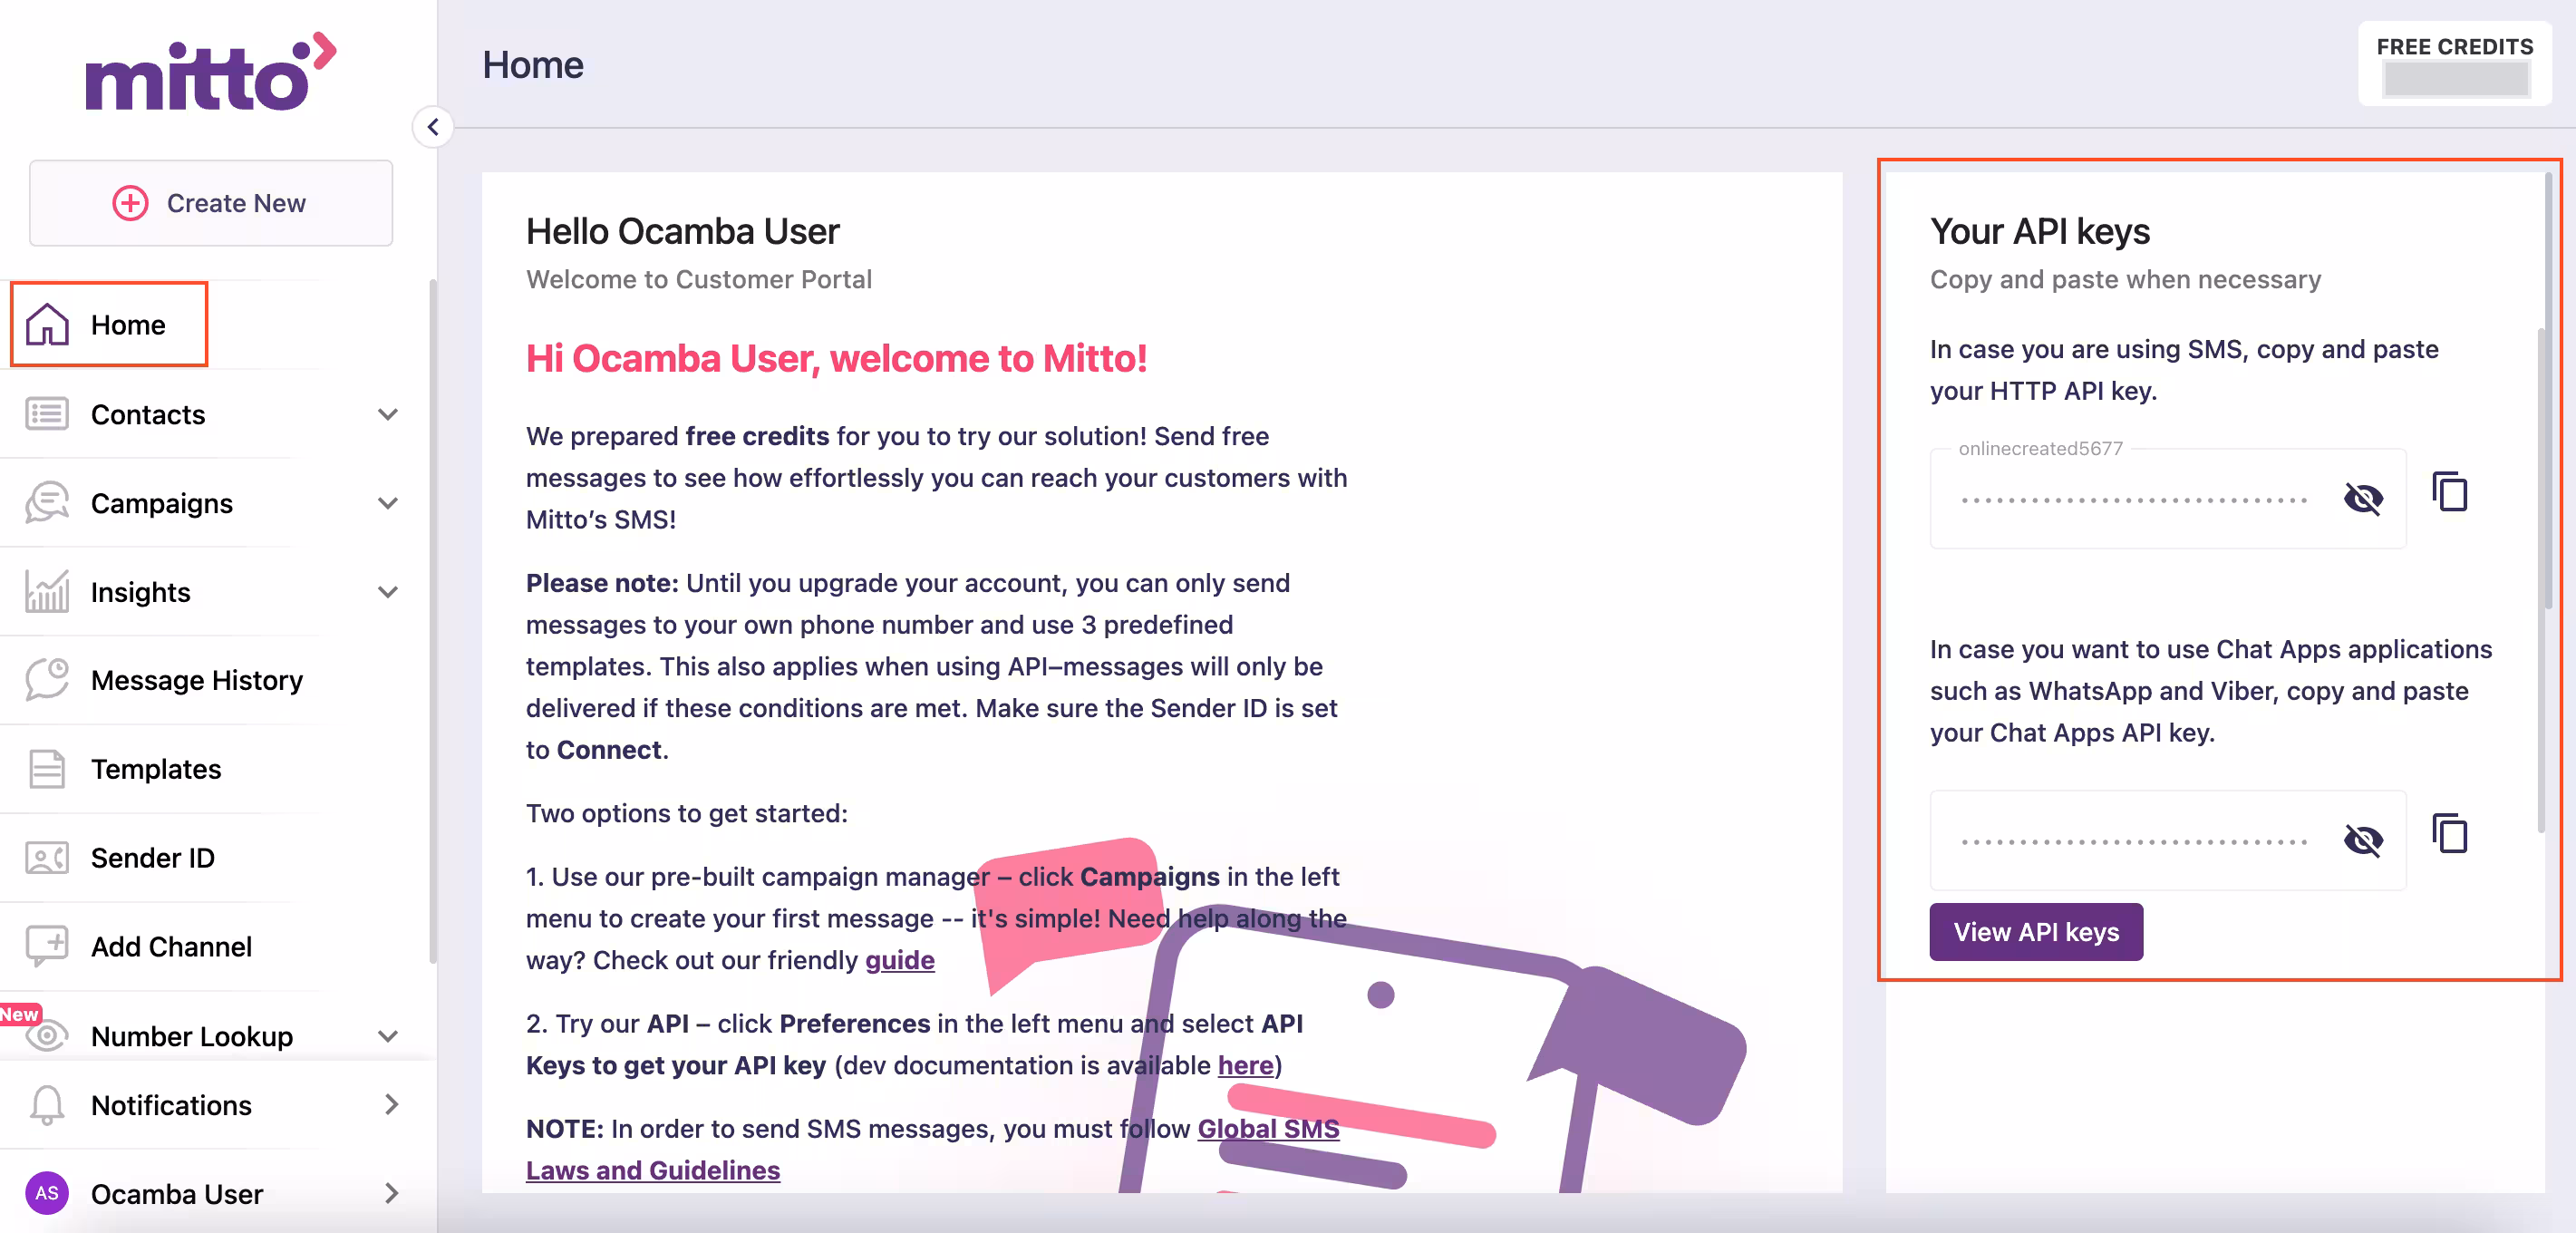
Mitto API key
- Ensure the SMS provider account has enough credit to send messages.
Note
The Sender Name is currently read-only and defaults to ‘SMSinfo’. If you need to modify it, visit your Mitto dashboard and contact Mitto support at [email protected].
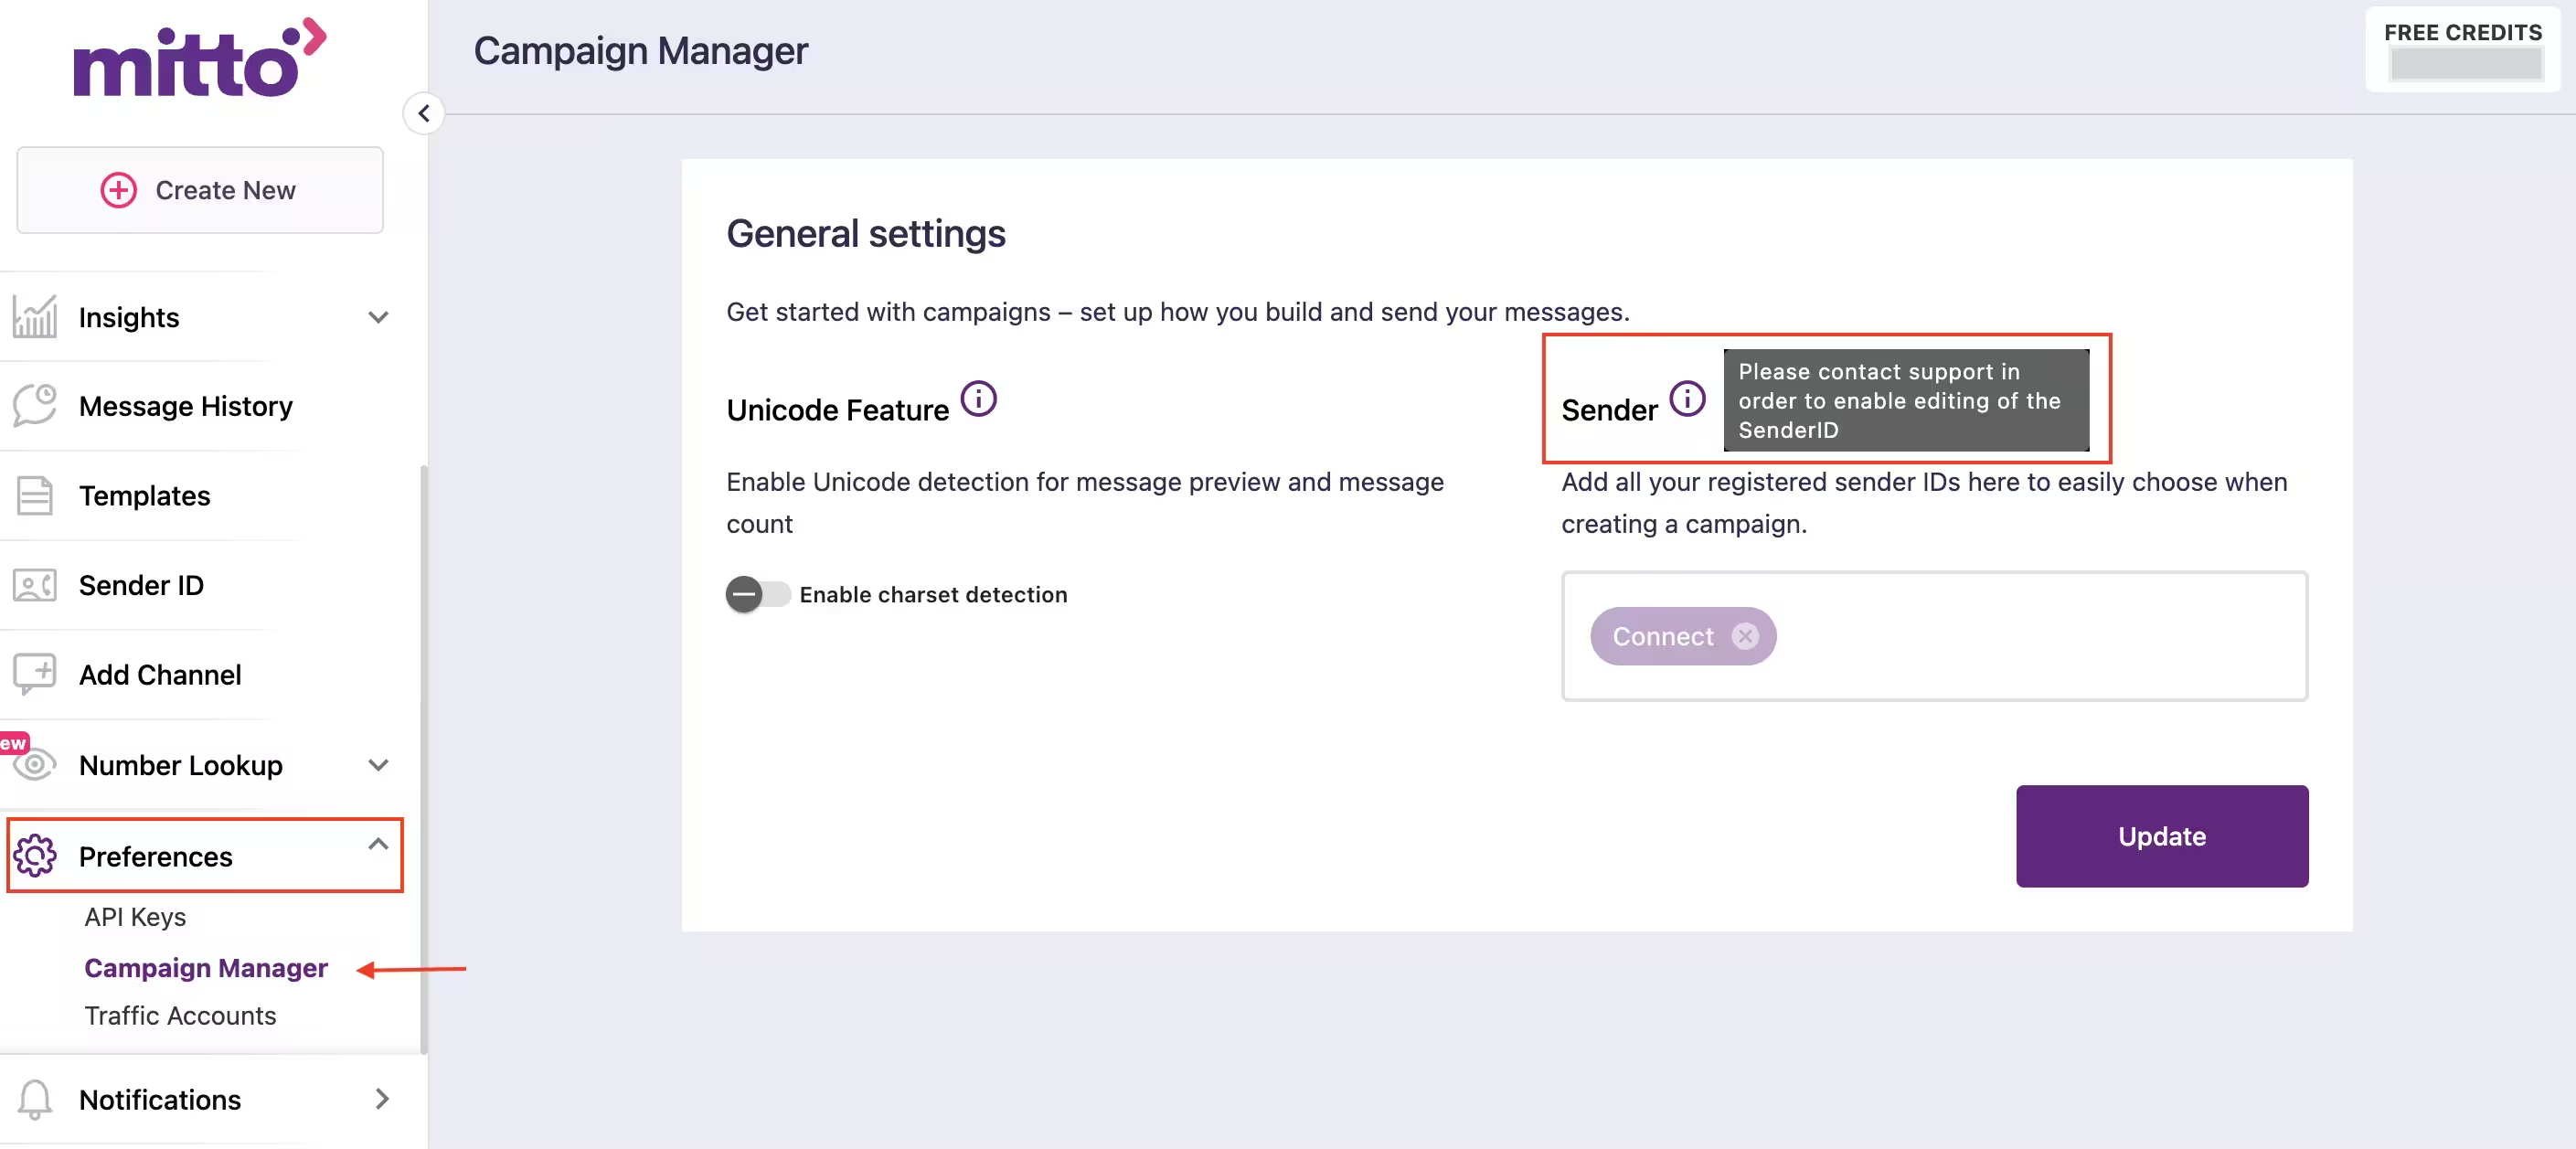
Sender ID & Sender name Mitto
Click on the Validate button in the bottom right corner to authenticate the configuration.
After successful authentication, select the default number provided by the SMS provider.
Choose the phone country code and specify the phone number to send a test SMS.
Upon successful receipt of the test SMS, complete the configuration by clicking the Confirm button in the bottom right corner.