Members, roles & permissions
Learn how to manage your HoodEngage team, assign roles, and control access permissions to ensure the right people have the right level of access to your workspace.
What you’ll learn in this article
- How to invite and manage team members;
- How to assign roles and permissions;
- How to create custom roles with specific privileges;
- How to control access levels for different team members / roles.
Members
In the top navigation bar, click on the cog icon. Under HoodEngage Settings, pick HoodEngage members.
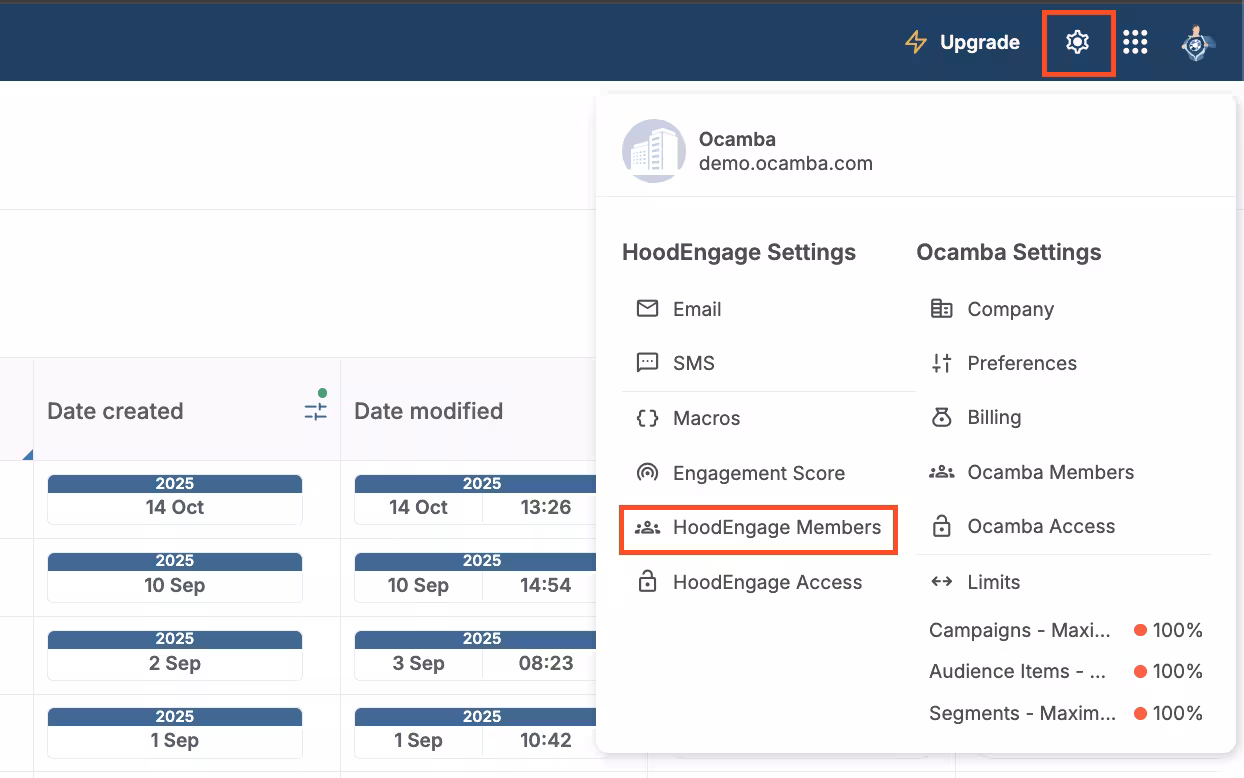
HoodEngage Members location
The first view is the overview of all members with their status, name, e-mail, and time of creation, as well as the possibility to filter members by their status.
Adding members
To successfully add a new member to the HoodEngage app, the person adding new accounts must have the role of app admin.
Within the Members tab, it is possible to add new members by clicking on the Add member button > Invite user.
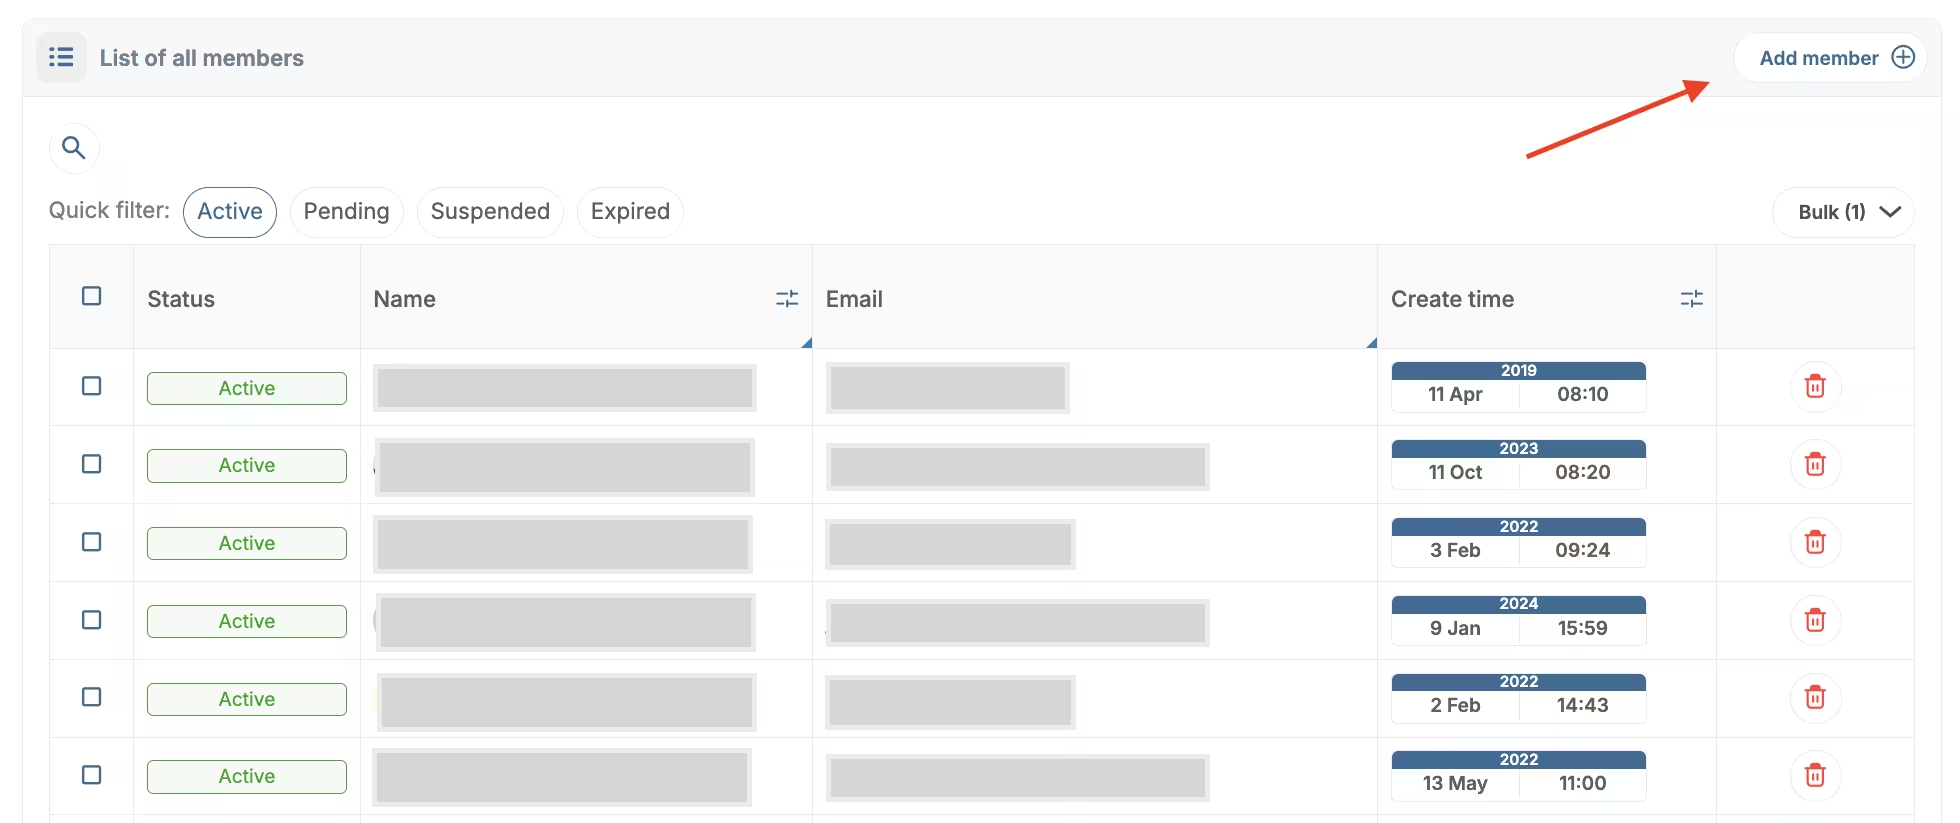
HoodEngage members > Add member
In the new window, fill in the form for adding a member.
Specify e-mail, name, and select a role for the new member from the drop-down menu (for example, Viewer, Admin).

HoodEngage members > Add new member form
When complete, click Confirm.
Deleting members
Only super admin or admin of the HoodEngage app can cancel access to the member by deleting it from the members list.
To delete a member, click on the delete / bin icon next to the member you want to delete. Then, click Confirm.
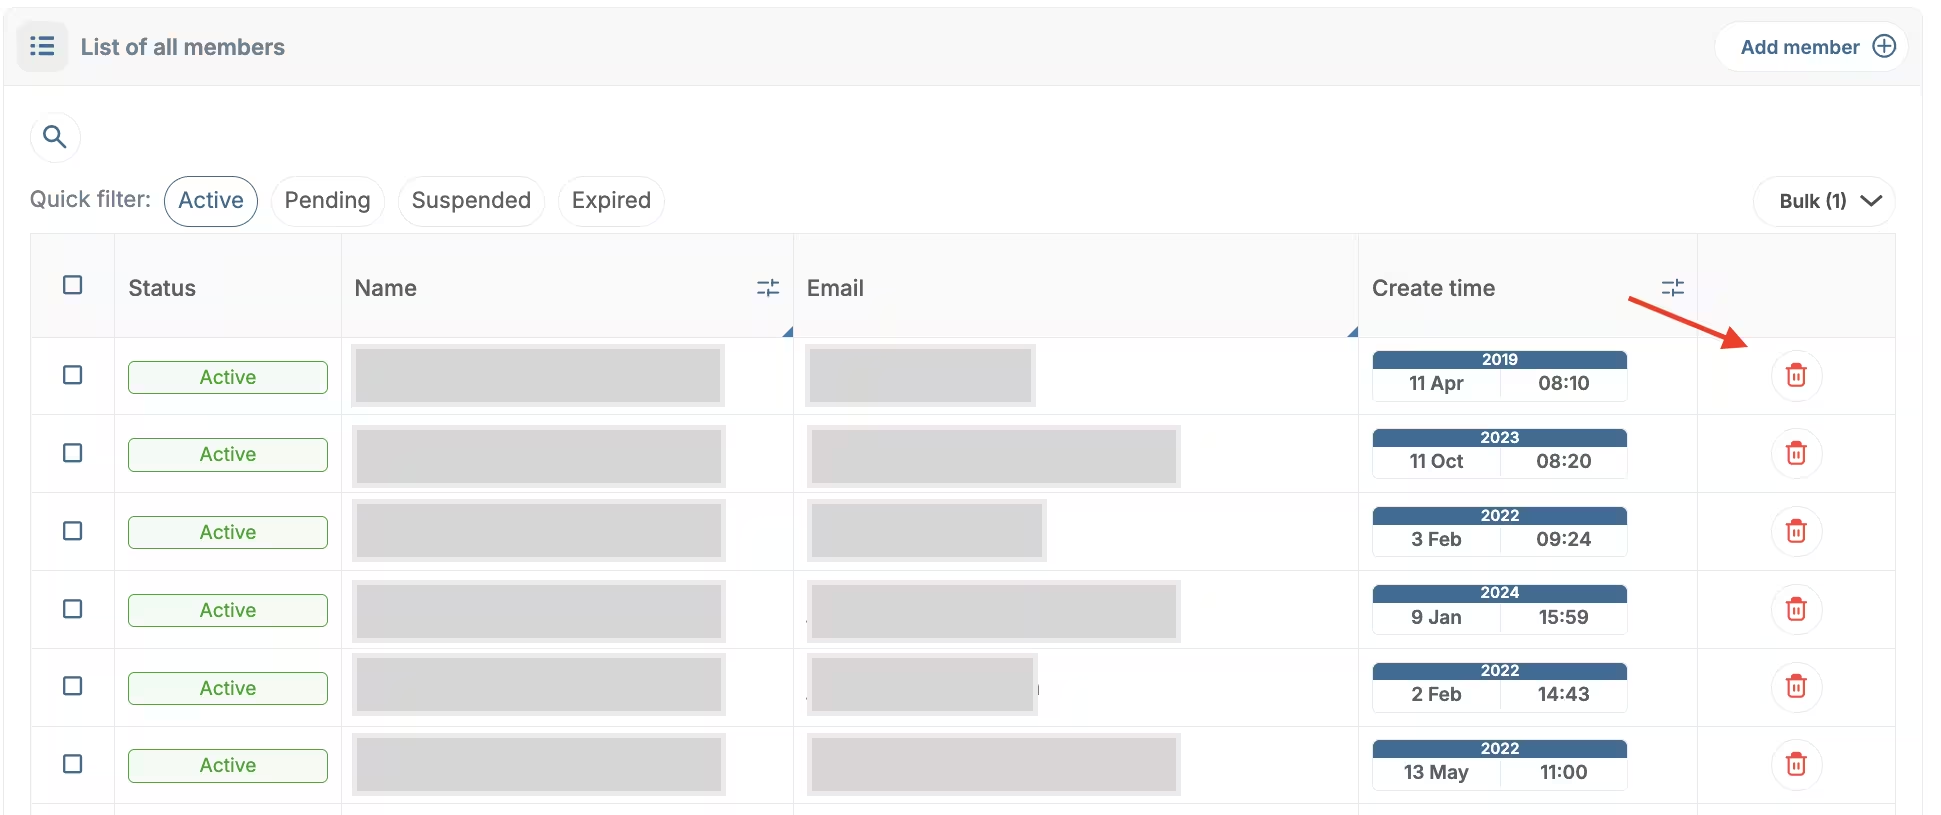
HoodEngage members > Delete member
Access
In the top navigation bar, click on the cog icon, under HoodEngage Settings, pick HoodEngage access.

HoodEngage Access location
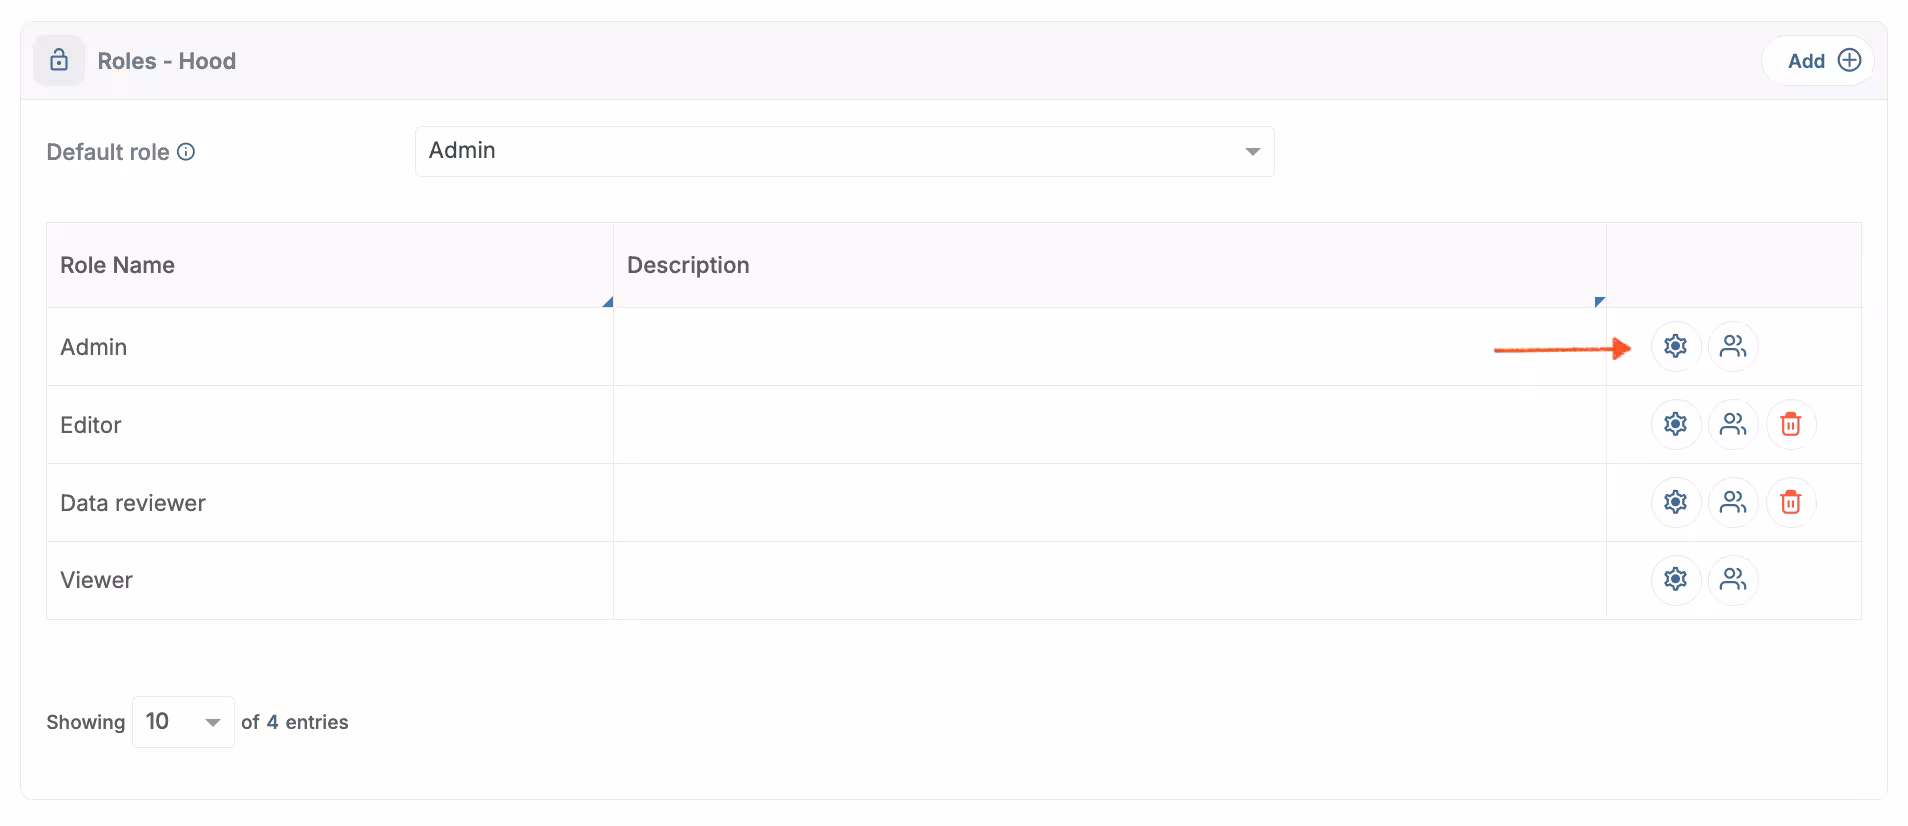
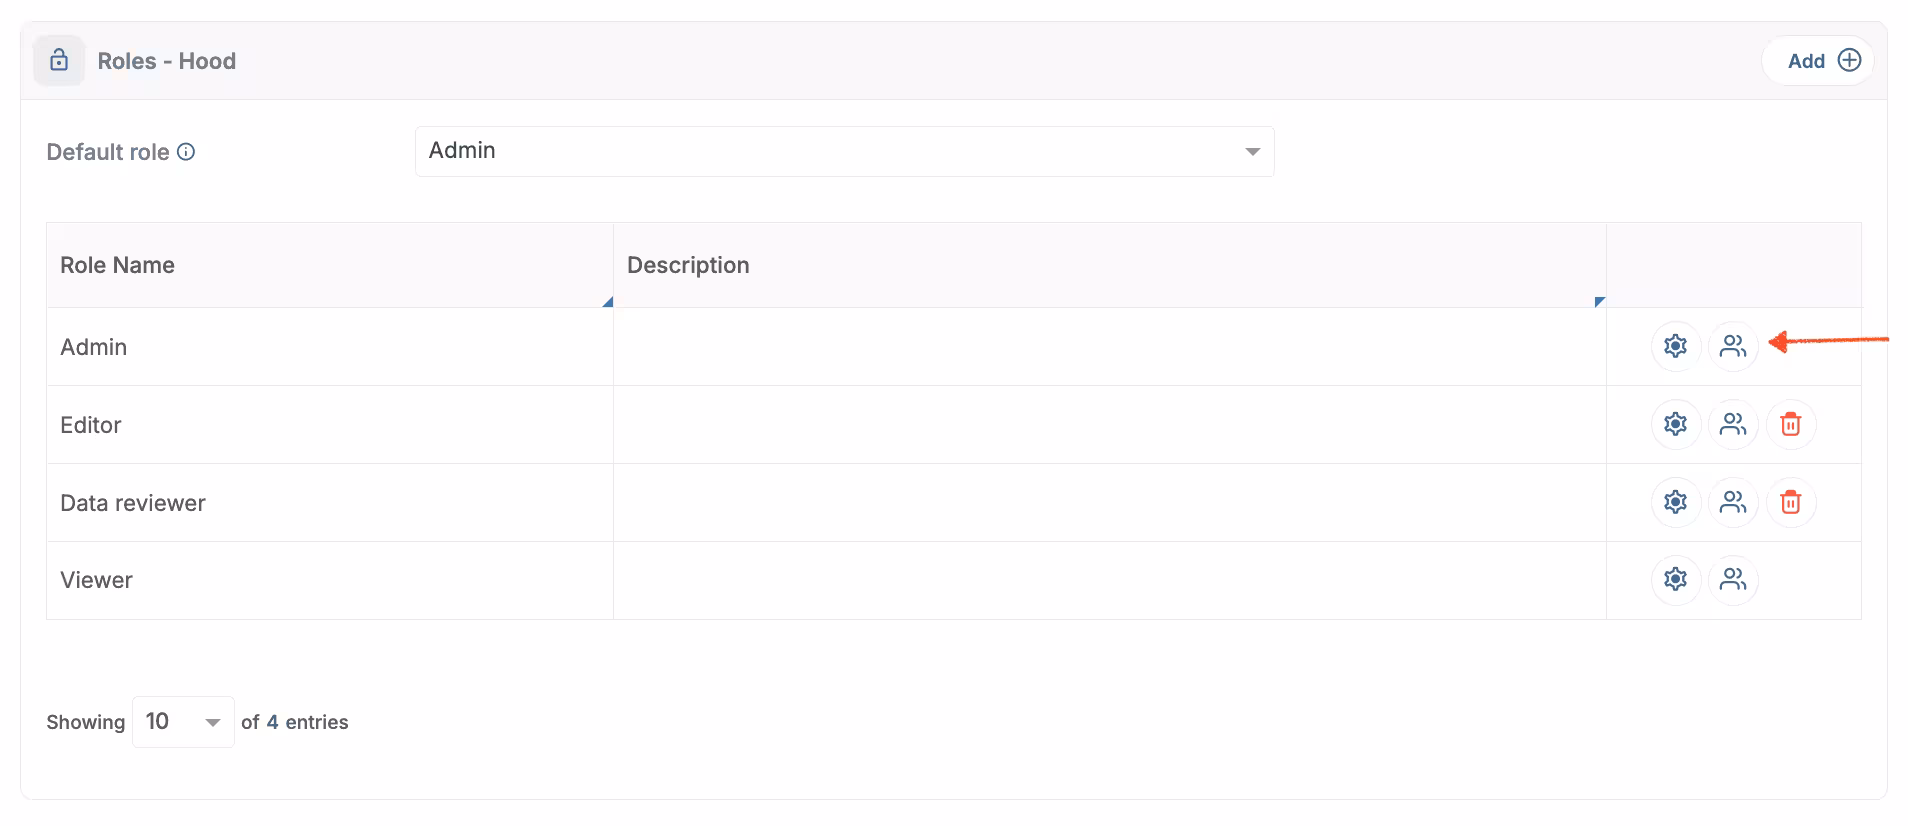
Here, you can see a list of all roles that have been created, as well as system roles.
By clicking on cog icon, it is possible to see additional details about the role, such as the name, descriptions, and privileges of the role.
Additional role info
System roles are Admin and Viewer and it is not possible to edit them.
Clicking on the icon next to the cog icon allows viewing the list of members for a specific role.
View role assignees
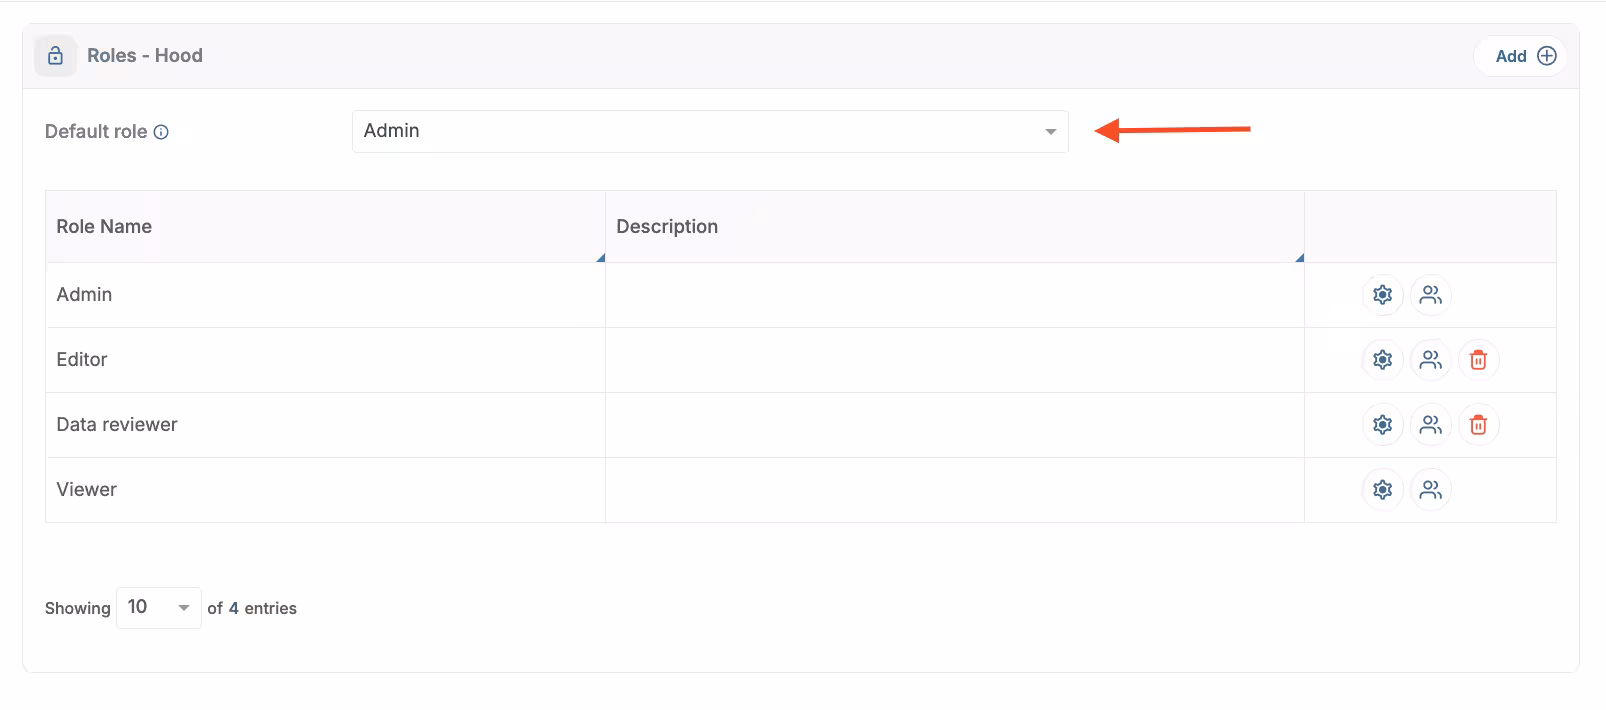
The default role that will be applied to all new members can be changed by selecting the desired one from the drop-down list.
Default role setting
Creating a new role
To successfully add the permissions that are needed, the person adding the permissions must be:
- Platform admin,
- Adex app admin,
- Push app admin,
- Hood app admin, or
- Member with Settings RBAC privileges.
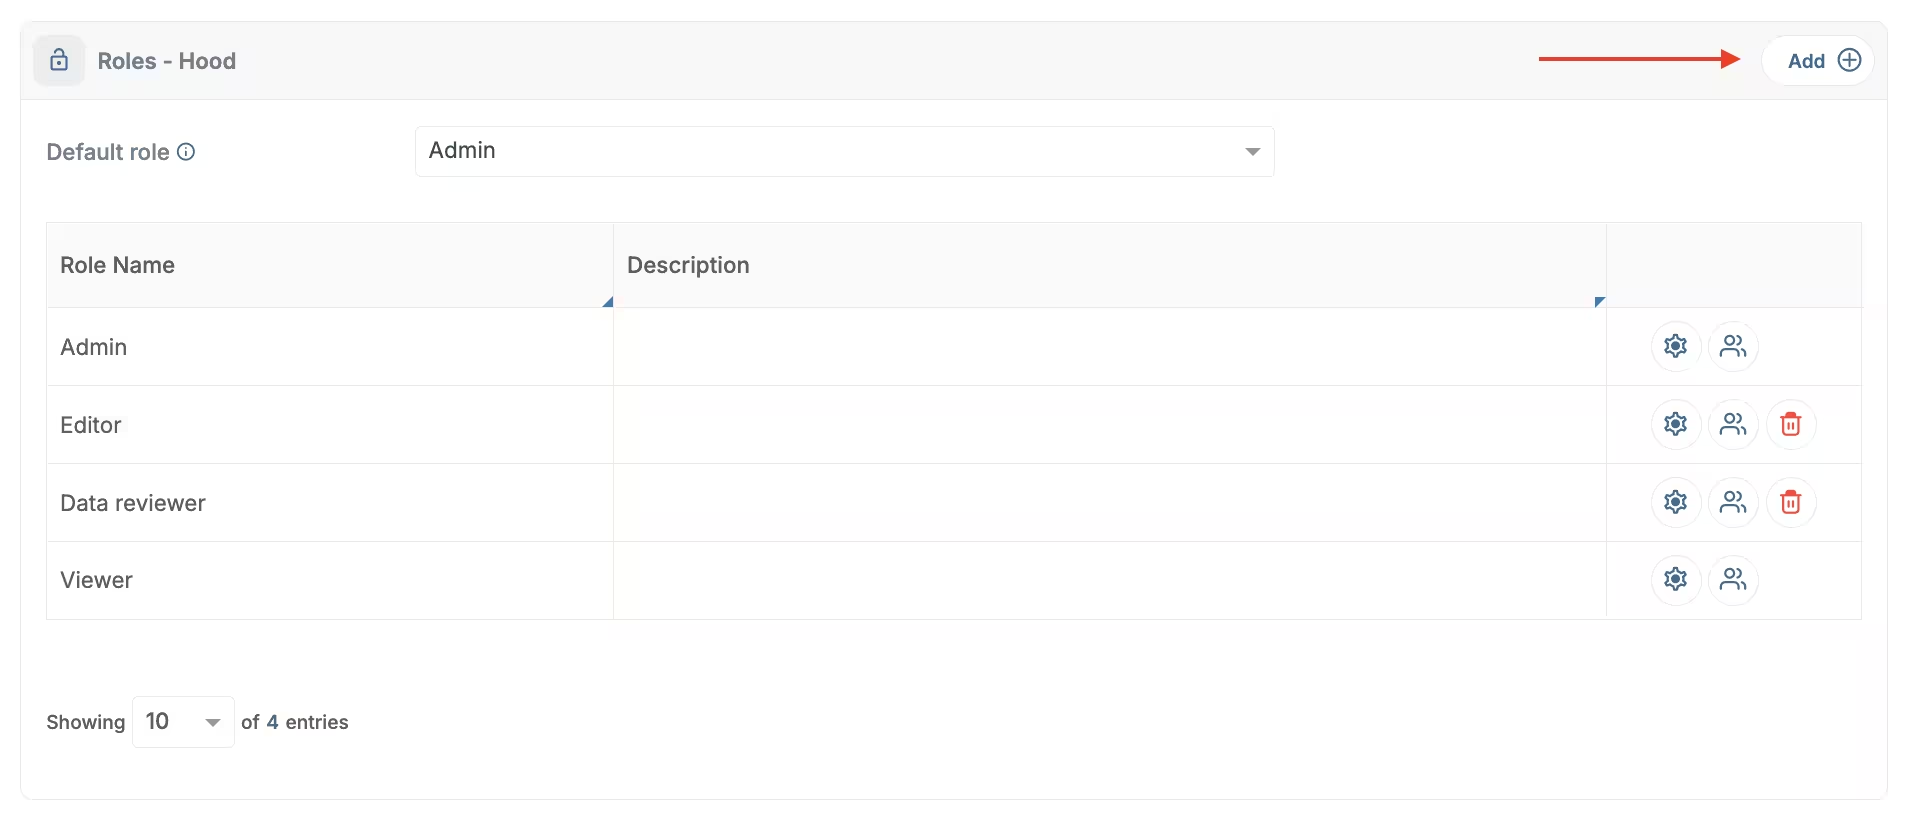
To create a new role, click the Add button in the top right corner.
Add new role button
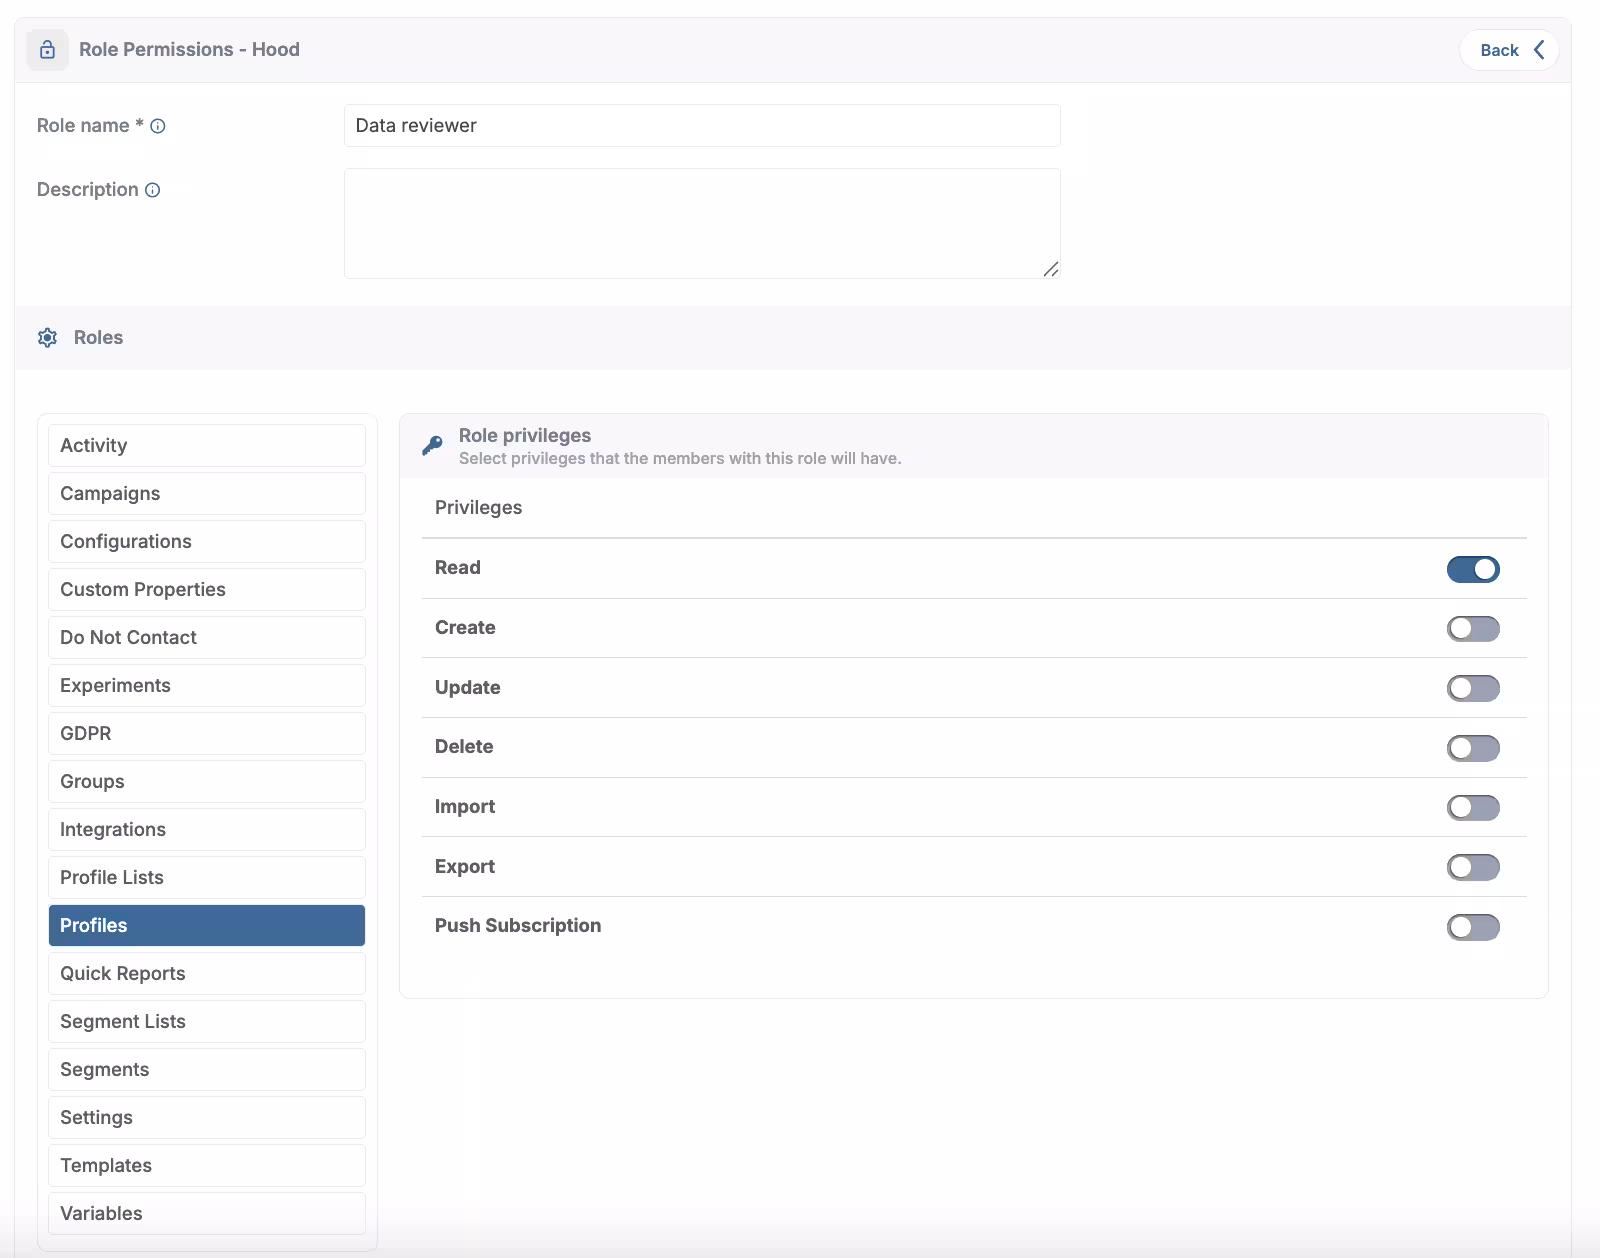
The next step during creation is to name the role (in the “role name” field).
To set role permissions:
- Select the desired privileges from the list on the left;
- Use the toggle buttons on the right to set the access level for each selected privilege.
Add permissions to a role
Confirm your choices by clicking the Confirm button.